-
Welcome! The TrekBBS is the number one place to chat about Star Trek with like-minded fans.
If you are not already a member then please register an account and join in the discussion!
You are using an out of date browser. It may not display this or other websites correctly.
You should upgrade or use an alternative browser.
You should upgrade or use an alternative browser.
Troop & Cargo Carriers
- Thread starter Handyman
- Start date
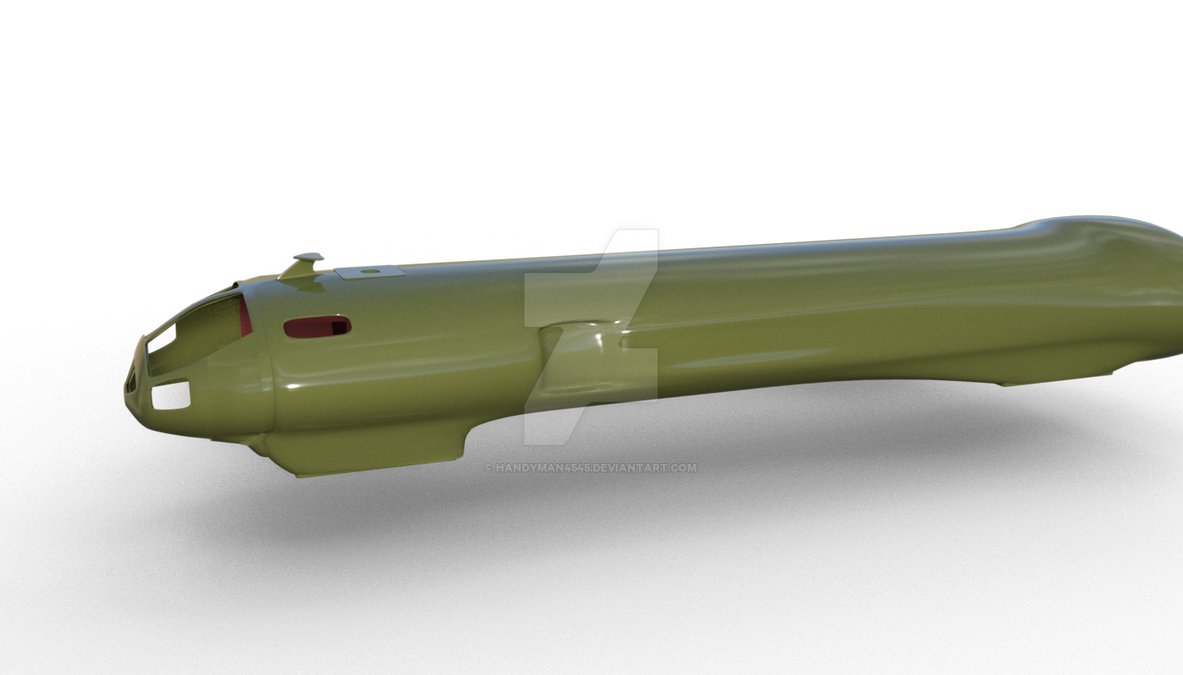
Im having problems figuring out how to smooth out specific areas only.
The fuselage needs some attention but every effort I make at smoothing it destroys the required right angles in it.
My ignorance here is frustrating.
I'm concerned that I'll have to compartmentalize this model (read, any model) further to eliminate that issue.
The fuselage needs some attention but every effort I make at smoothing it destroys the required right angles in it.
My ignorance here is frustrating.
I'm concerned that I'll have to compartmentalize this model (read, any model) further to eliminate that issue.
Like I said.
My ignorance is frustrating.
I'll look into that later tonight.
BTW... Thx for the comp. It's a new trick and doing it well is nice.
I'm not thoroughly happy with the rear end yet. Need to add some more surface detail to it and obviously mesh the entire model.
Not sure that thrusters are what's required there being as I have directional VTOL thrust on the sides and warp eng's on the winglets but aside from a rear gunner, what else is there to put back there?
Cargo door maybe?
Last edited:
If you remove the thrusters, then yeah, cargo door makes sense. BTW, here's a (very long) video that should give you a pretty good idea of what I'm talking about:
Unfortunately, there are no real shortcuts to take here. I've been doing this a long time (18 years) and I'm nowhere near the level of some folks. Obviously this is just a hobby, but still, it's a time consuming one.
Unfortunately, there are no real shortcuts to take here. I've been doing this a long time (18 years) and I'm nowhere near the level of some folks. Obviously this is just a hobby, but still, it's a time consuming one.
BTW...
Blender 2.8 booted today.
I started thinking about the exe file and it's boot location.
I was trying to boot from the exe file that I transferred to my desktop initially from the zip file. That along with the data files transferred resulted in missing dll errors.
Then I "extracted" the files and after signing them a new location in my HD, I again attempted to boot from the exe file on my desktop, transferred from the zip file earlier. Again, that resulted in missing dll errors.
I wised up this morning after a cup of coffee and a brain fart and went to the new directory, located the exe file in it and viola! the program booted fine.
")
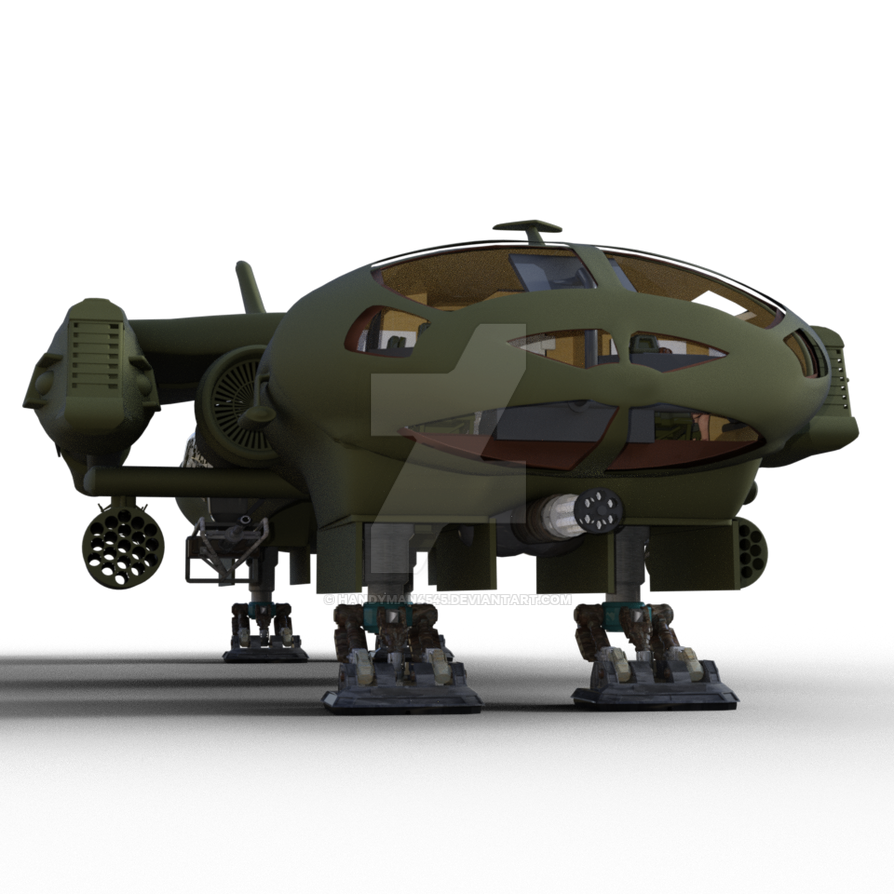
The results so far from the new "smoothing" lessons and application.
I thought the matt finish looked good. Wow.
I figured out how to fortify the edges I needed square after smoothing the hull but that was after I'd created the stand alone gear boxes and installed them.
The windows came out awesome
I have a secondary hull inside the outer hull and I left it un-smoothed so it adds a cool contrast to the sexy figure of the outer hull.
After I smoothed the fuselage, I started thinking about the gear boxes and after reinstalling them, came up with this look.
I kinda like it better than the 100% streamlined look. After welding them in it kinda looks like pant legs.
I had a bad time with the symmetry of the smoothing, left to right.
No matter what I did, things on the right always ended up different than on the left.
After a couple hours I remembered reading a post about a dude and his motorcycle that had the same issue so I gave up on making it work, divided the hull down the spinal axis, deleted the right side and "symetried" the left side, "avg welded" the two halves and got a near perfect final image.
TY Viper! I like this smoothing thing.
Metalic finish in nVidia

Matt finish in 3Delight
I thought the matt finish looked good. Wow.
I figured out how to fortify the edges I needed square after smoothing the hull but that was after I'd created the stand alone gear boxes and installed them.
The windows came out awesome
I have a secondary hull inside the outer hull and I left it un-smoothed so it adds a cool contrast to the sexy figure of the outer hull.
After I smoothed the fuselage, I started thinking about the gear boxes and after reinstalling them, came up with this look.
I kinda like it better than the 100% streamlined look. After welding them in it kinda looks like pant legs.
I had a bad time with the symmetry of the smoothing, left to right.
No matter what I did, things on the right always ended up different than on the left.
After a couple hours I remembered reading a post about a dude and his motorcycle that had the same issue so I gave up on making it work, divided the hull down the spinal axis, deleted the right side and "symetried" the left side, "avg welded" the two halves and got a near perfect final image.
TY Viper! I like this smoothing thing.
Metalic finish in nVidia
Matt finish in 3Delight


Thank you Sir!
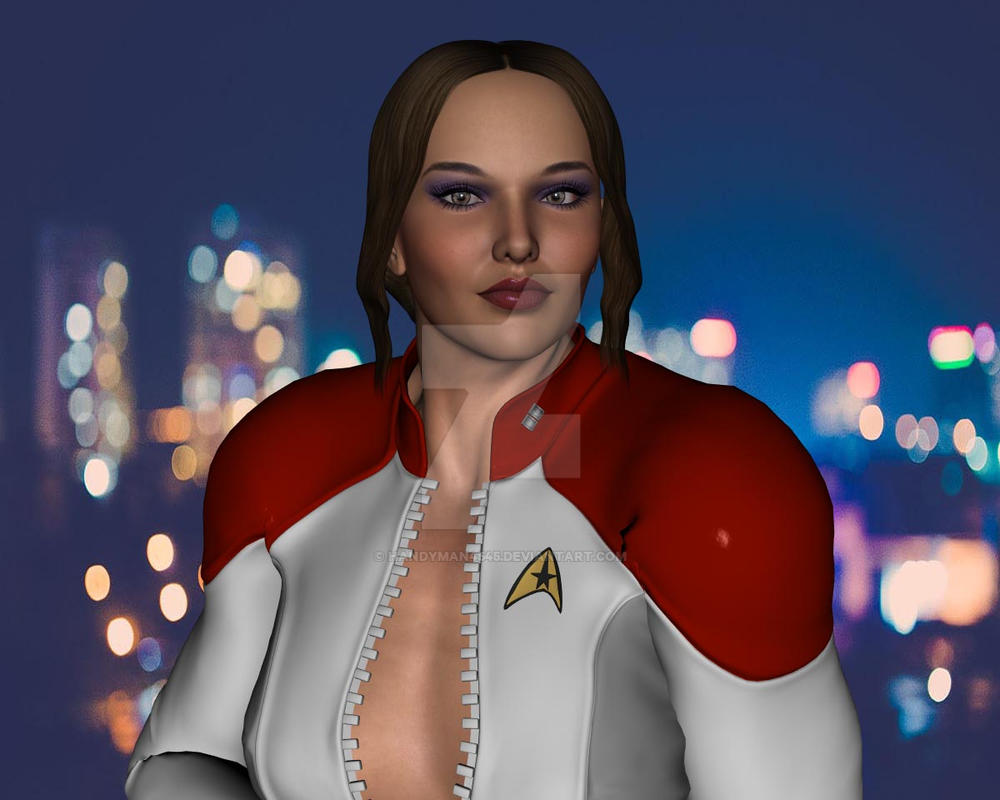
It's in my book.
I am working on a project to get the book and art online this summer. Sorta like a graphic novel but less than a comic book appearance.
Hopefully, it will be available for reading this June or July along with mucho pics!
I'm very excited about it.
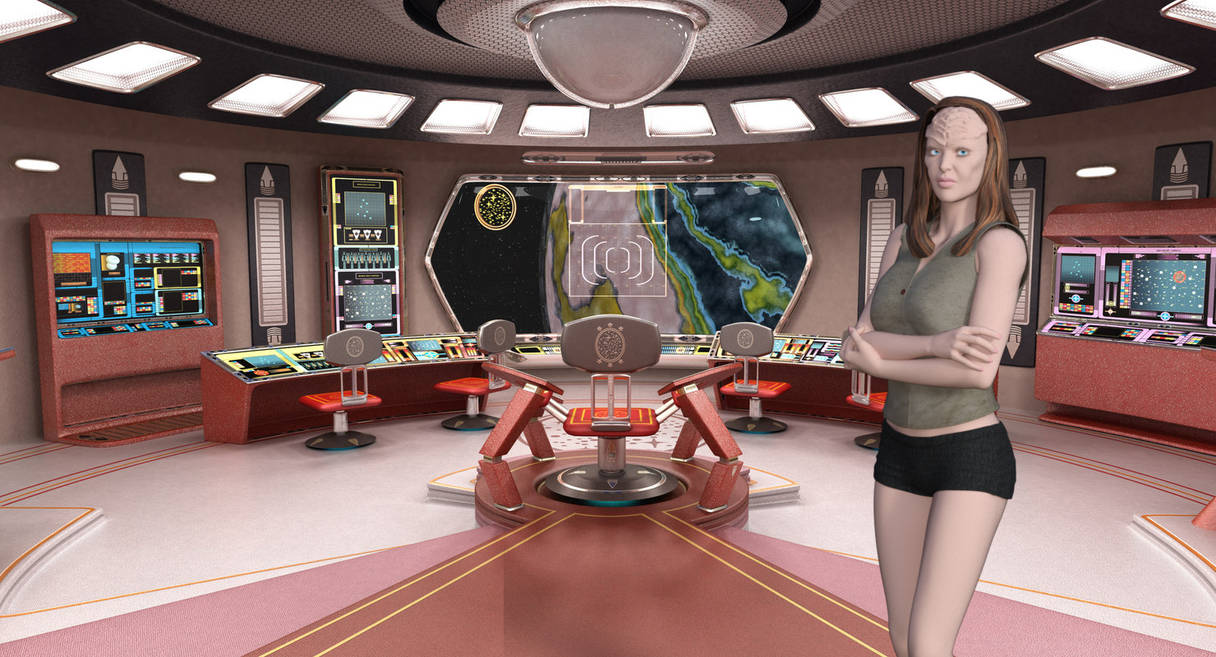
I have lcar's in the cockpit but in these pics they're not lit up.
The next series I post should have them lit up and the crew as well.
It's in my book.
I am working on a project to get the book and art online this summer. Sorta like a graphic novel but less than a comic book appearance.
Hopefully, it will be available for reading this June or July along with mucho pics!
I'm very excited about it.
I have lcar's in the cockpit but in these pics they're not lit up.
The next series I post should have them lit up and the crew as well.


Looks great! Like coloration and the ship design.
Similar threads
- Replies
- 5
- Views
- 2K
If you are not already a member then please register an account and join in the discussion!