Yeah, I do like how they look with the added lights, and they do fit in. The thing to keep in mind is that this is how it's usually done, adding more lights for people; not only in TV sets like in Trek but also even in 3D environments like animated movies and games, otherwise your environments end up being unrealistically bright. Real life environments aren't usually arranged in a way that lits up people properly and evenly across an entire room hahaha. By the way, how do you have your light bounces set up in Blender?
I guess, but what's the point of having a PBR scene if it's still going to be lit and shot pre-PBR? I suppose a virtual benefit is that with this 2nd pass you don't have to worry about the spots casting a shadow on areas you don't want to show up as you would in real-life.
 It's just impossible to get good character lighting *and* set lighting at once, whether it's in 3D or IRL.
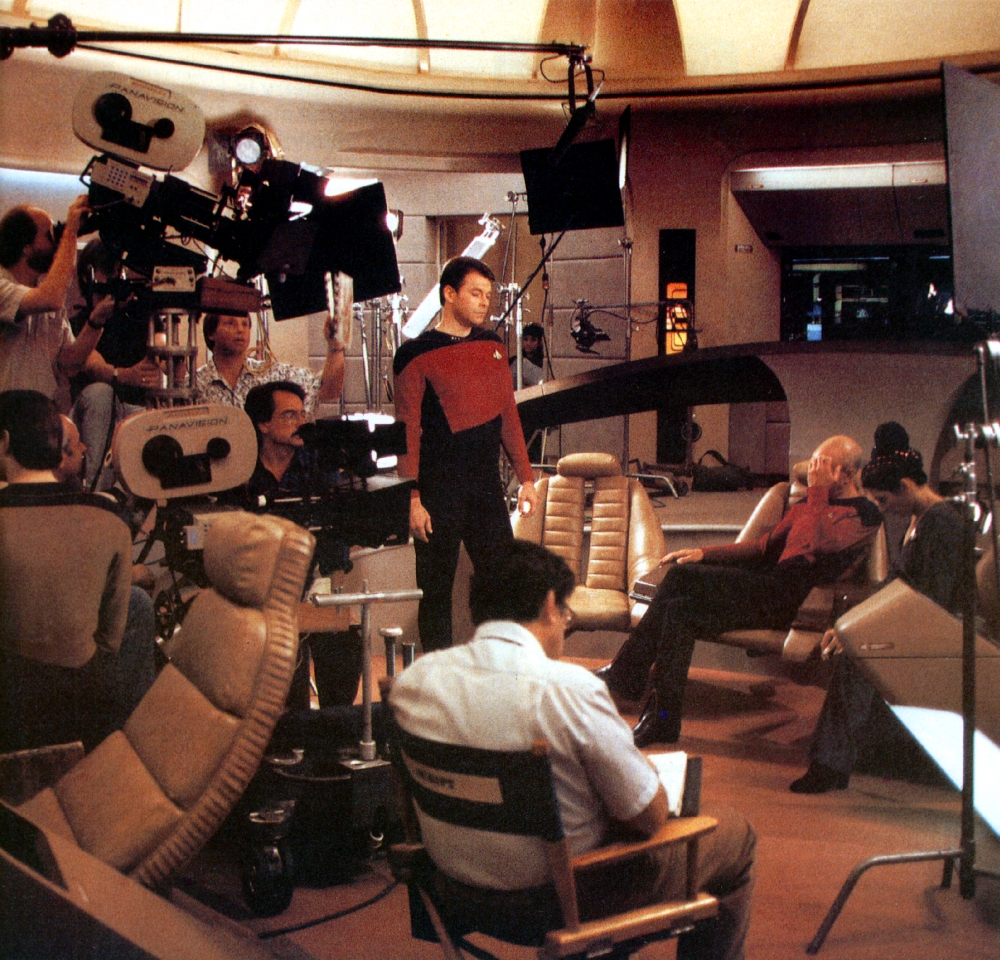


")


