-
Welcome! The TrekBBS is the number one place to chat about Star Trek with like-minded fans.
If you are not already a member then please register an account and join in the discussion!
You are using an out of date browser. It may not display this or other websites correctly.
You should upgrade or use an alternative browser.
You should upgrade or use an alternative browser.
USS Enterprise-1/1000 scale build
- Thread starter trekriffic
- Start date

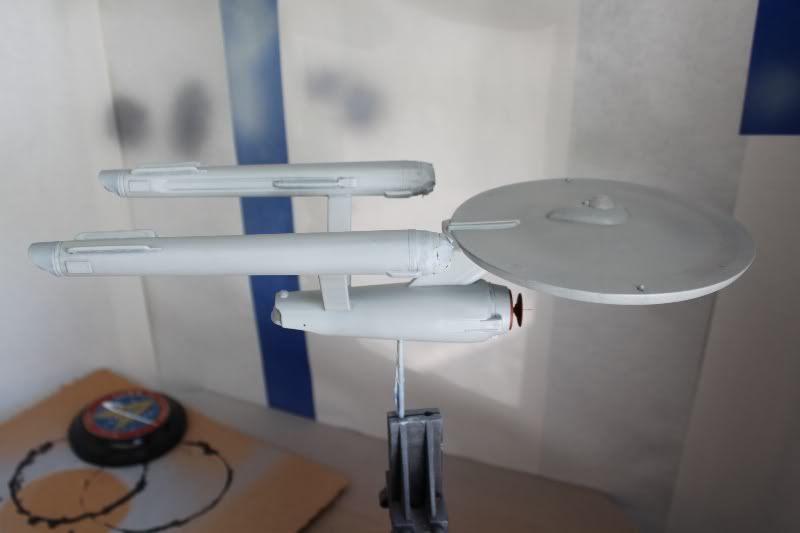
Here she is after being dirtied up with pastel chalk last night. I know, I know, it's ugly, but remember, this will be covered over with the final thinned down spray of the basecoat. The effect will be much more subtle than this when I'm done. I just had to give her some staining to look like she did on screen. I just can't seem to make one of these without weathering of some kind...
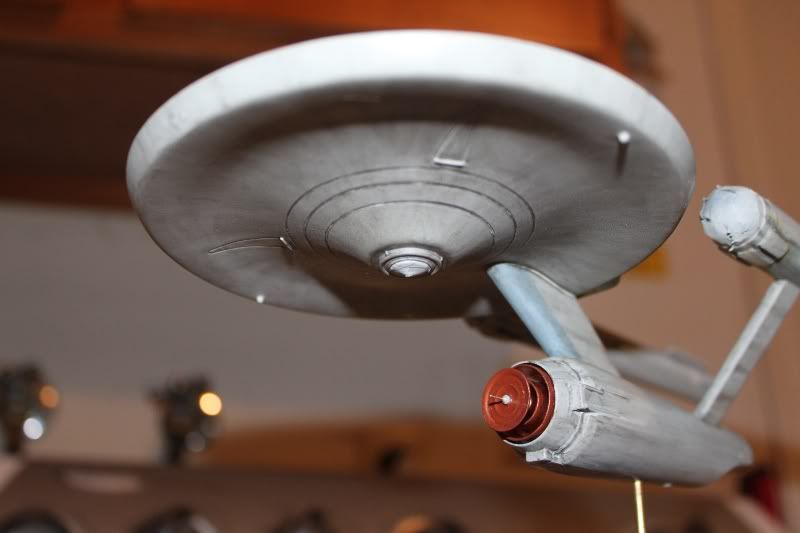
I should be able to give her her final shot of the basecoat this weekend and them I'll paint the darker grey bits.
I should be able to give her her final shot of the basecoat this weekend and them I'll paint the darker grey bits.
You'll find the grid lines also help to align the registry decals. A lot of this project looks familiar to me, but I really like your idea of making templates to draw the inner concentric grid lines, I hadn't thought of that...
--Alex
The saucer is xactly 5" in diameter, so it's easy to get a top view drawing, size it the 5" and print it out to make the template.
Hey publiusr! I didn't know you were a member here! Good to see ya!
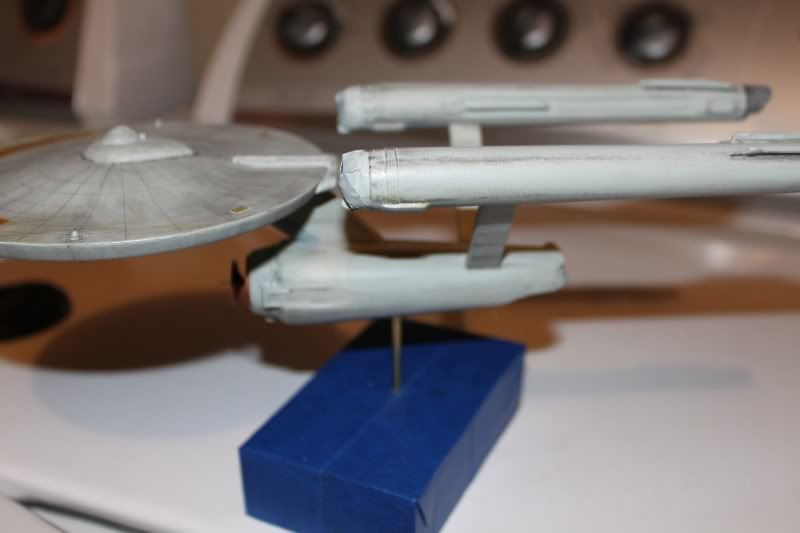
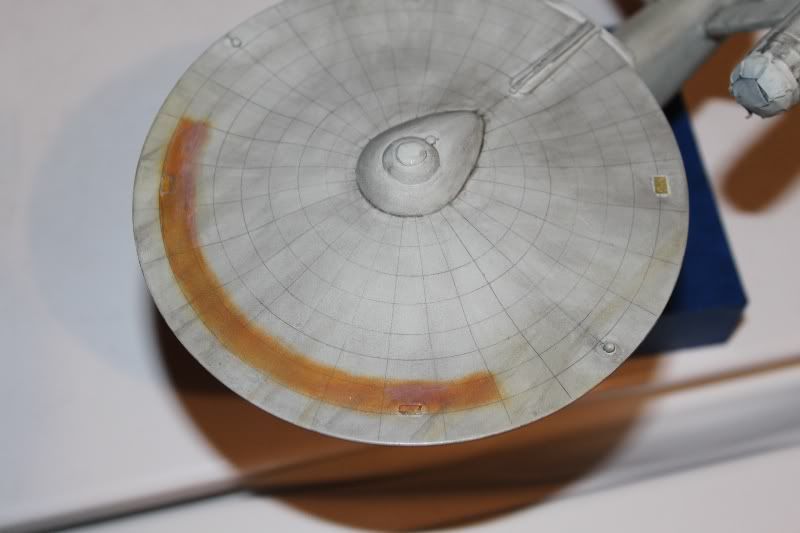
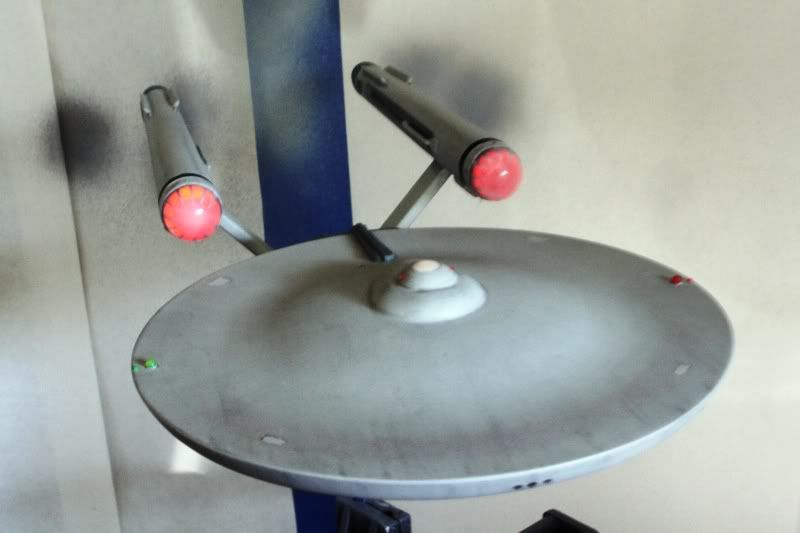
Progress from today after overspraying with thinned down basecoat. The staining/weathering is pretty subtle now for the most part. Some areas a little too much so. After it dries I'll probably give it a once over with 600 grit sanding film to restore some of the weathering in certain areas. Alternatively I've had real good luck with subtle weathering using water-based gel ink pens. By and large, I'm satisfied with the upper saucer and warp nacelles. The secondary hull and under the saucer need just a little more weathering added back; although not too much. I'll also need to go back and repaint the accent tones on the front of the dorsal and behind and underneath the bussards-the overspray really washed those areas out. This time though I'lll add a little SAC Bomber Green in addition to Azure Blue to the mix with the hull color and go lighter.
Anyway, here are the pics:
Update from this past weekend...
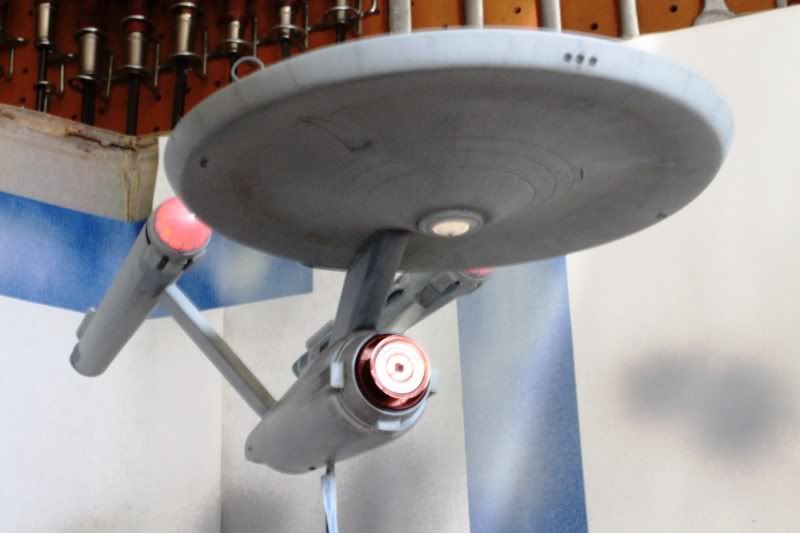
Having finished the weathering with black gel ink, attention turned to the small lights that were overlooked by Polar lights when they designed the kit.
I have seen many builds of this model kit that do not include these lights; nevertheless, they were there on the original Enterprise.
Photos of the studio model support their existence and Alan Sinclair even shows them on his blueprints.
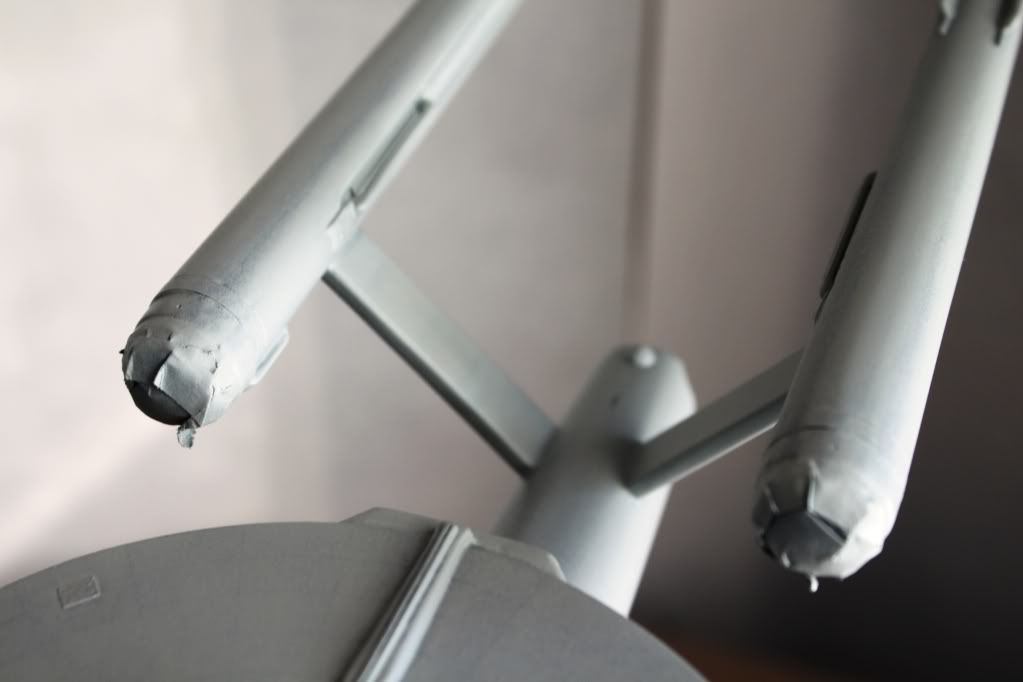
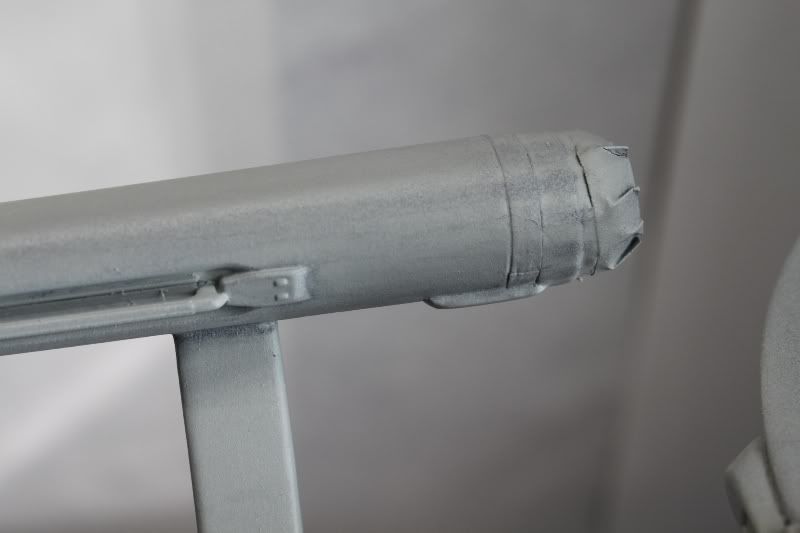
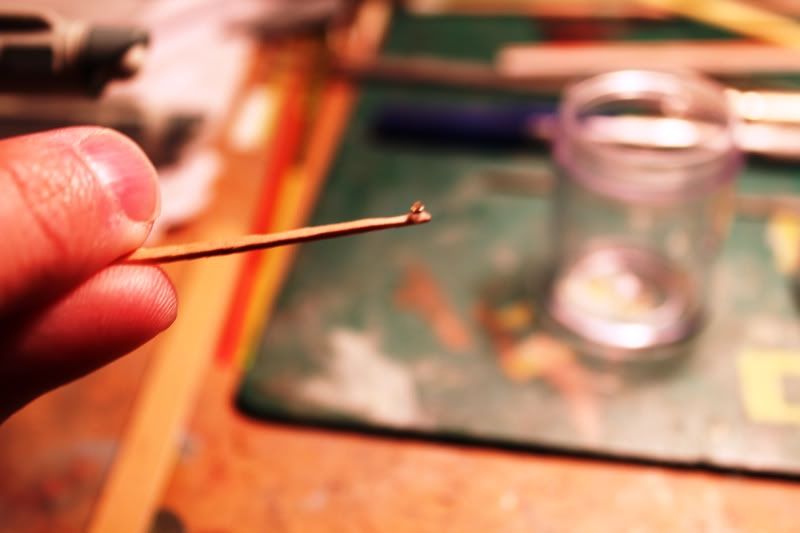
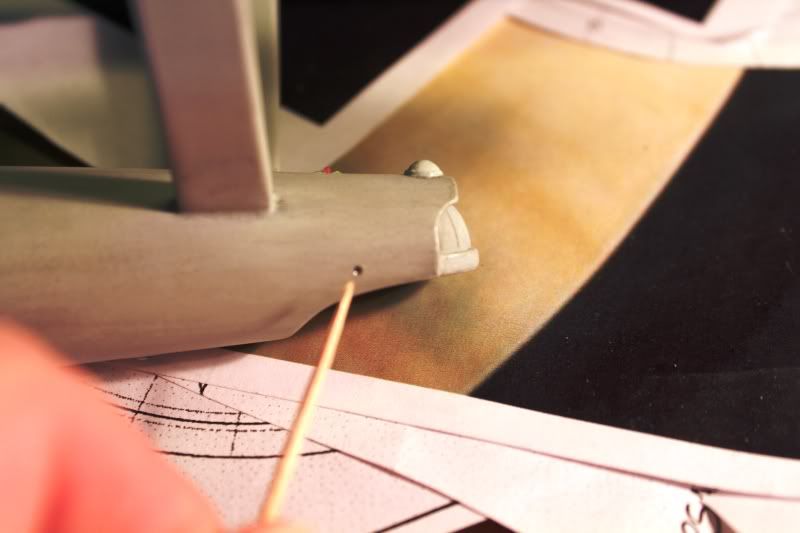
These are incredibly tiny "bits" (as the Brits would say) in this scale and the work involved drilling tiny mounting holes with a pinvise and turning red, green, and clear acrylic rod on the dremel to the smallest of diameters using a scribing tool, needle files, and sanding sticks.
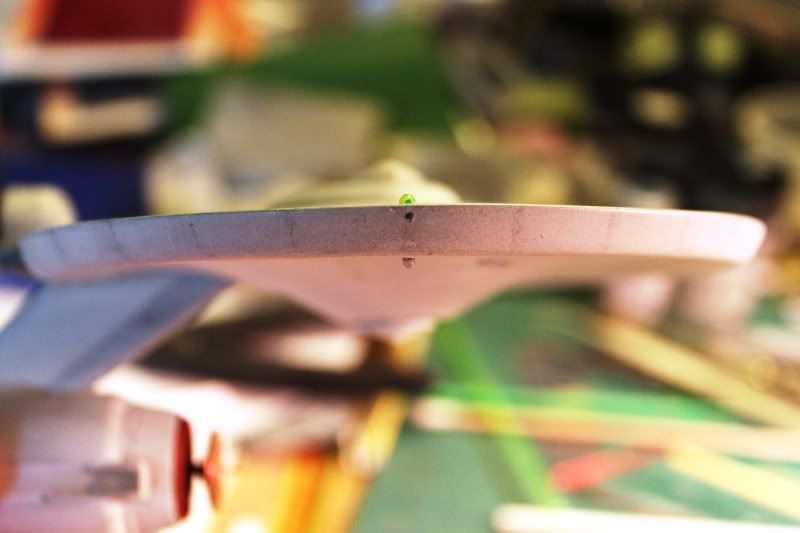
In the case of the tiny lights on the upper saucer rim located outboard of the main flashing formation lights, the plastic was filed and sanded to a teardrop shape before being cut from the rod with an Xacto knife and glued in place with CA.
Anyway, here are the pics...
Bridge dome lights:
These tiny lights are actually conical in shape and they light up very well on my model.
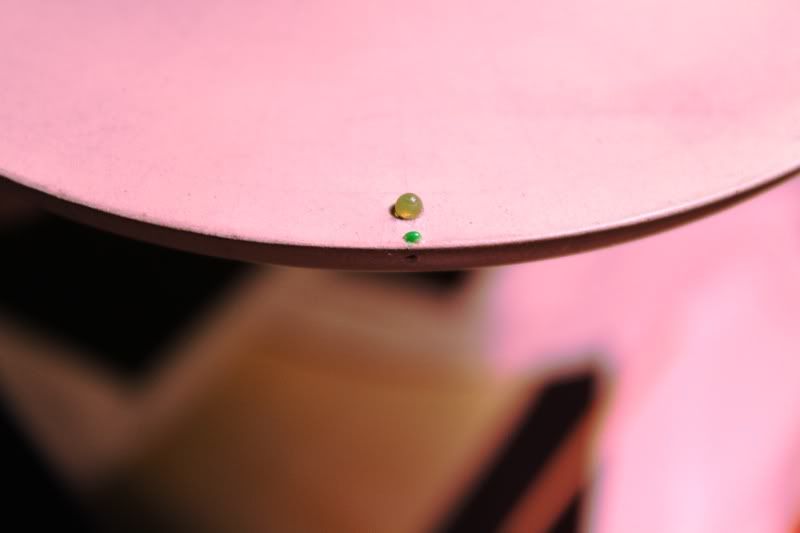
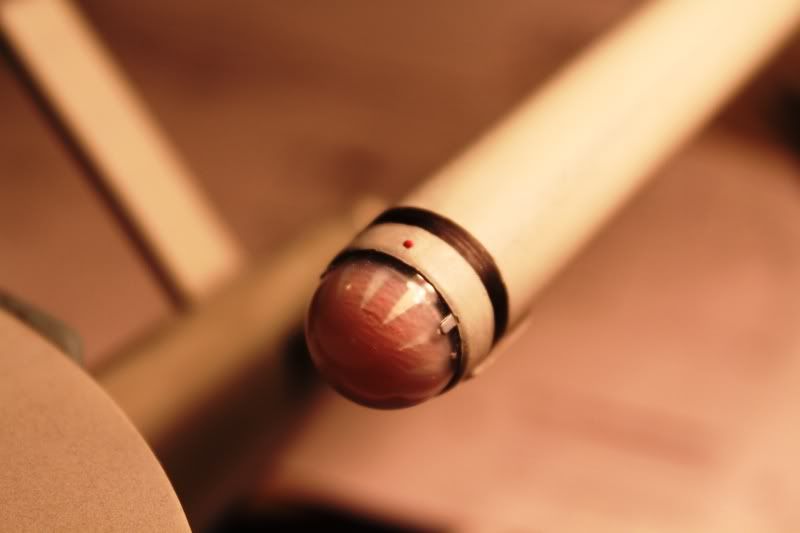
Spine lights over the hangar bay:
The outer tinier lights are greenish yellow and the center red light sticks up higher than you would expect.
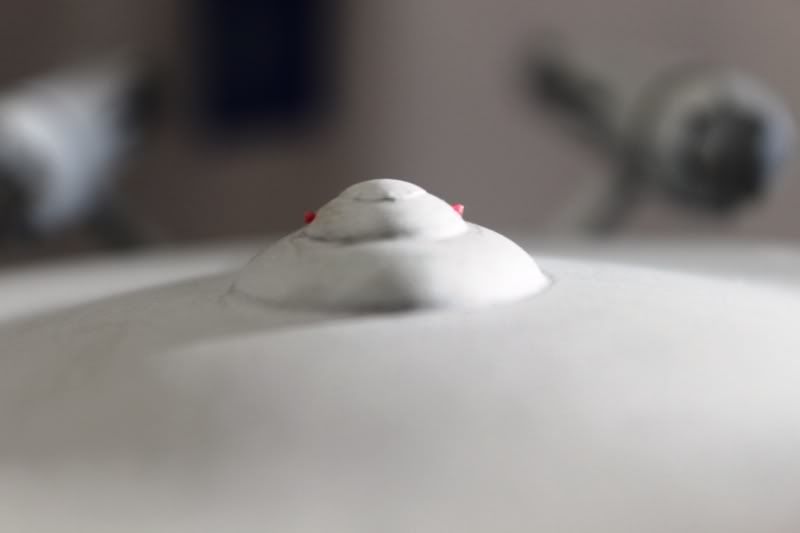
Port and starboard saucer lights next to the rim:
These are teardrop shaped. Once in place a tiny brush was used to apply Testors Neon Red and Green enamel.
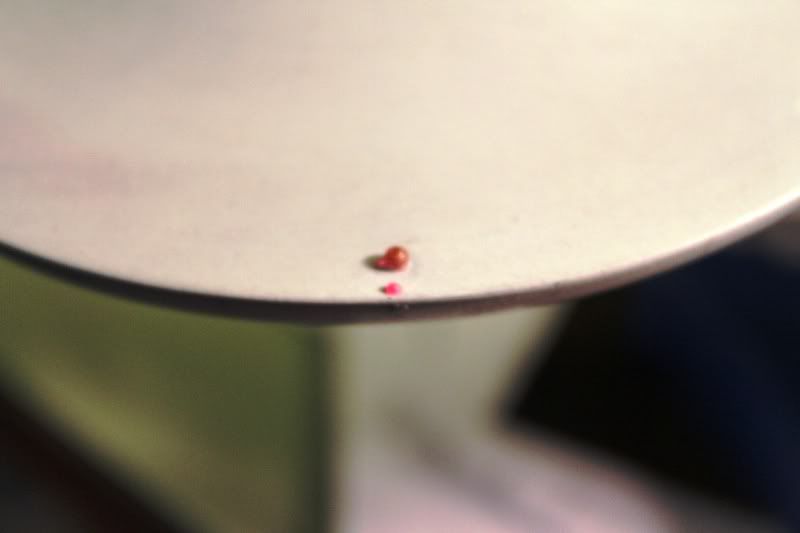
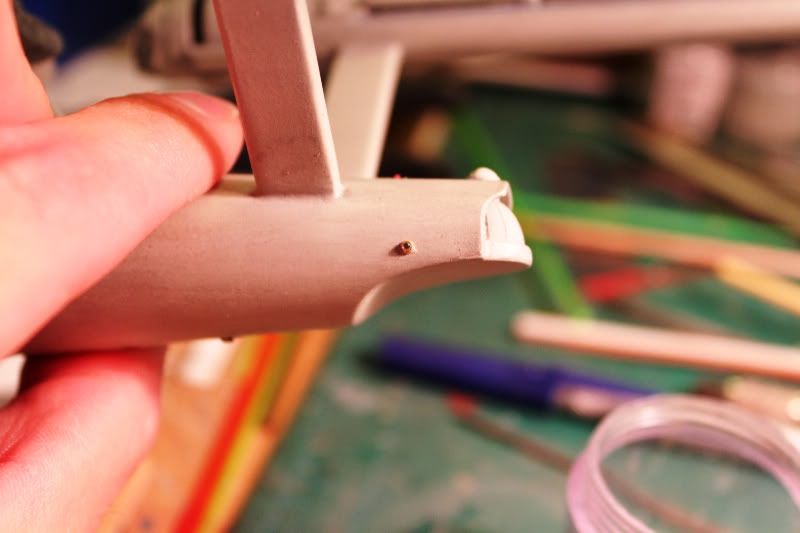
Outer rim lights on the saucer rim itself:
These don't light up so I'll paint them white.
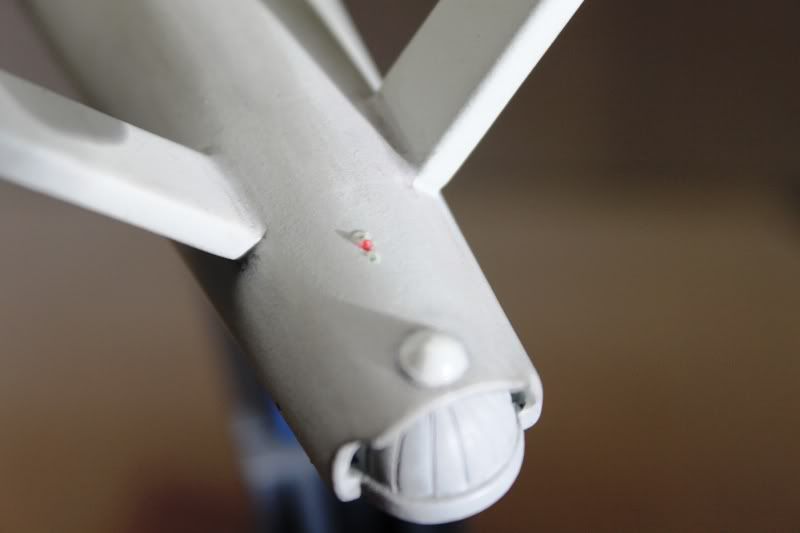
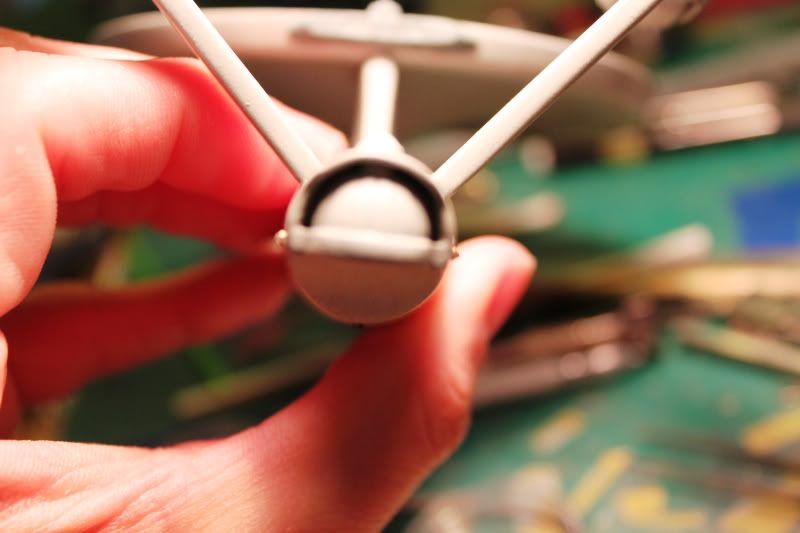
Nacelle bussard collar lights:
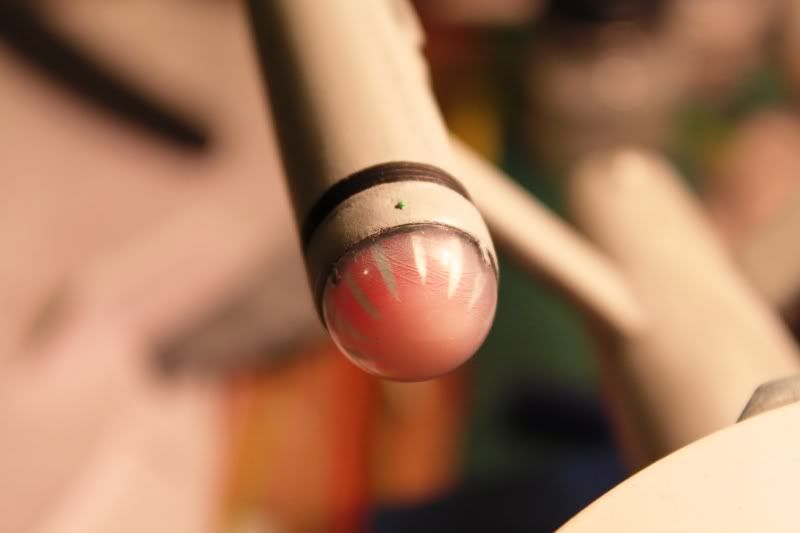
Without a doubt the most overlooked lights on the Enterprise. Apparently not even lit on the studio model; mine, however, are lit.
So, purists could say my build is not 100% accurate to the original, but... I don't listen to rivet counters much...
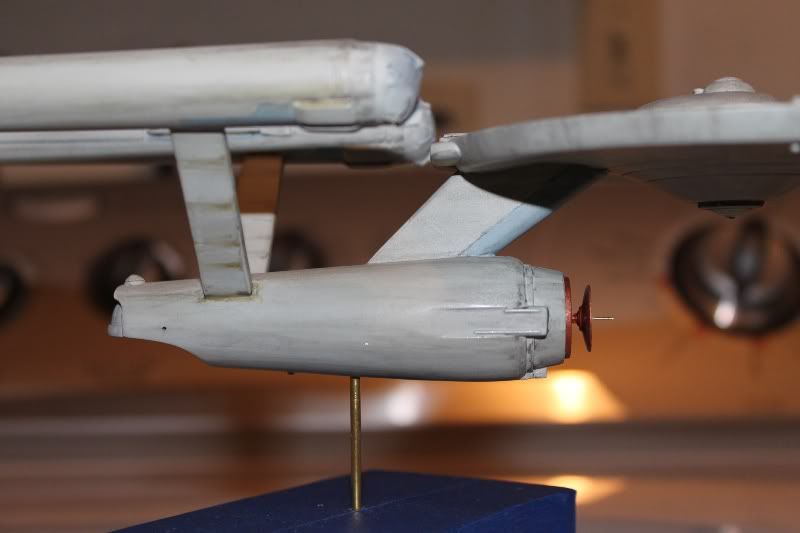
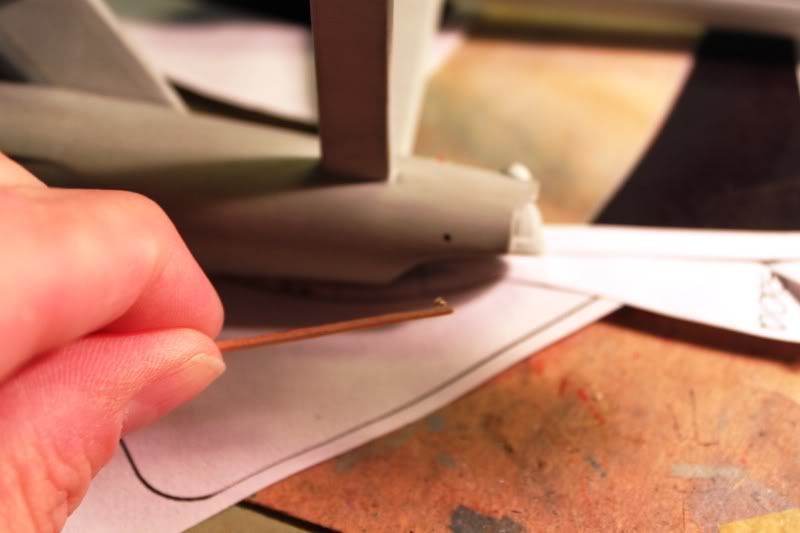
This sequence of photos shows how I installed the stern hangar bay warning strobe lights which I made from acrylic rod and brass tubing some weeks back prior to painting the hull...
Soft wax adhesive is smeared on the tip of a flat toothpick and used to hold the strobe:
A round toothpick is used to insert Testors styrene cement into the hole on each side of the hull:
The strobe light is placed into the mounting hole:
Strobes installed:
These are not lit on my model, in fact, none of the lights in the engineering hull are lit; however, on my next build of this kit (the Defiant) I'll be using a 9 volt external battery which will give me more room (and a larger power budget) to play with lighting for the secondary hull. It would be great if I could have these light flash.
So that's it for the tiny lights.
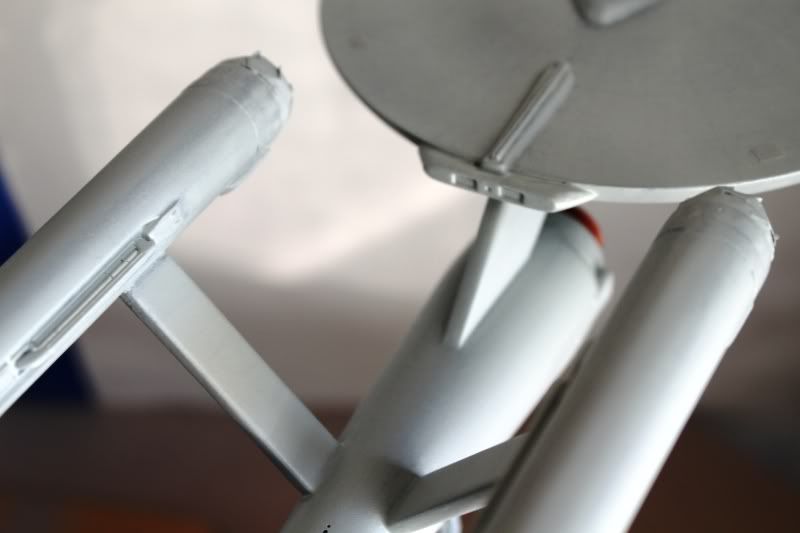
The next thing I did was finish the spike on the deflector dish which had been replaced at the start of this build with brass rod. I had glued the tiny plastic tip from the kit spike (it's shaped like the mouth of a bugle with a ball in it's throat) to the end of the brass wire with CA. This was extremely delicate work as you can imagine and not something I would look forward to doing twice so... of course, the tip broke off when I was in the midst of painting and weathering the hull and flew off into the garage never to be found again. I was prepared to scavenge a new tip form one of my other 3 unbuilt 1/1000 kits but, after some thought, I decided a better fix would be to make the new tip from brass which i did using my dremal and brass tubing. So using my scribing tool I shaped a conical collar which fit right over the brass wire and stayed put with CA. I just need to make the little ball for the tip now. I'll probably make it from Tamiya epoxy putty and stick it onto the spike followed by some thin CA for added strength after it dries.:

I'll post some pics of the ship as she stands now.
Next up will be glosscoting and decaling.
Having finished the weathering with black gel ink, attention turned to the small lights that were overlooked by Polar lights when they designed the kit.
I have seen many builds of this model kit that do not include these lights; nevertheless, they were there on the original Enterprise.
Photos of the studio model support their existence and Alan Sinclair even shows them on his blueprints.
These are incredibly tiny "bits" (as the Brits would say) in this scale and the work involved drilling tiny mounting holes with a pinvise and turning red, green, and clear acrylic rod on the dremel to the smallest of diameters using a scribing tool, needle files, and sanding sticks.
In the case of the tiny lights on the upper saucer rim located outboard of the main flashing formation lights, the plastic was filed and sanded to a teardrop shape before being cut from the rod with an Xacto knife and glued in place with CA.
Anyway, here are the pics...
Bridge dome lights:
These tiny lights are actually conical in shape and they light up very well on my model.
Spine lights over the hangar bay:
The outer tinier lights are greenish yellow and the center red light sticks up higher than you would expect.
Port and starboard saucer lights next to the rim:
These are teardrop shaped. Once in place a tiny brush was used to apply Testors Neon Red and Green enamel.
Outer rim lights on the saucer rim itself:
These don't light up so I'll paint them white.
Nacelle bussard collar lights:
Without a doubt the most overlooked lights on the Enterprise. Apparently not even lit on the studio model; mine, however, are lit.
So, purists could say my build is not 100% accurate to the original, but... I don't listen to rivet counters much...
This sequence of photos shows how I installed the stern hangar bay warning strobe lights which I made from acrylic rod and brass tubing some weeks back prior to painting the hull...
Soft wax adhesive is smeared on the tip of a flat toothpick and used to hold the strobe:
A round toothpick is used to insert Testors styrene cement into the hole on each side of the hull:
The strobe light is placed into the mounting hole:
Strobes installed:
These are not lit on my model, in fact, none of the lights in the engineering hull are lit; however, on my next build of this kit (the Defiant) I'll be using a 9 volt external battery which will give me more room (and a larger power budget) to play with lighting for the secondary hull. It would be great if I could have these light flash.
So that's it for the tiny lights.
The next thing I did was finish the spike on the deflector dish which had been replaced at the start of this build with brass rod. I had glued the tiny plastic tip from the kit spike (it's shaped like the mouth of a bugle with a ball in it's throat) to the end of the brass wire with CA. This was extremely delicate work as you can imagine and not something I would look forward to doing twice so... of course, the tip broke off when I was in the midst of painting and weathering the hull and flew off into the garage never to be found again. I was prepared to scavenge a new tip form one of my other 3 unbuilt 1/1000 kits but, after some thought, I decided a better fix would be to make the new tip from brass which i did using my dremal and brass tubing. So using my scribing tool I shaped a conical collar which fit right over the brass wire and stayed put with CA. I just need to make the little ball for the tip now. I'll probably make it from Tamiya epoxy putty and stick it onto the spike followed by some thin CA for added strength after it dries.:
I'll post some pics of the ship as she stands now.
Next up will be glosscoting and decaling.
Last edited:
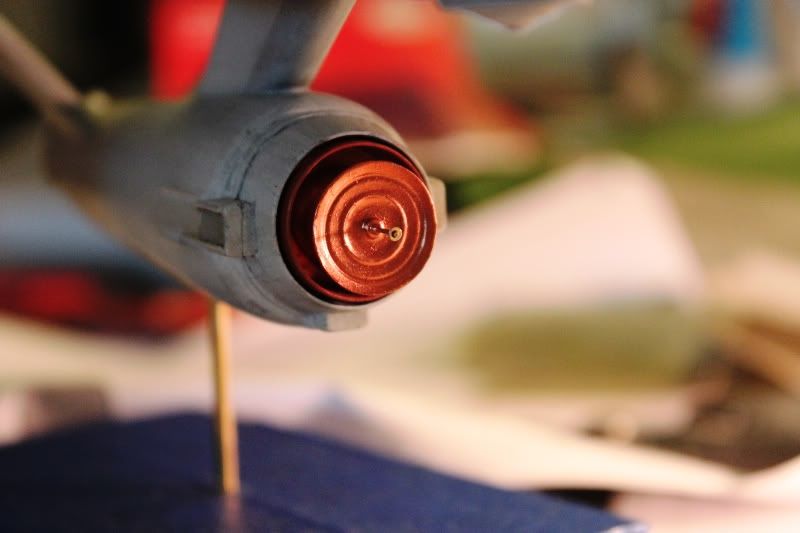
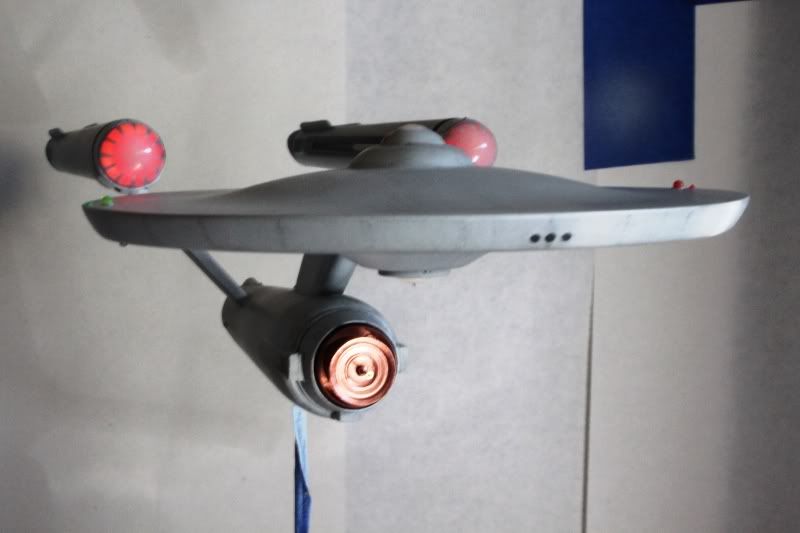
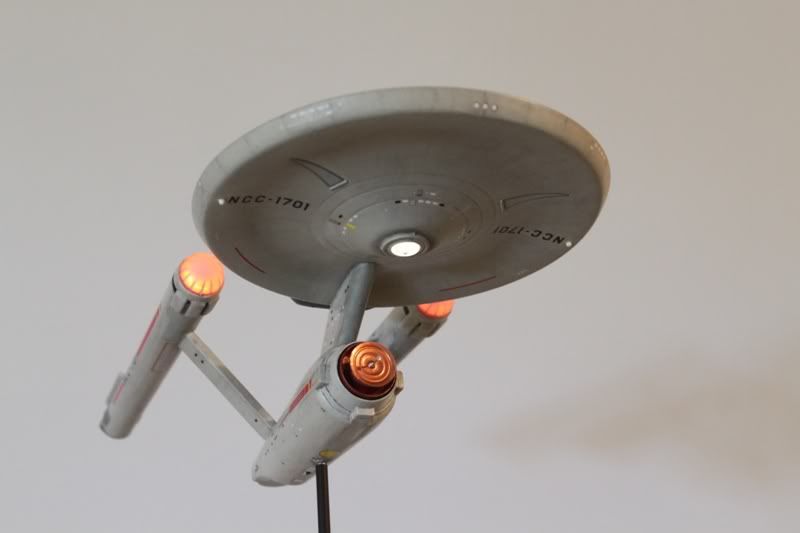
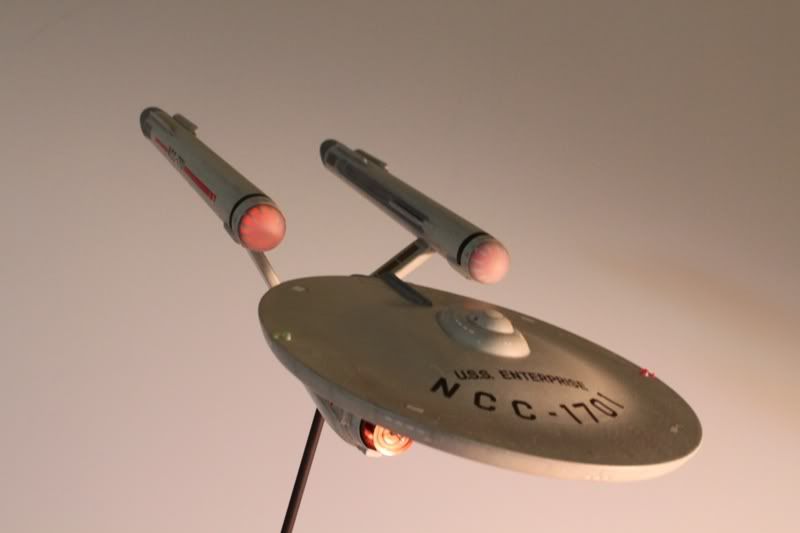
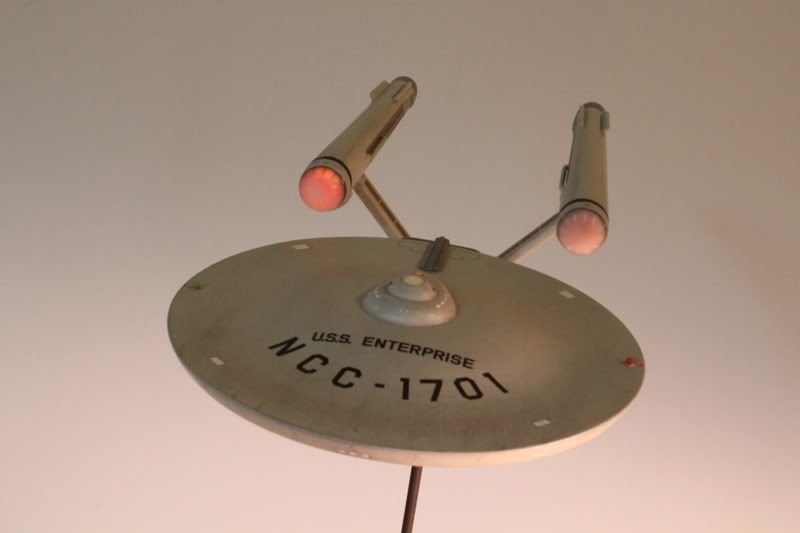
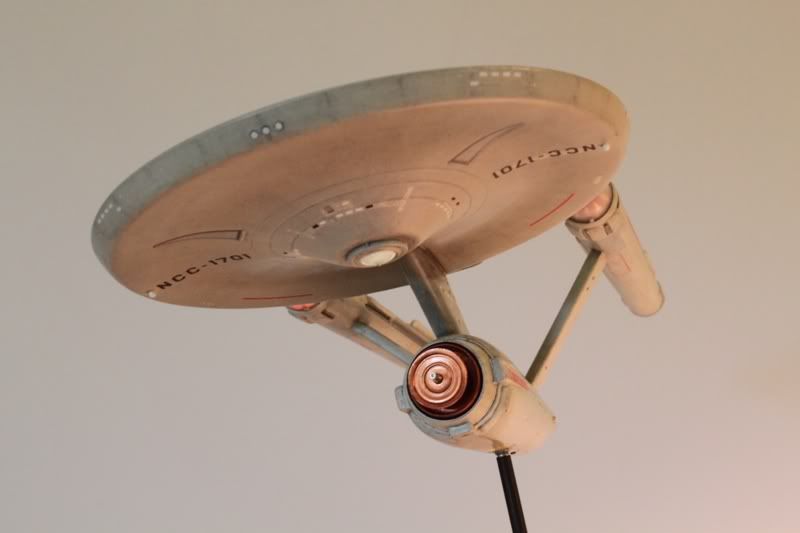
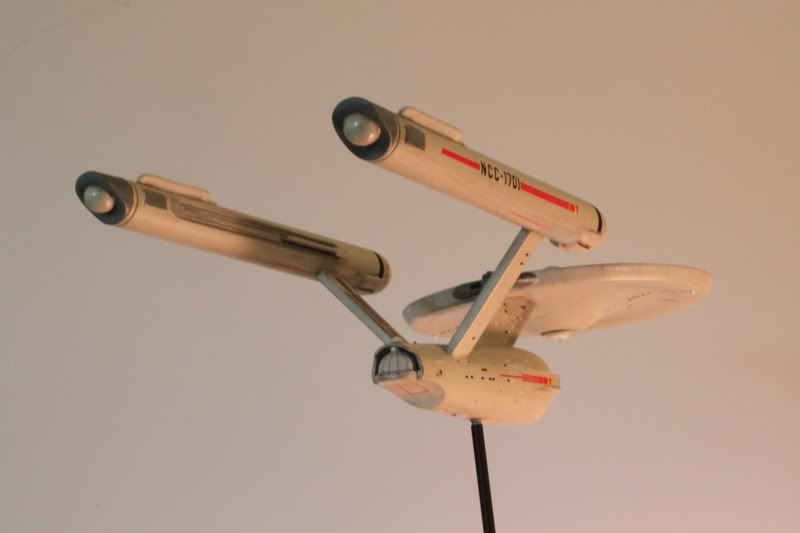
Here are some pics of her as she is right now...ready for glosscote and decals...
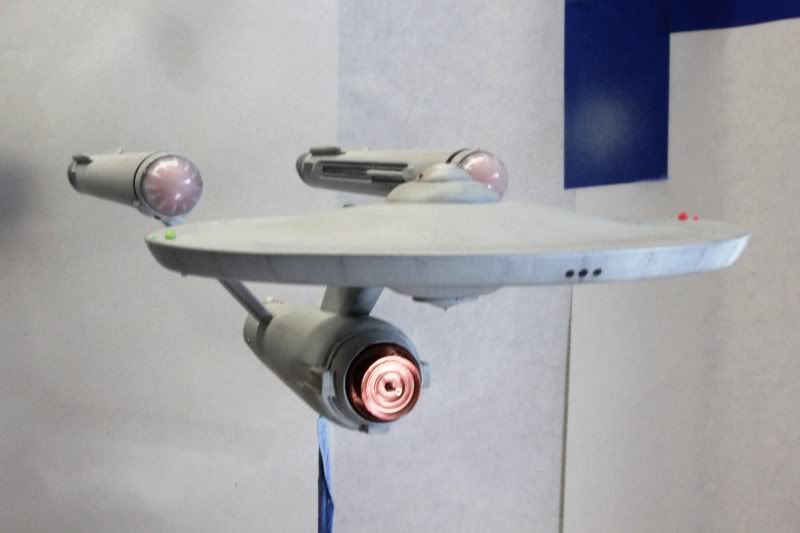
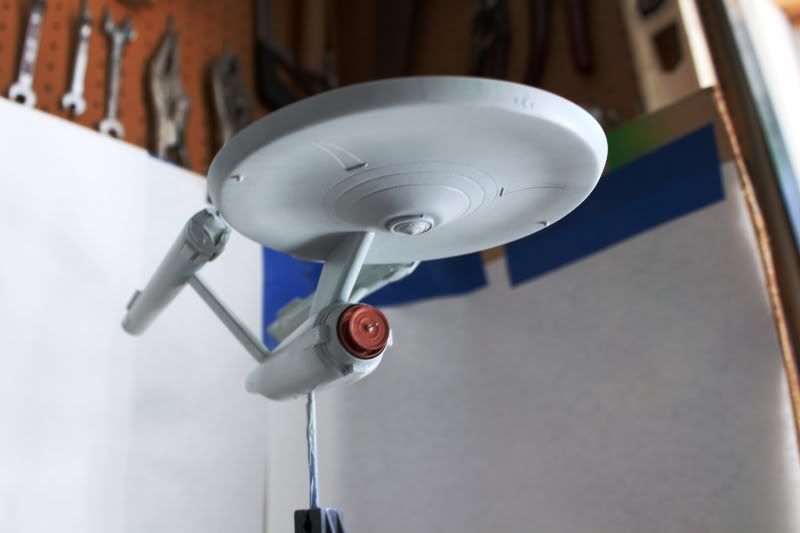
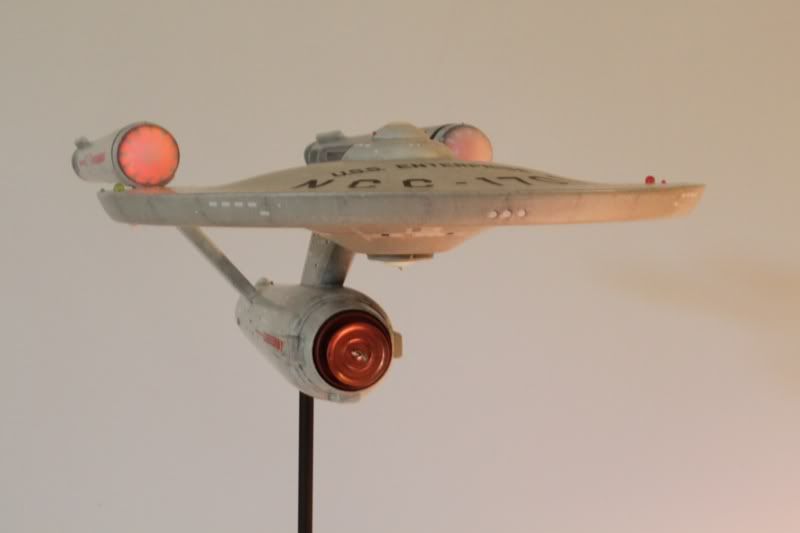
Lit up!
Before I spray the glosscote though I'm seriously considering giving her a rubdown with model wax.
Most car modellers will know what I'm talking about as it's used primarily to give shine to car model finshes.
It gives an ultra smooth (slippery in fact) finish and also deepens the color a shade.
I used it on the 18 incher and really liked the results.
Last edited:
Thanks Alex!
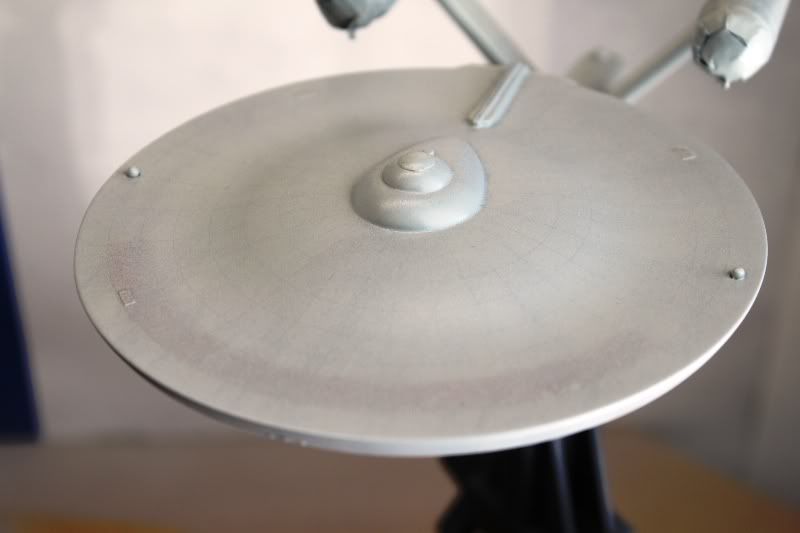
Gave her a rub down and polish with Model Wax last night. She came out nice and slick to the touch and maybe a tiny bit darker but not much. It also seems that the weathering is a bit more muted than before which is fine too. I should spray her with Glosscote tonight and then I'll apply decals over the weekend.
First I'm going to mask the engine domes again. I want the domes to stay clean.
I'll also put the masking tape "hat" back over the deflector dish array. I like the metallic sheen it has.
I figure if there's on thing on the ship that would stay clean it would be the deflector dish since it should always be on unless the ship was stationary. Being on, there should be no dust or grime getting thru the deflector field to stain it.
My theory on the stains you see on the hull are they are mostly caused by heat from the few ocassions when the ship has entered a planet's atmosphere. My opinion, but, I doubt the deflector dish would have any ability to block heat from reaching the hull since heat is not a particle.
Last edited:
Good question YARN. The thing about this model is there really aren't that many areas of fine detail that you need to worry about. The ones I can think of are the grills in the nacelle slots which I painted prior to priming with metalizer paints. They stayed masked off thru succesive paint coats so there was no danger of filling in. Other fine details would be the crosshatching on the rear intercoolers on the top rear of the nacelles which I attached after priming so they only got one coat of the basecolor on them. Where I did get some fill in was the grills on either side of the secondary hull aft of the main deflector housing foreward of the red ship's insignia marking yet, even with 3 coats of paint, when I applied the final accent of Light Ghost Gray you could just barely make out the grill work underneath so it was a minor issue for me. As far as preserving sharp edges it helps to sand lightly between coats.
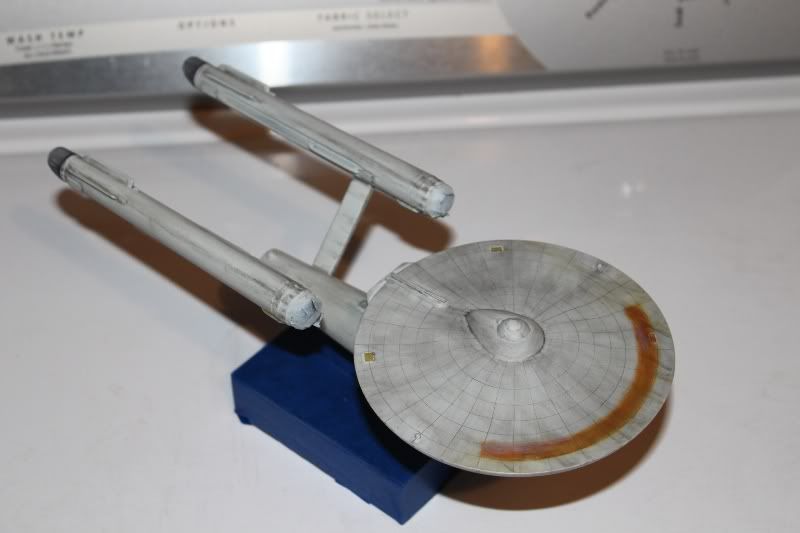
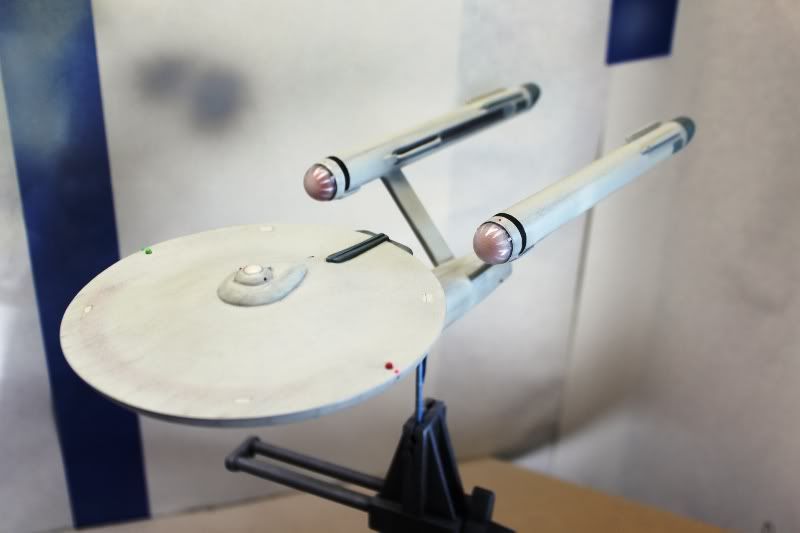
Well here are the finished pics after decaling and several coats of Dullcote and a brushed on layer of Floquil Flat Finish from the bottle:
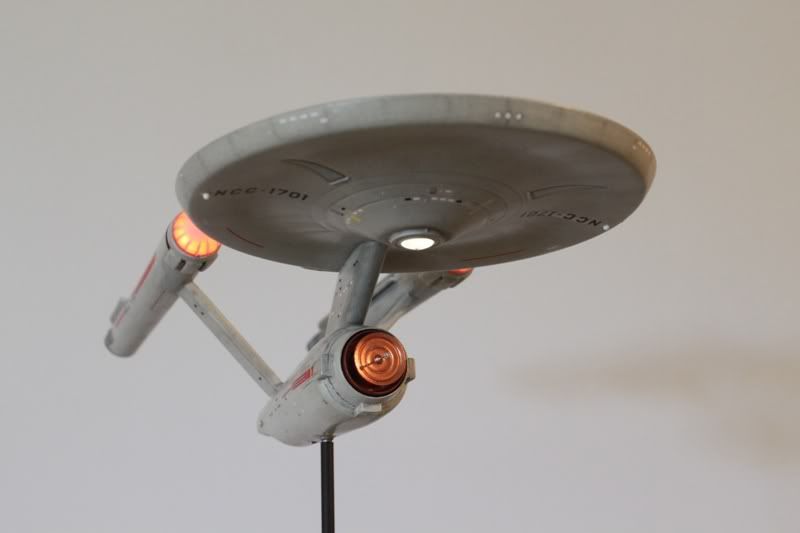
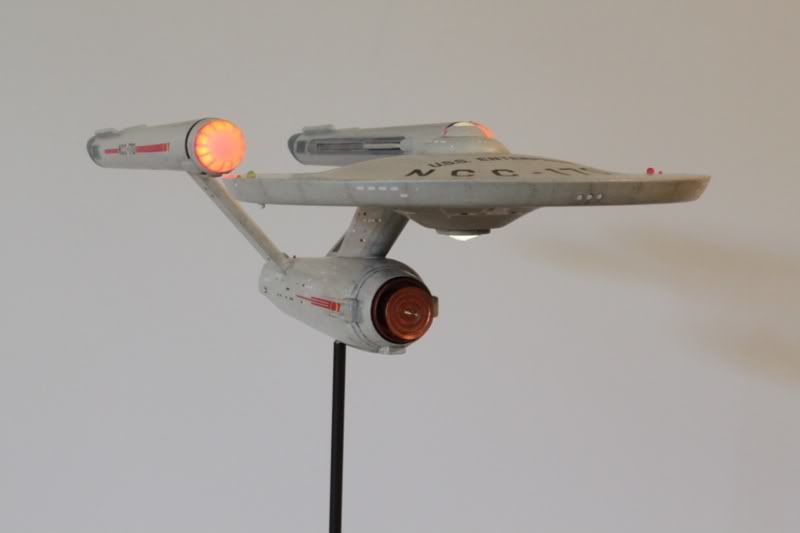
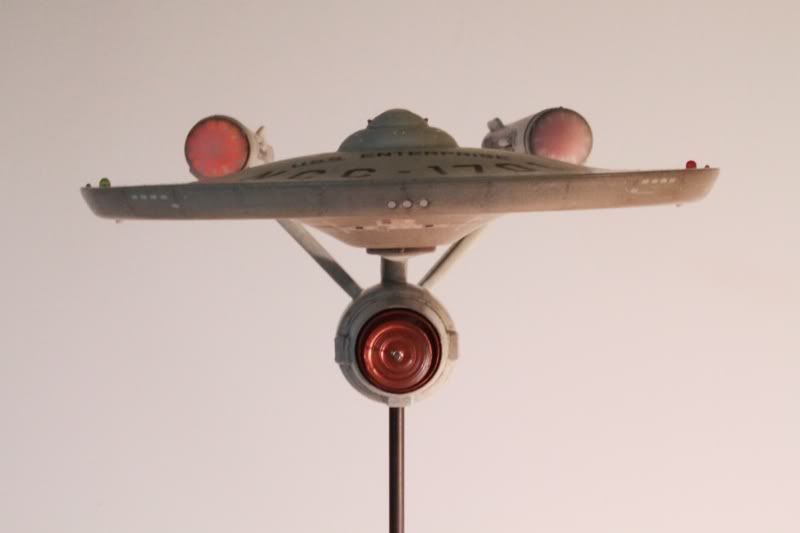
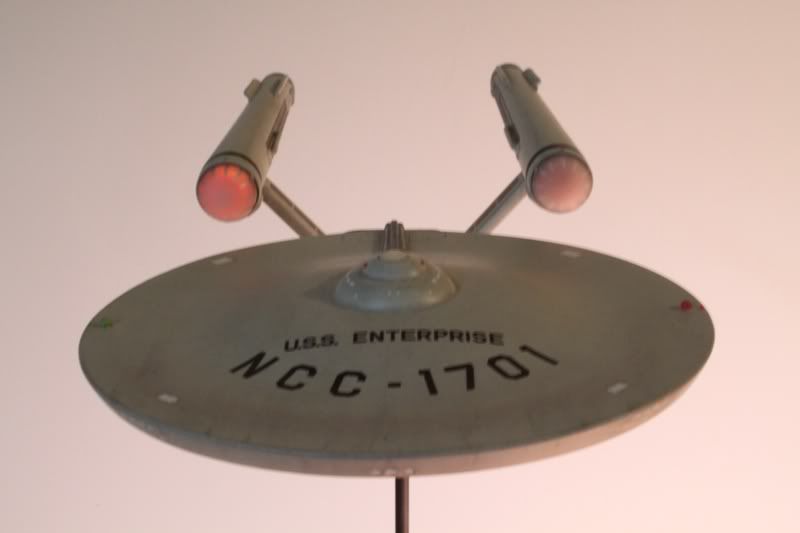
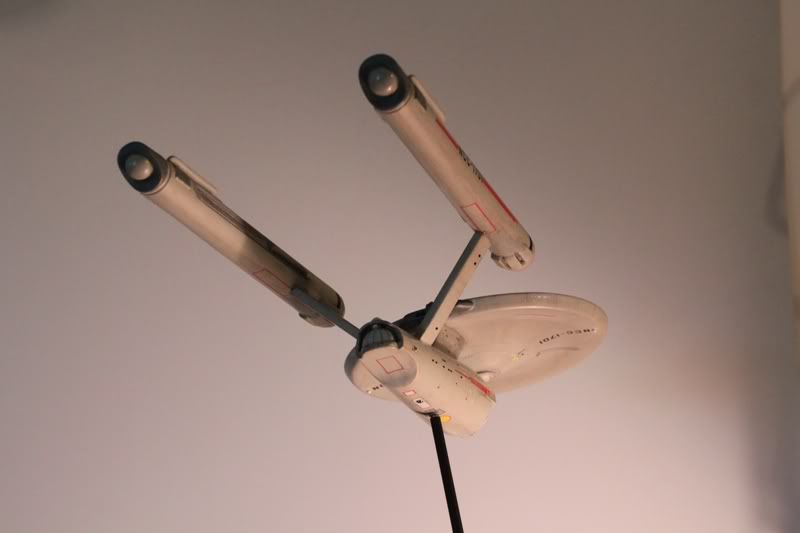
Here are some pics on the base...

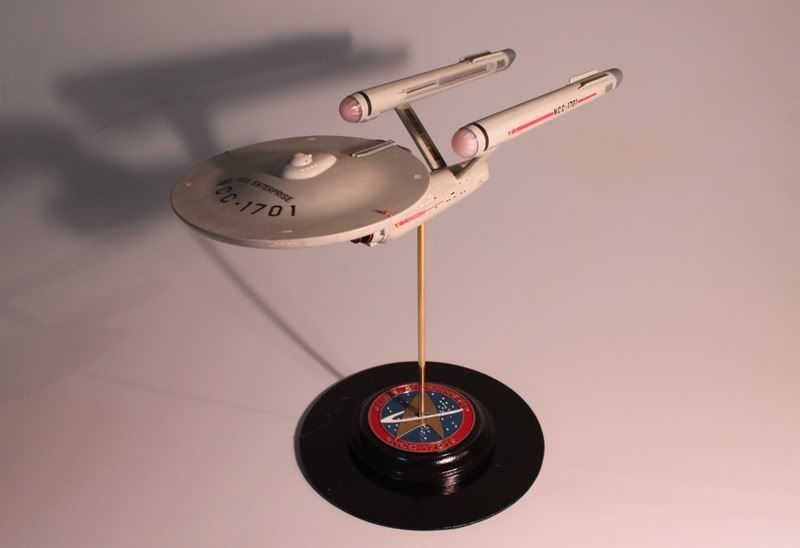
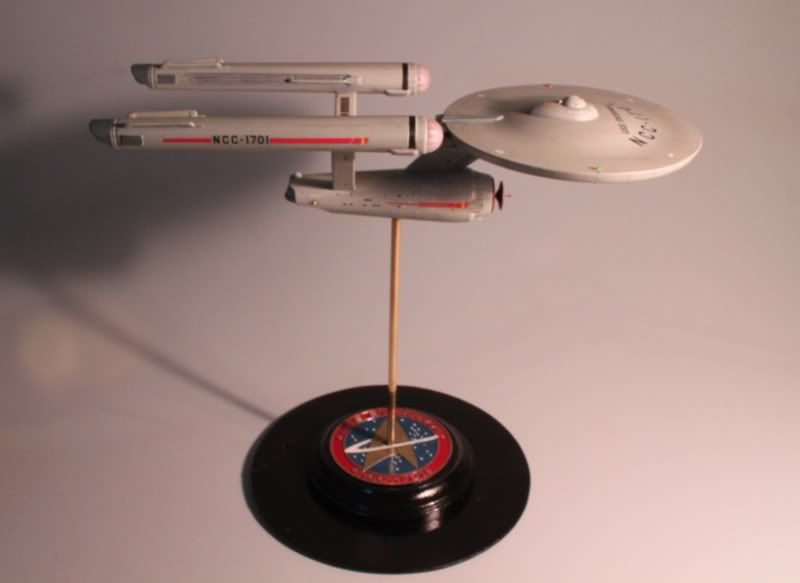
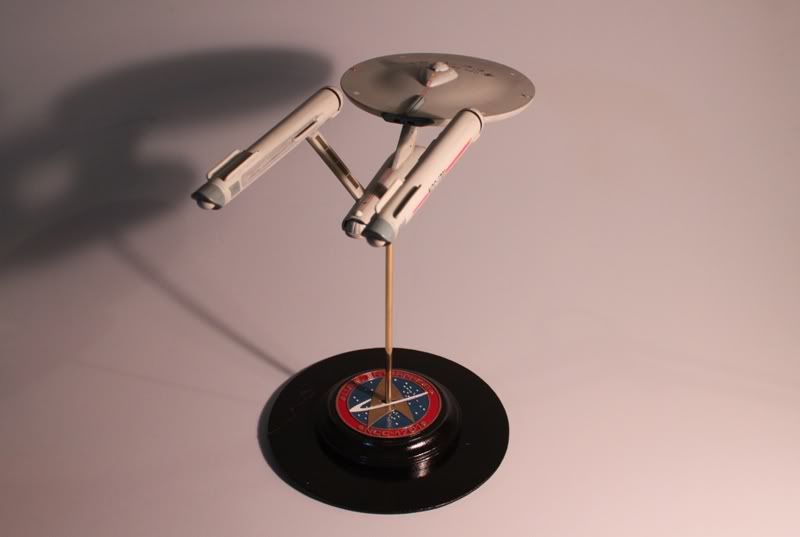
I have some more I'll post later of her in orbit.
Here are some pics on the base...
I have some more I'll post later of her in orbit.
")

Very nice 
I see you got some silvering in the decals. I have yet to see one of these where the decals looked quite right. Even on my builds of it.
Don't misread me, this is easily the best buiild up of this kit I've ever seen. I was curious to your approach to the markings, but i guess it just proves the decals are a bit wonky as manufactured by PL.
Gorgeous work, though. Like I said, best one I've seen to date.
--Alex
Don't misread me, this is easily the best buiild up of this kit I've ever seen. I was curious to your approach to the markings, but i guess it just proves the decals are a bit wonky as manufactured by PL.
Gorgeous work, though. Like I said, best one I've seen to date.
--Alex
Similar threads
- Replies
- 482
- Views
- 60K
- Replies
- 0
- Views
- 287
- Replies
- 5
- Views
- 12K
- Replies
- 23
- Views
- 12K
If you are not already a member then please register an account and join in the discussion!