-
Welcome! The TrekBBS is the number one place to chat about Star Trek with like-minded fans.
If you are not already a member then please register an account and join in the discussion!
You are using an out of date browser. It may not display this or other websites correctly.
You should upgrade or use an alternative browser.
You should upgrade or use an alternative browser.
The Prime Alternative
- Thread starter MadMan1701A
- Start date
- Status
- Not open for further replies.


Cool, glad you got some time off. ")
-Ricky
-Ricky
That's cool.
As soon as I get caught up, I'll definitely get those those things done. When I started taking orders, I never imagined I would be as busy as I am.
-Ricky
As soon as I get caught up, I'll definitely get those those things done. When I started taking orders, I never imagined I would be as busy as I am.
-Ricky
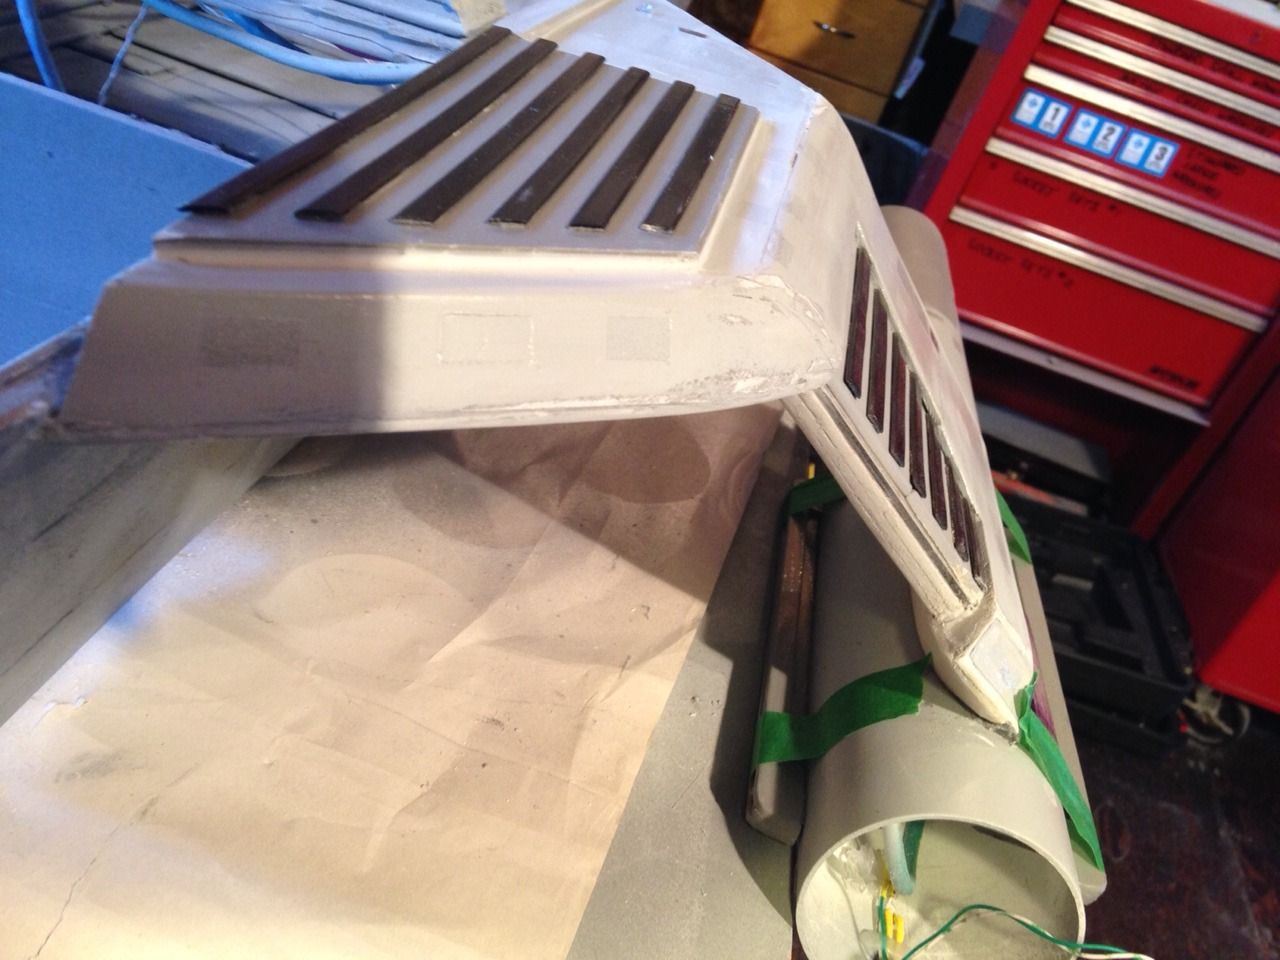
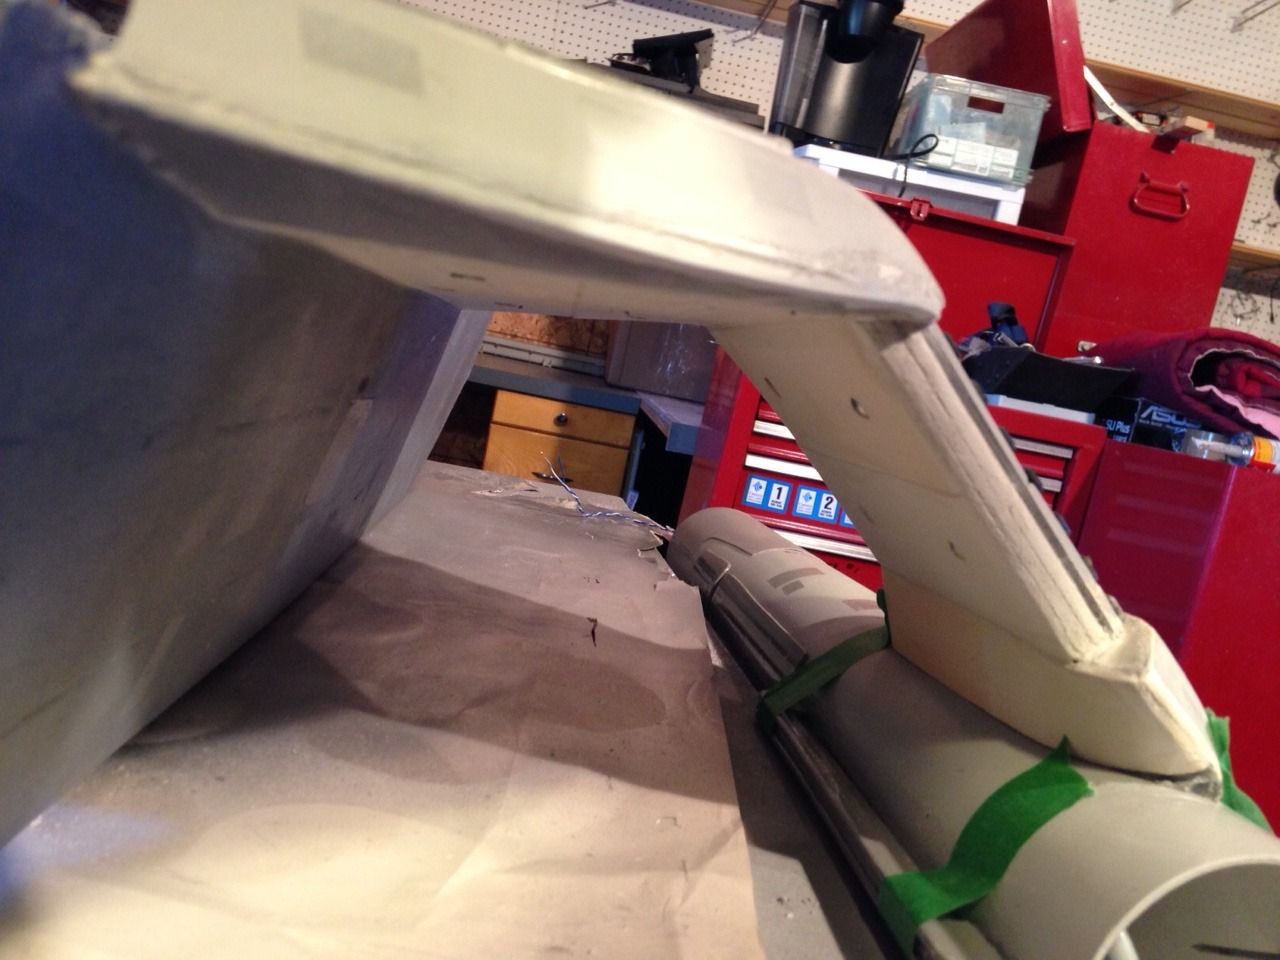
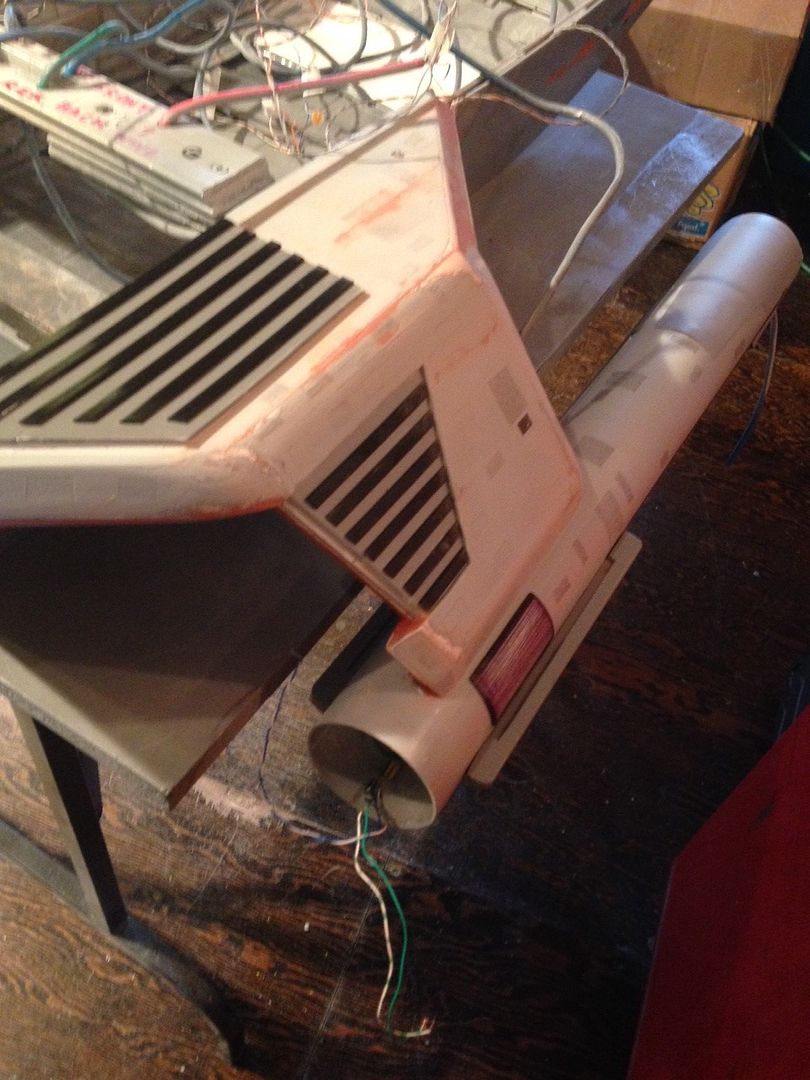
Summers over and fall is upon us. I have managed to sneak back into the hobby room a couple times. I have decided to redo some of the features on the wings to help strengthen it. Every time I place it on the table on top of the engines, the filler cracks and falls out...too much flex. So I am going to give it a bit more strength and get the bottom of the one wing done before I start on the second wing. Get the kinks worked out before the insides are covered. Unfortunately the paint on the wings will have to be redone as well, but its for the best I think. Quick shot of the repair work.


Very cool... I hope the extra supports work out.
-Ricky
-Ricky
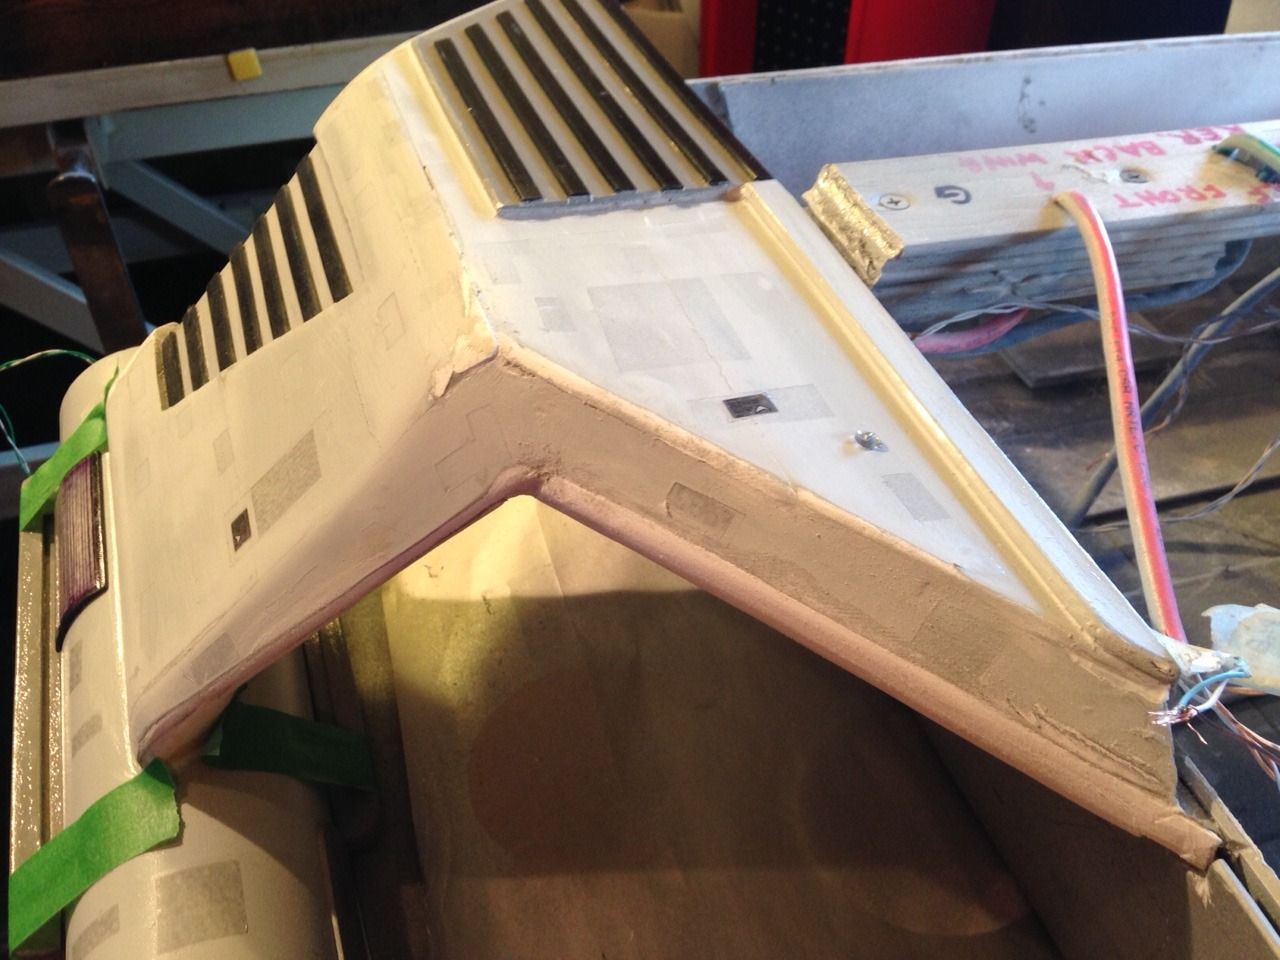
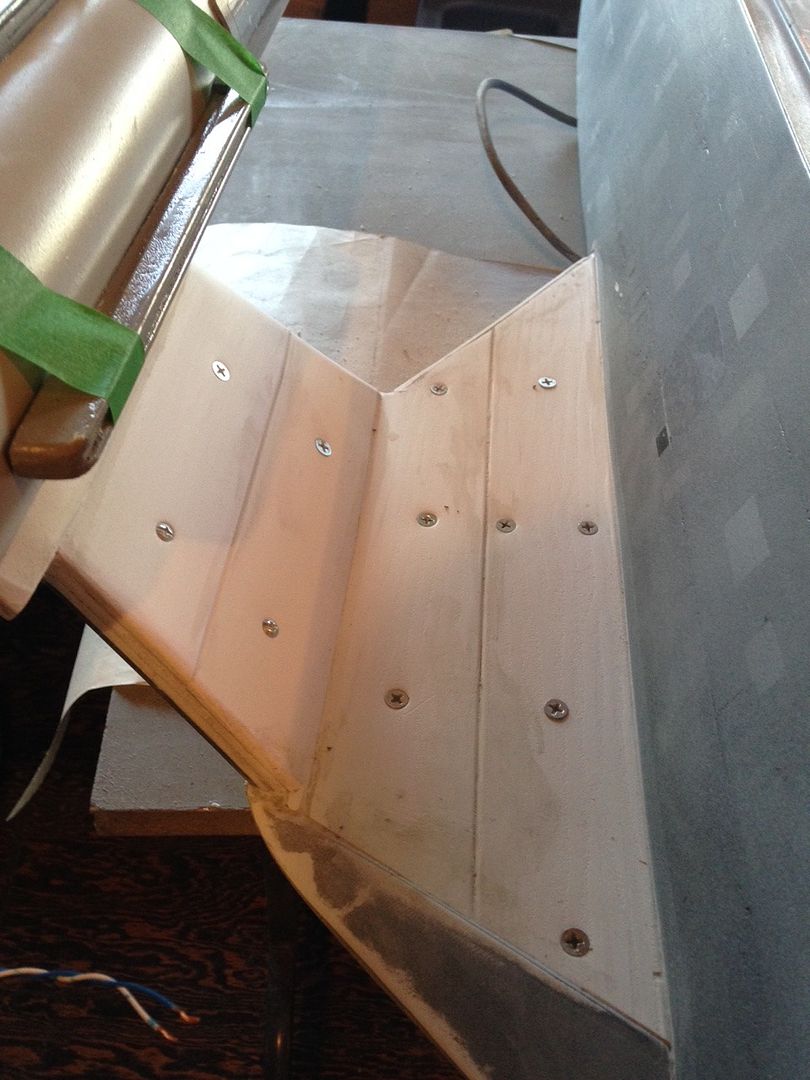
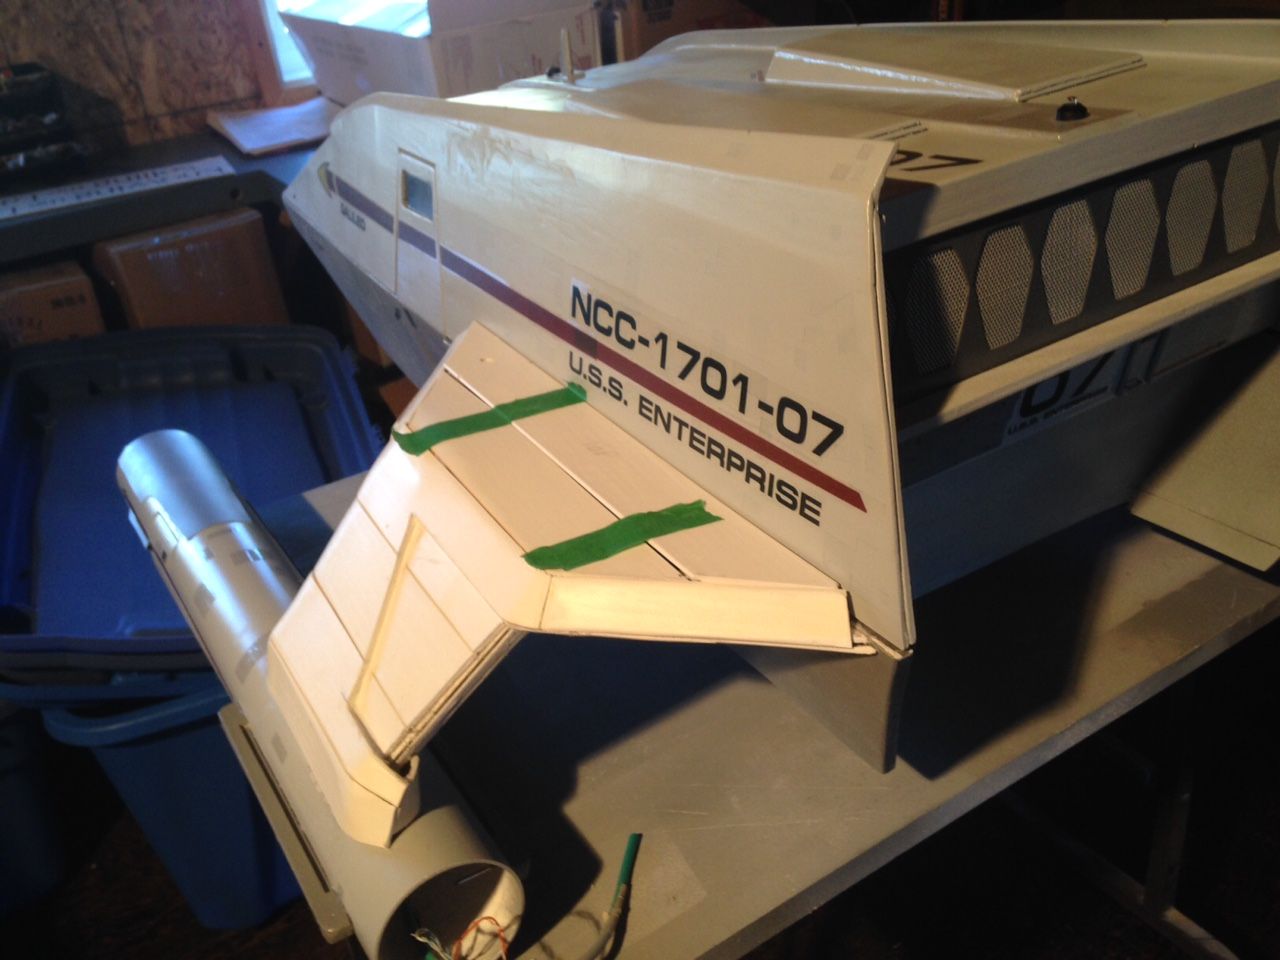
Well Got the filling done, now the fun part of having to re-sand it all AGAIN. Found, over the summer, the shipped had a lot of battle damage done to it, so I found the wings weren't the only parts that needed filler.and repair work.


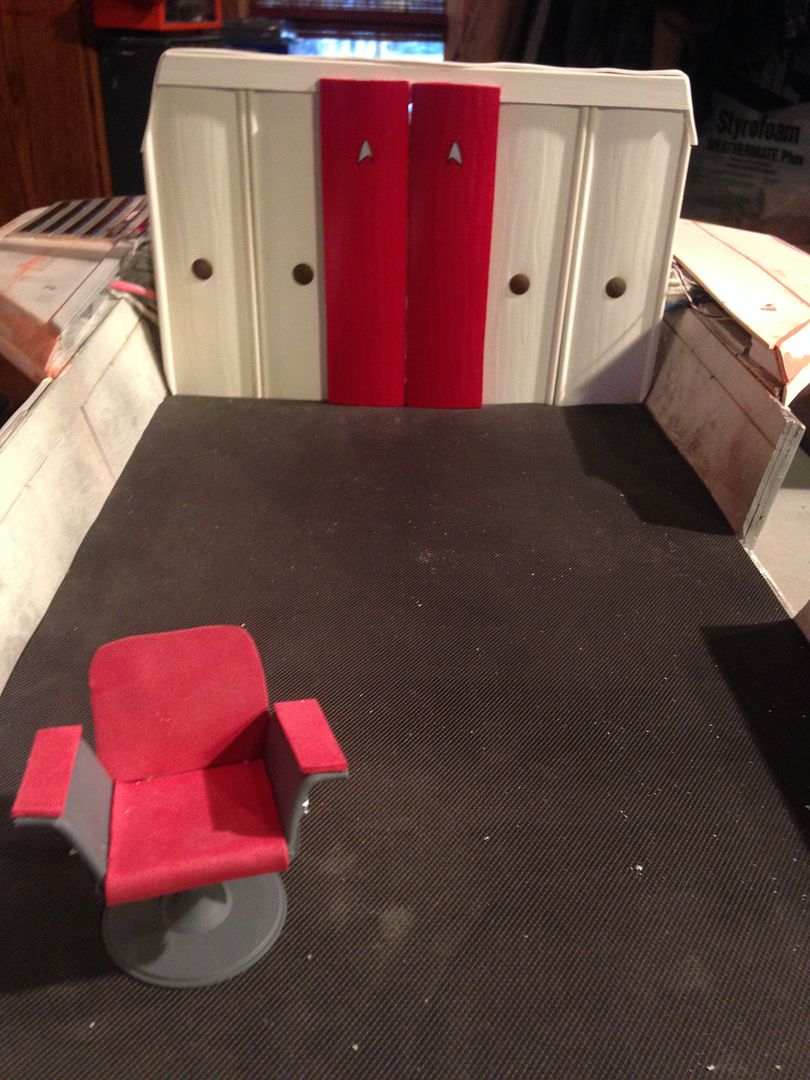
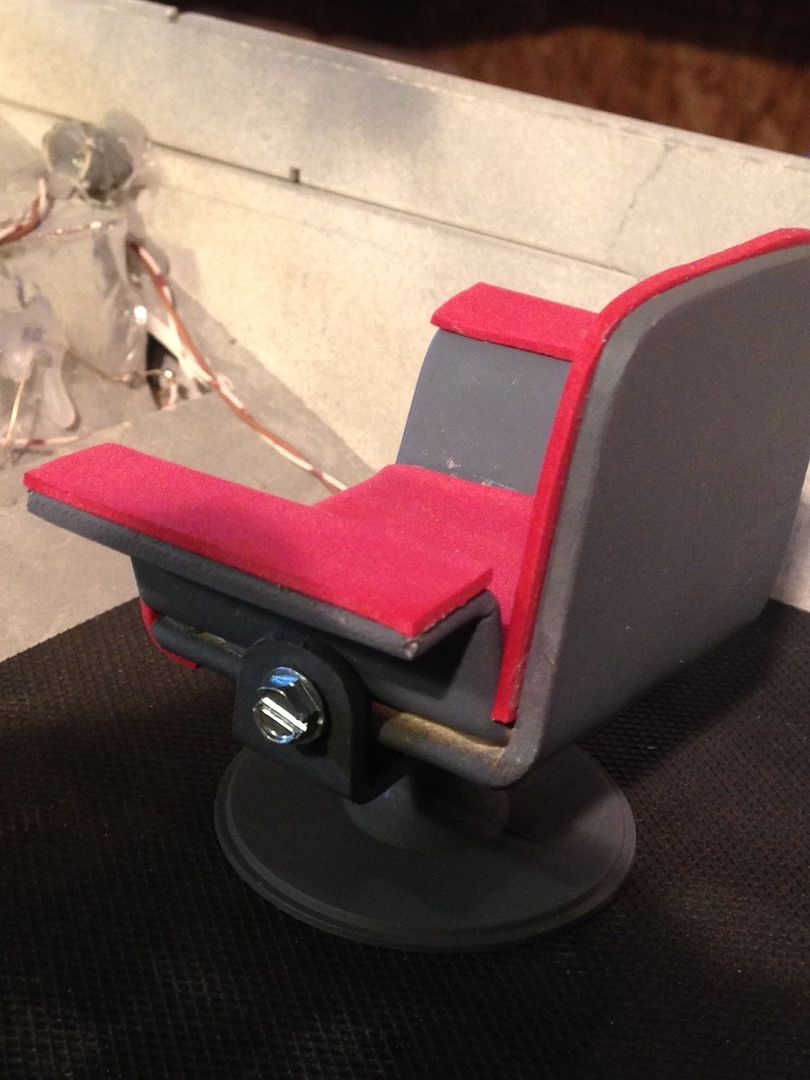
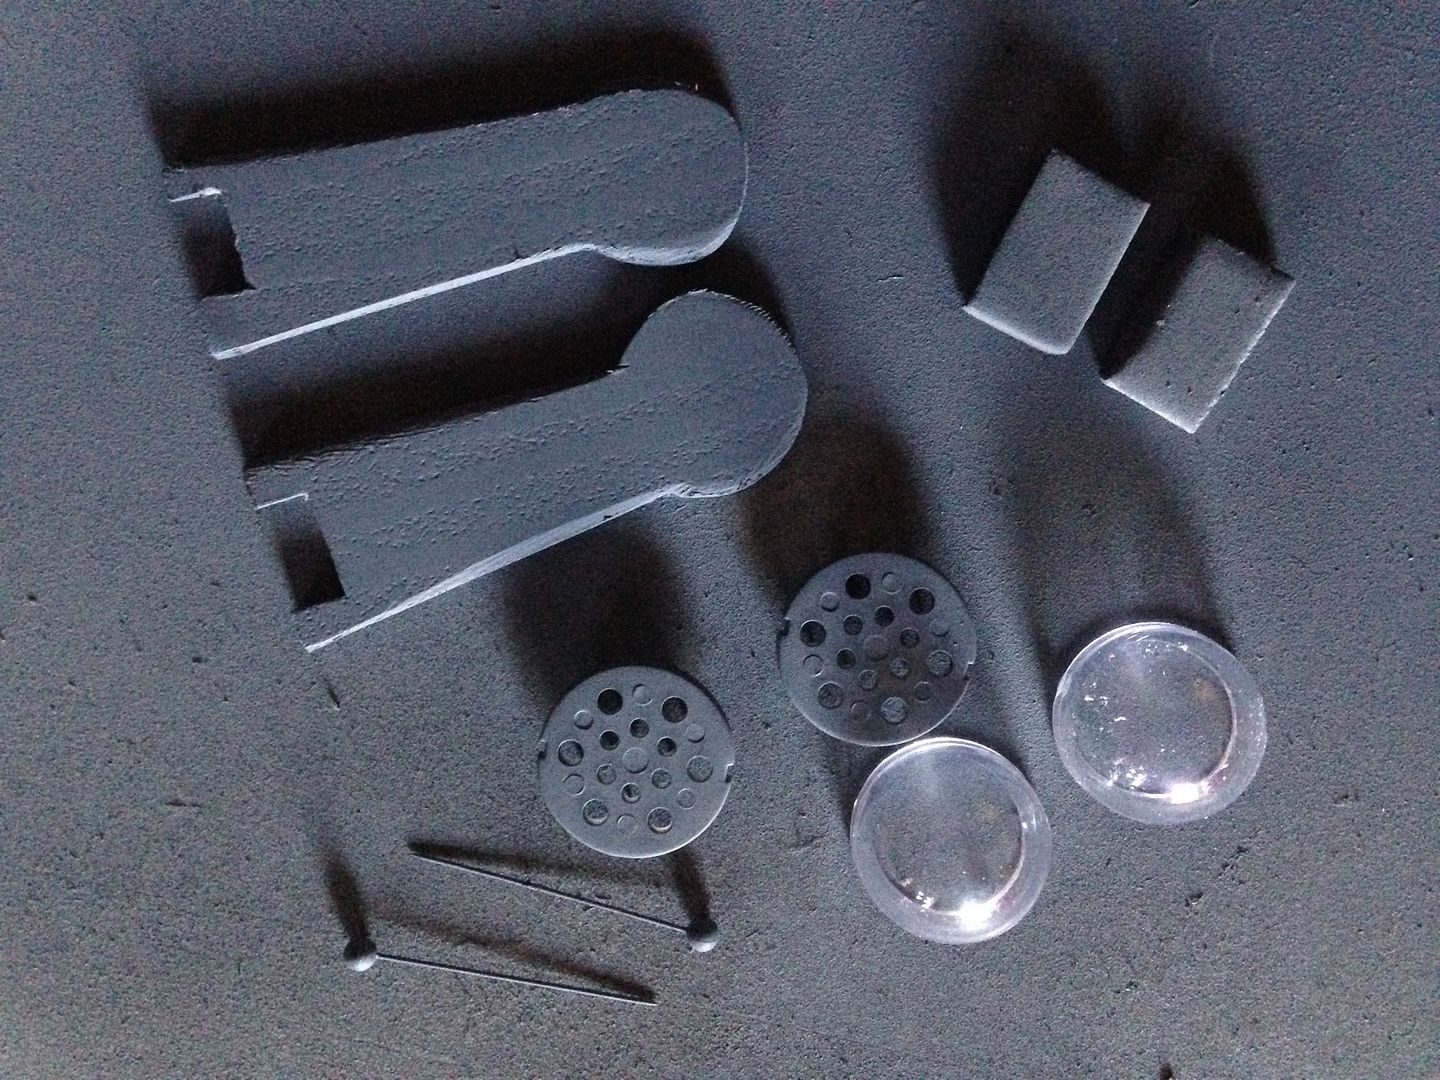
Well that was all drying, I decided to start some of the interior features...like the chairs and the back wall.
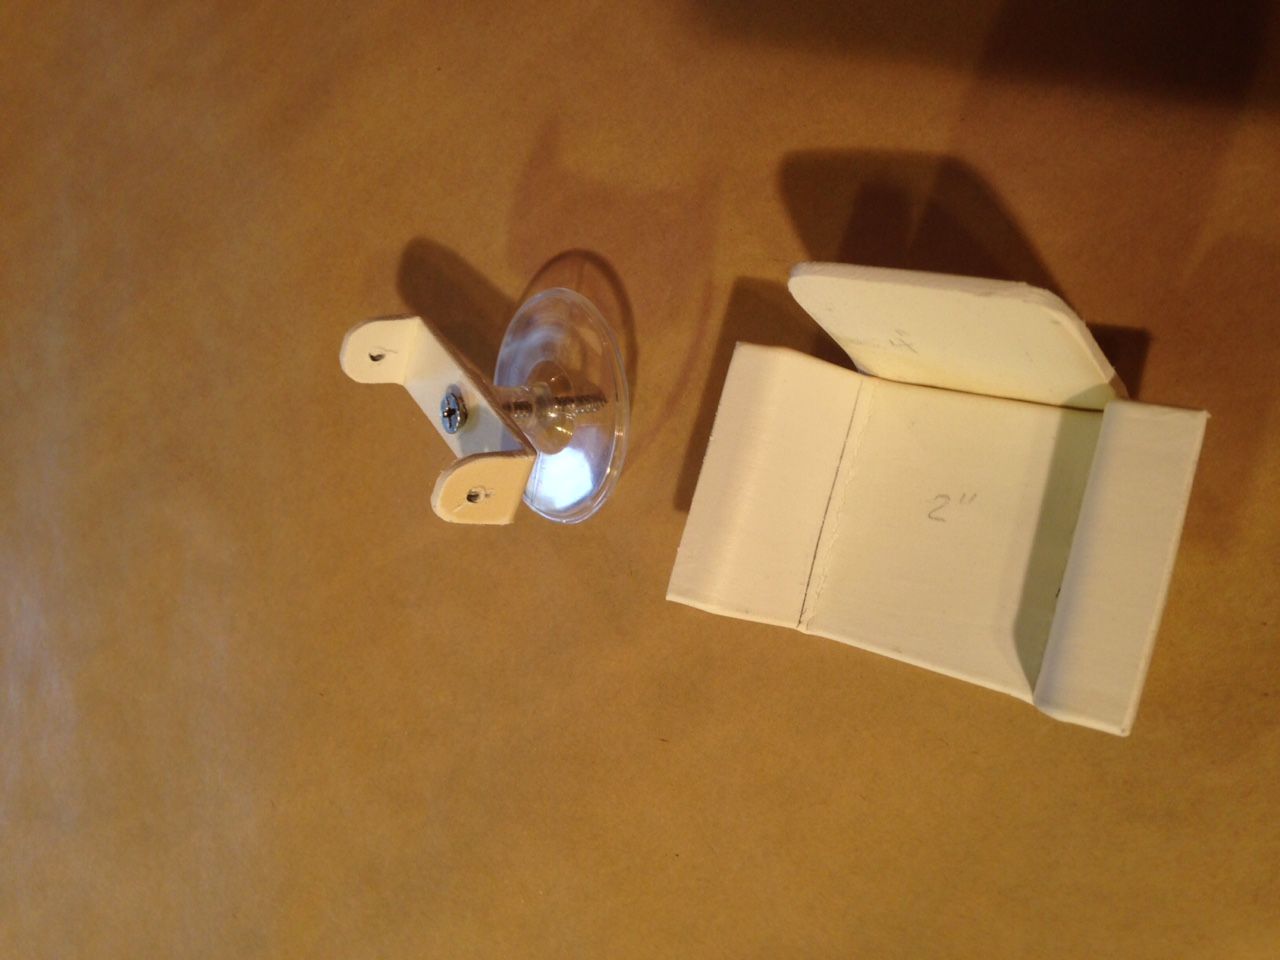
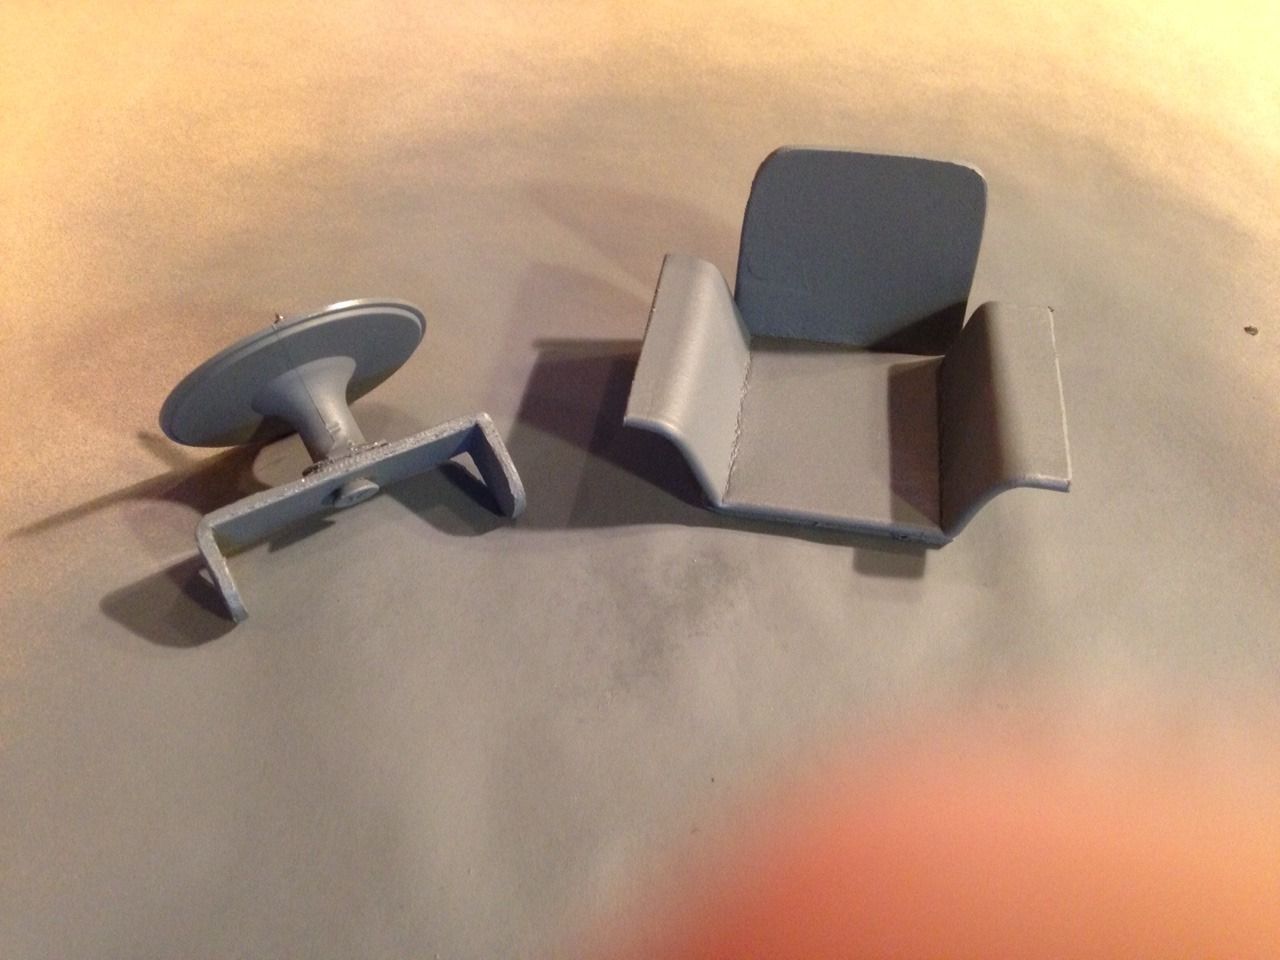
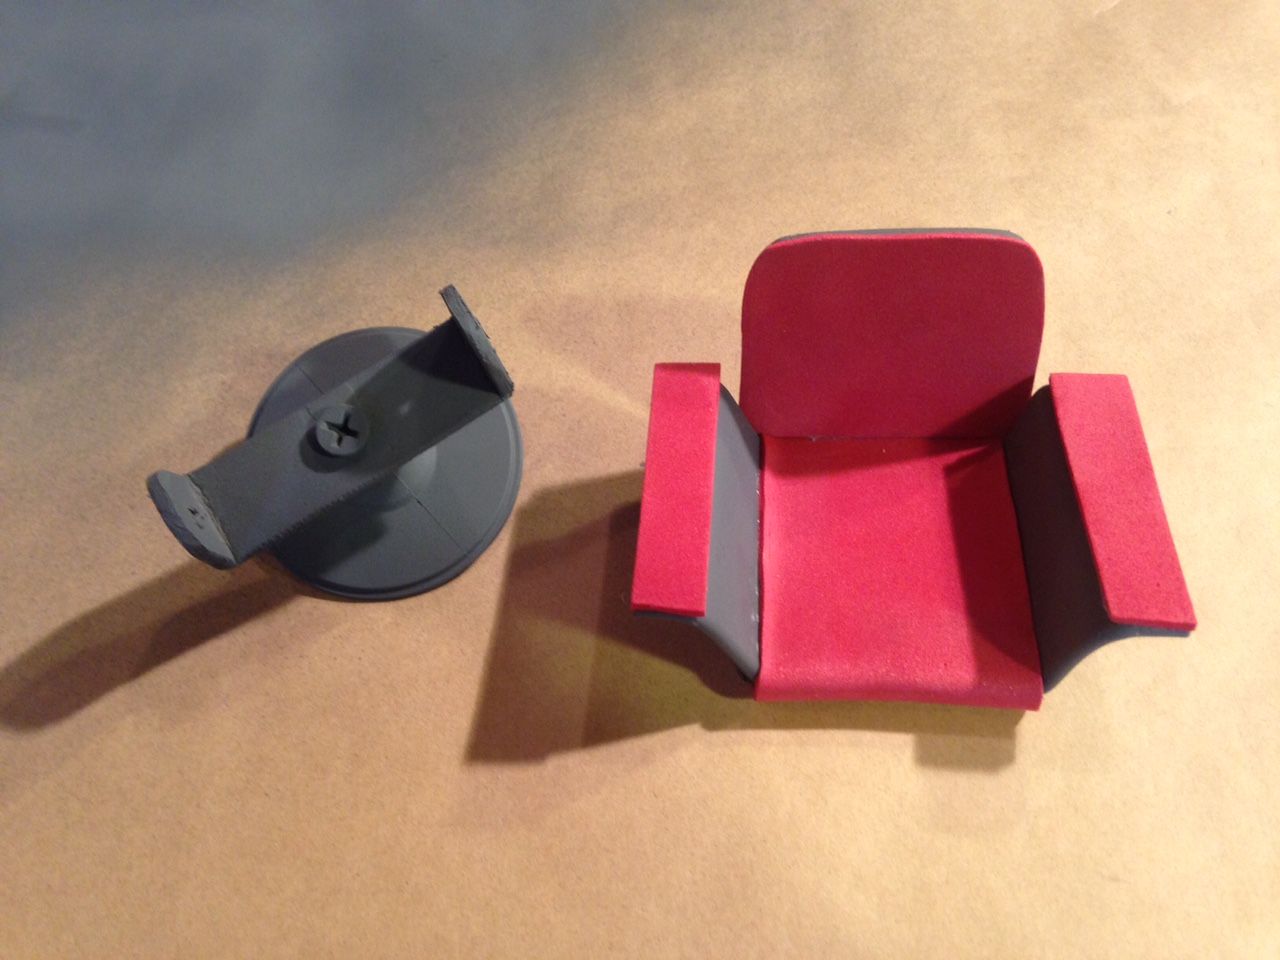
Here's how Spock looks in his new chair....only 7 more to go
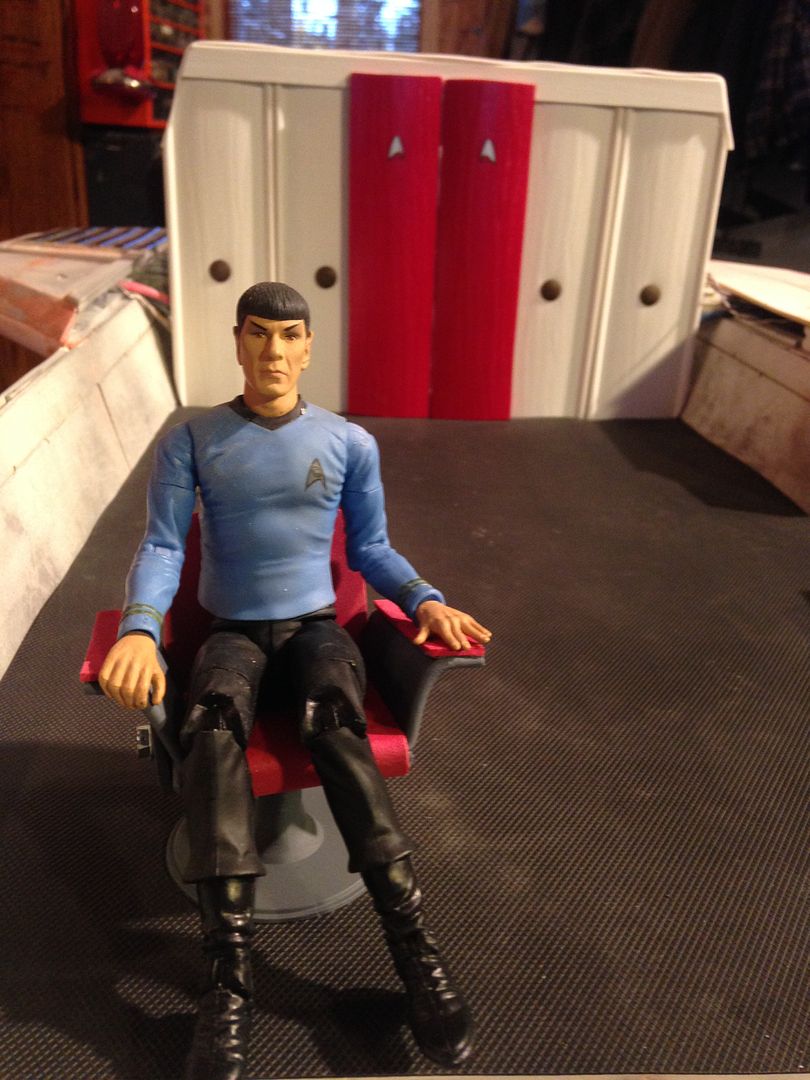
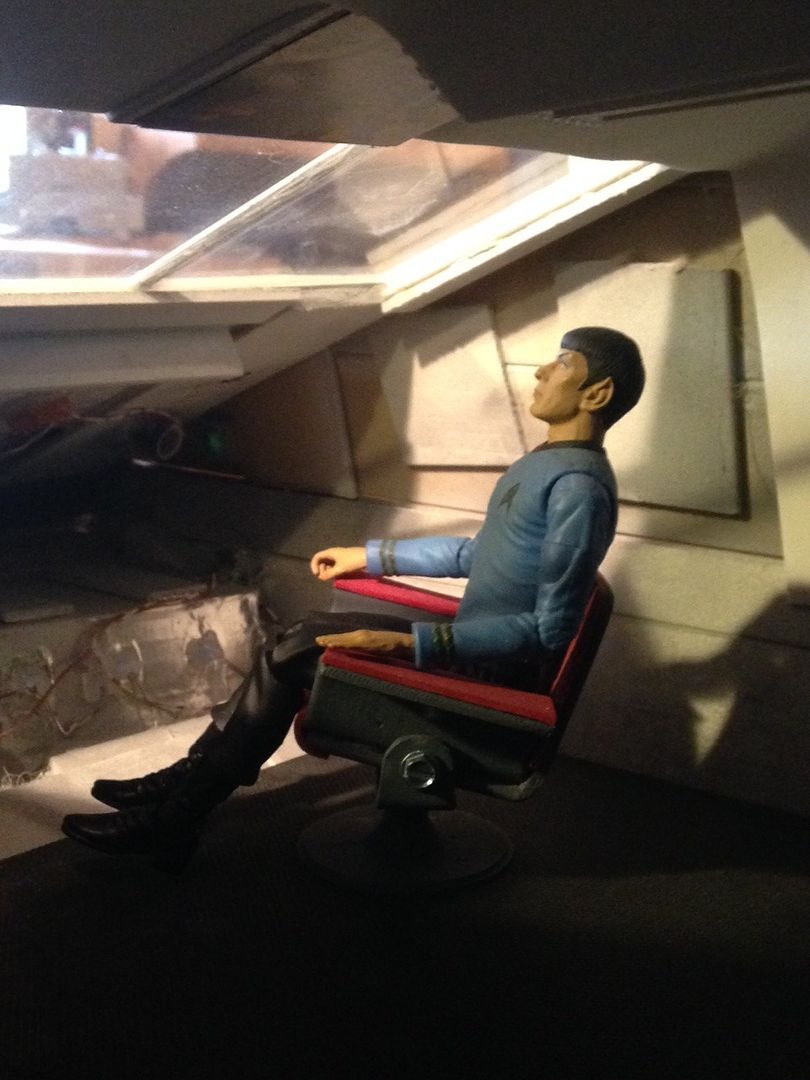

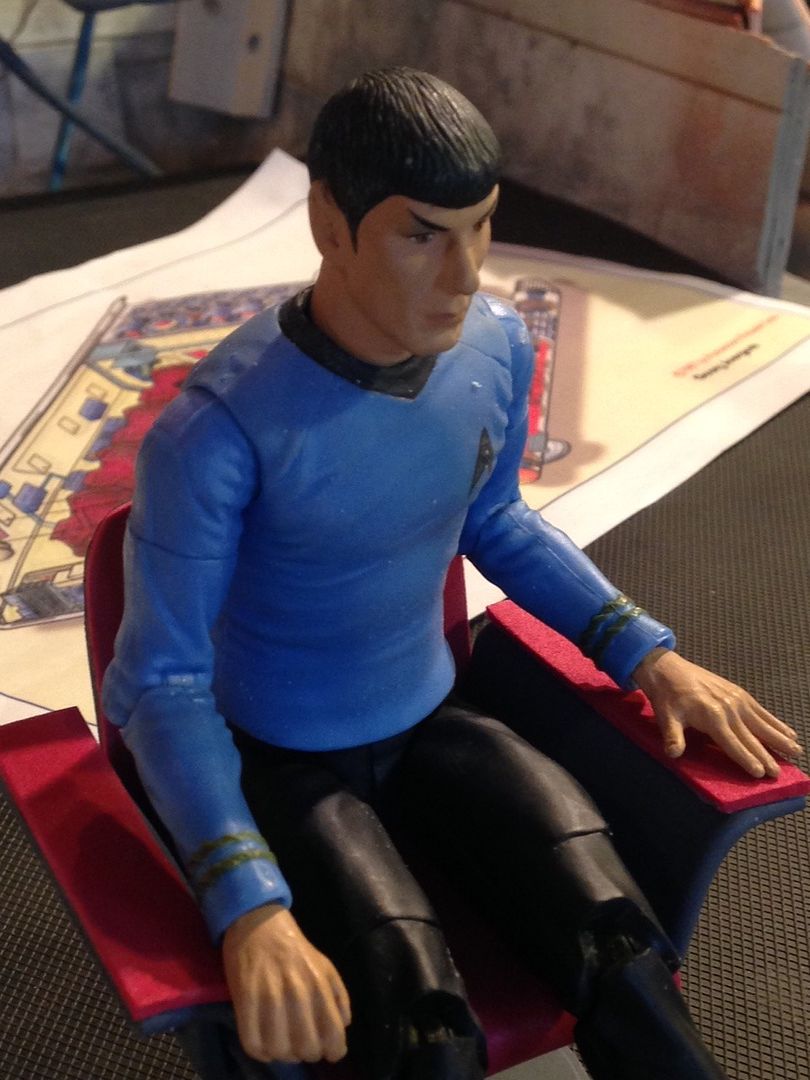
The Chair is actually adjustable...so it doesn't matter how long the action figures legs are.


Well that was all drying, I decided to start some of the interior features...like the chairs and the back wall.


Here's how Spock looks in his new chair....only 7 more to go


The Chair is actually adjustable...so it doesn't matter how long the action figures legs are.

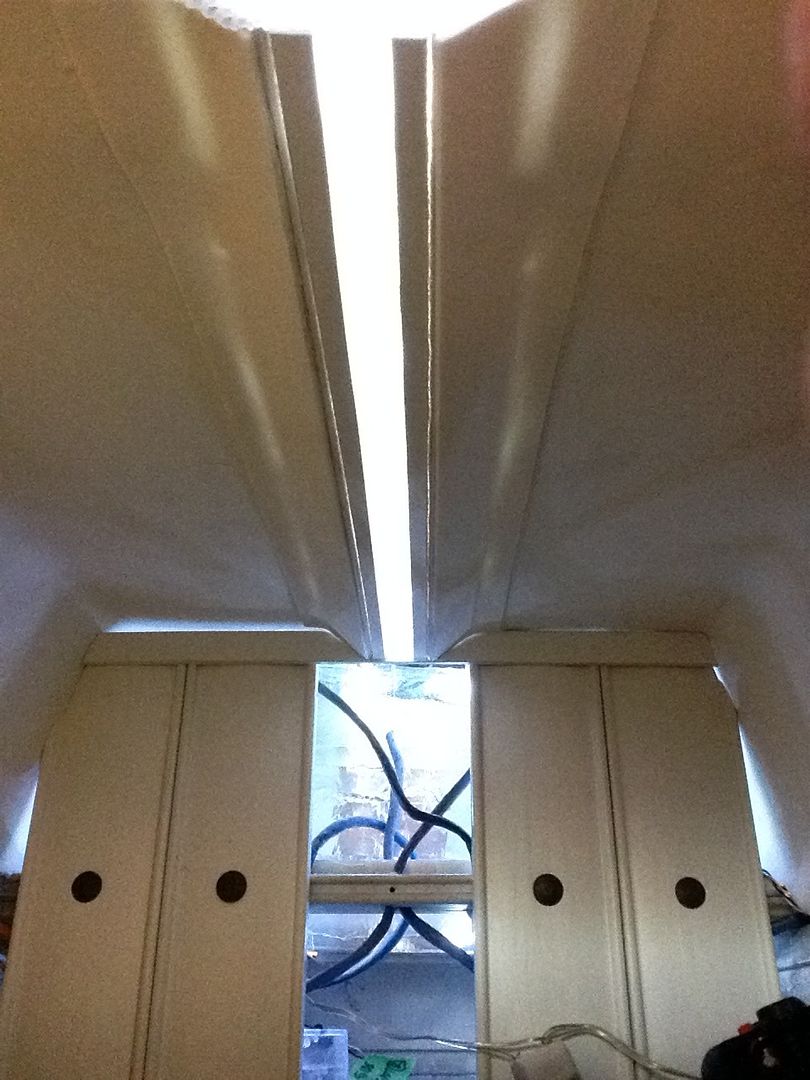
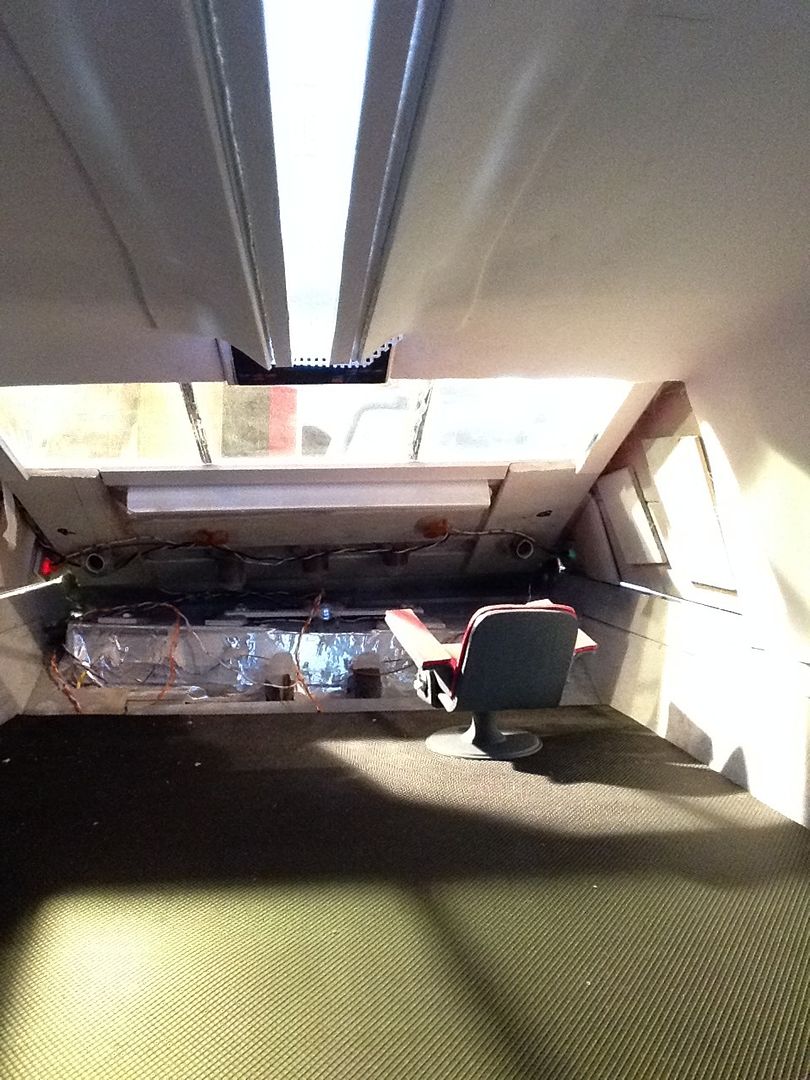
While I was at it, I also added some interior lights. You can see the row of lighting (like florescent) along the top of the roof. As well as some lights in the rear compartment, that will help illuminate the rear exterior of the ship. Light blocker has not been added yet.

Here's how the doors were made...nothing like keeping it simple.
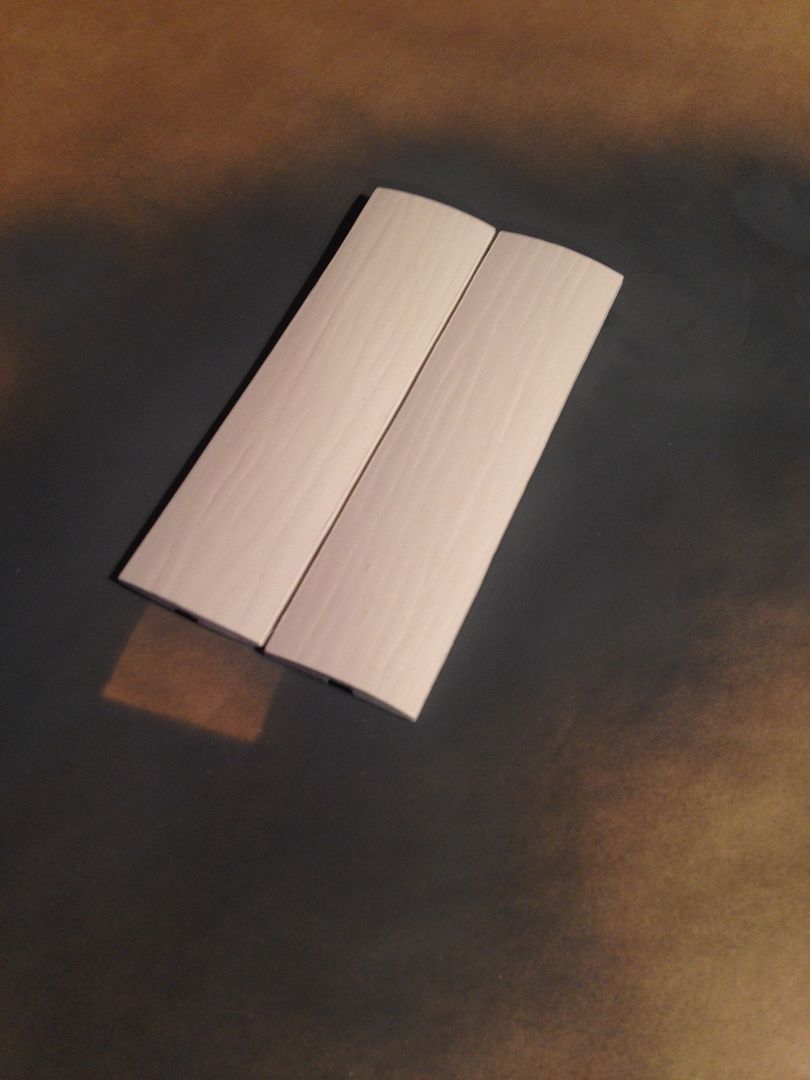
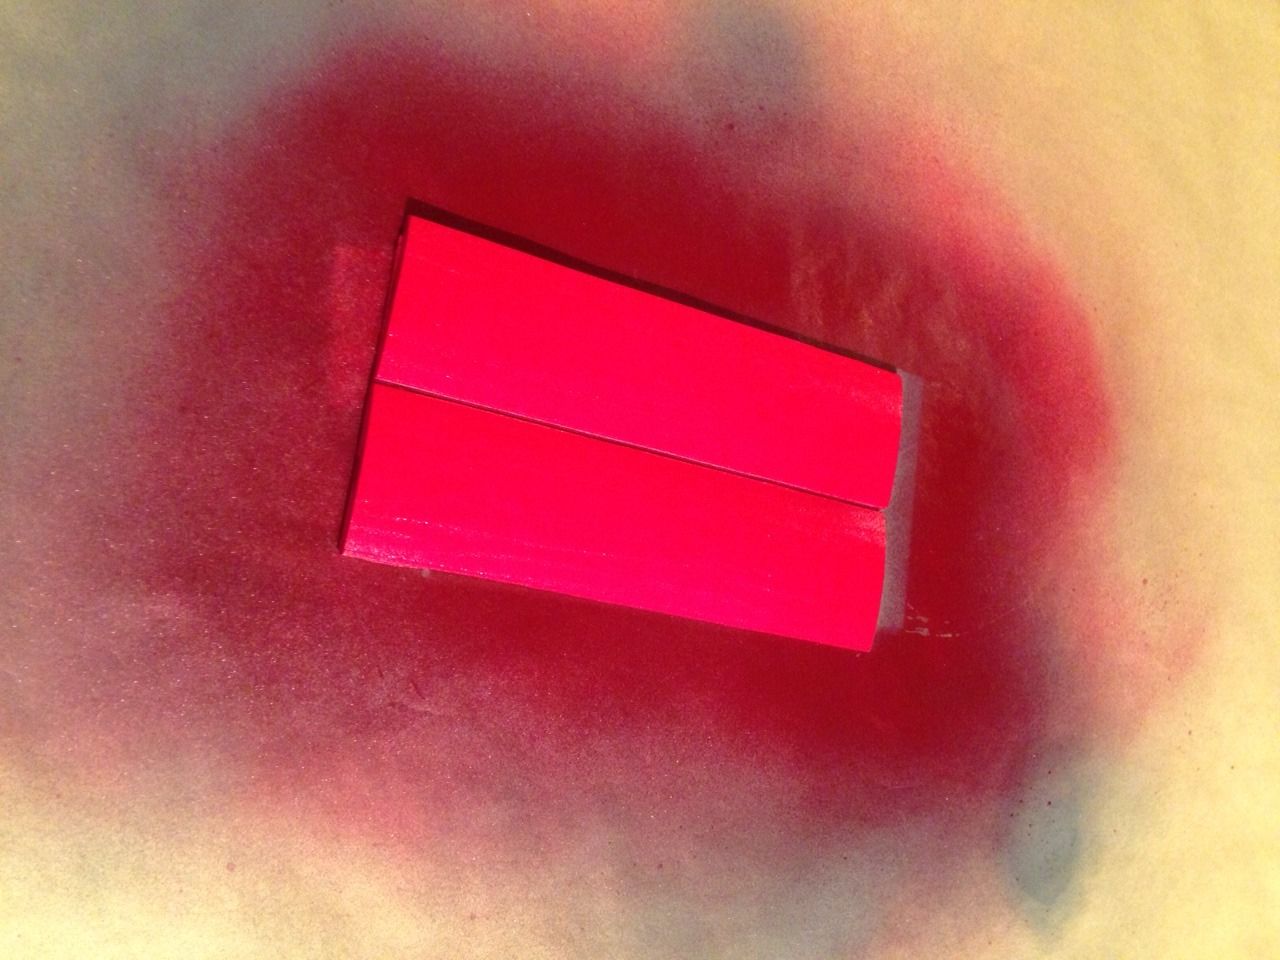
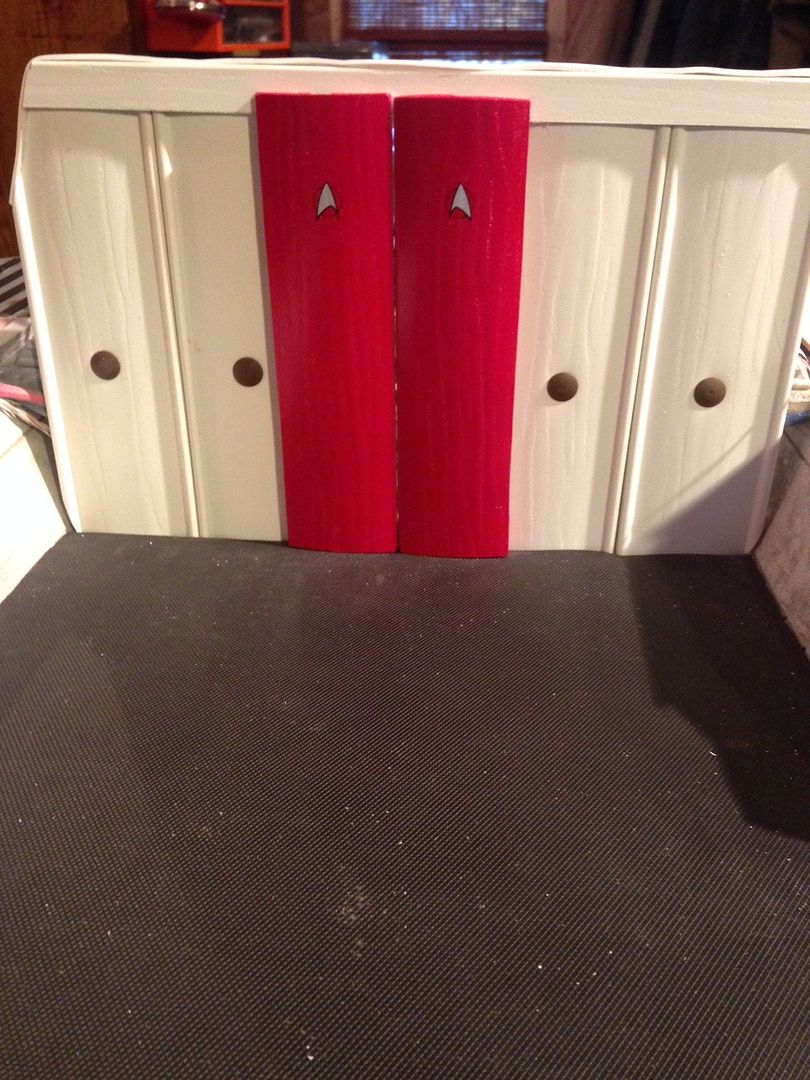


Here's how the doors were made...nothing like keeping it simple.


Last edited:
Very cool.


I made some small changes, (replacing the chair design to match the original seats). Then my scratch build Galileo is getting closer to being completed. Whats left to do? Well since you asked
A New front windshield, circuit board for the 3 strobes, 6 more chairs and some temp engine templates to install and then I think I can seal her up. Then its a matter of filling the seams and making her look pretty.- See more at: http://s1085.photobucket.com/user/S...roxu.jpg.html?sort=3&o=0#sthash.GiCZKS3a.dpuf
Amazing.


And a couple short videos...
http://vid1085.photobucket.com/albums/j428/Sgt_Angel1/Shuttle%20Craft/Shuttle%20Nov%2022%202015_zps5whlwtpj.mp4
Just a note, this video was taken before the half seams were filled, so you will see some light bleed.
This video is just after the seam was filled but not painted yet.
http://vid1085.photobucket.com/albu...tle Craft/Galileo 95 complete_zpsud82guft.mp4
Last edited:

- Status
- Not open for further replies.
Similar threads
- Replies
- 25
- Views
- 10K
- Replies
- 3
- Views
- 3K
- Replies
- 9
- Views
- 536
- Replies
- 10
- Views
- 511
If you are not already a member then please register an account and join in the discussion!