Repulse project is back underway with a pre-launch countdown of 10 days.
Last edited:

Do you braze the brass parts together?
This is avery nice design. I see you rough modeled it in SketchUp and I would love to try my hand at modeling it.This is my first post here so I hope I'm doing this right and posting in the right place.
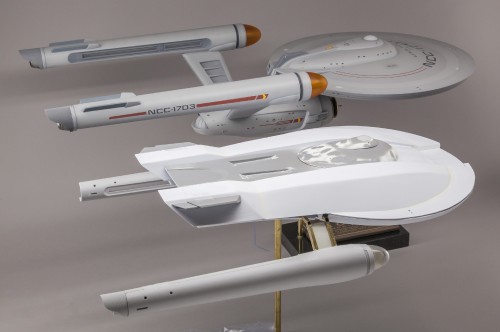
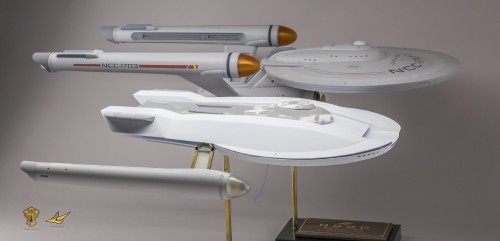
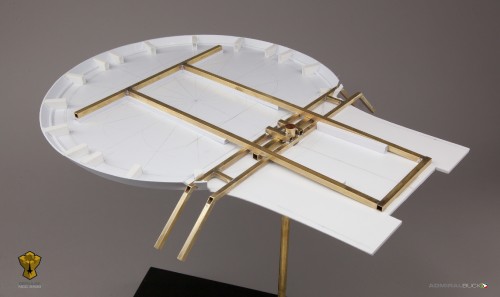
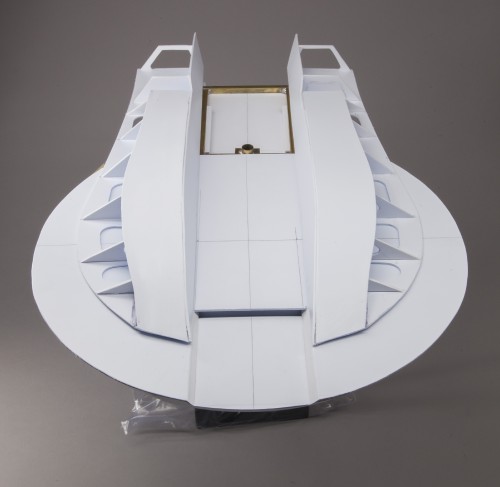
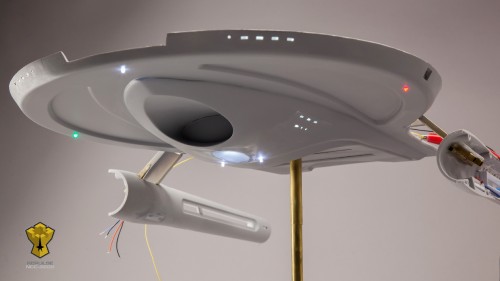
I'd like to share my current project. As a model builder, I like to create original models from my own designs. Usually working from 2D line drawings, I've recently been exploring 3D as a way to help pre-visualize my concept. The Repulse heavy destroyer is a late-TOS era companion ship to my USS Sentinel light cruiser which I recently completed in 1:350 scale. This ship will be 3D printed.
As with most of my ship projects, everything is designed - from the uniforms, shuttlecraft, insignia, deck plans, and crew casting:

This is avery nice design. I see you rough modeled it in SketchUp and I would love to try my hand at modeling it.
Of course.Be my guest. May I have a copy of it when you've finished?
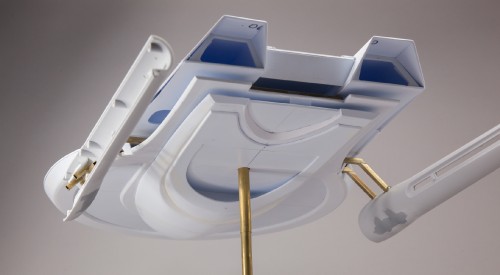
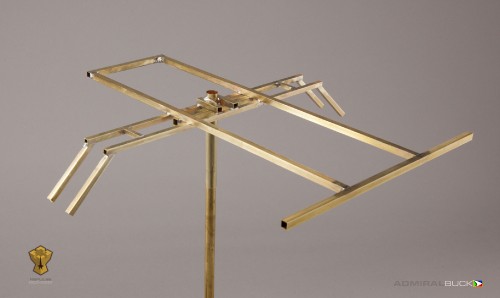
And I love the way you've strengthened your design with the brass tubing. Are you using one of those big, pistol-grip soldering guns? I'd love to know more about your process with designing and building the skeleton.
I use a small Benzo-matic butane micro torch for soldering the brass joints. The brass tubing is measured, cut and pinned to a cork board to hold them together as the joint is heated and soldered.
Thanks! That explanation sent me on a grand tour of YouTube DIY videos that consumed quite a bit of my morning. I assume you assemble the framework first, and then build the model around it -- how rigid is that framework? It's obviously tougher than fused-together styrene. Time to go review your other threads, I think!
We use essential cookies to make this site work, and optional cookies to enhance your experience.

