I've managed to drywall the "mudroom" area - the little alcove you see below (the small step up area with the exposed blue switch). That concrete floor will be tiled, and inside that small space will be a nice coat rack.
http://img.photobucket.com/albums/v353/SPOCKED/CLOSET2.jpg
The space where the dry-vac sits was going to be a sort of media closet, but now I'm thinking it might make a nice place for a mini-fridge or a wine cooler. Or it might become a built in bookcase. We made sure to string an outlet in there for whatever it becomes")
a closer view of the mudroom..
http://img.photobucket.com/albums/v353/SPOCKED/CLOSET.jpg
The switch on the outer wall starts the fan motor which will pull warm, pellet stove heat from the living room into this new basement room.
August 3rd update...
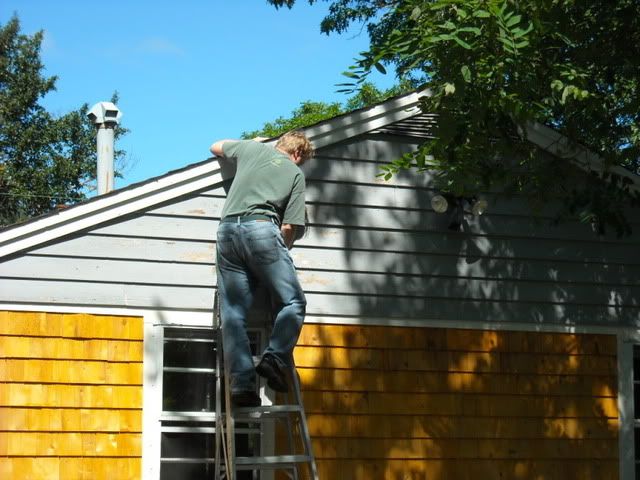
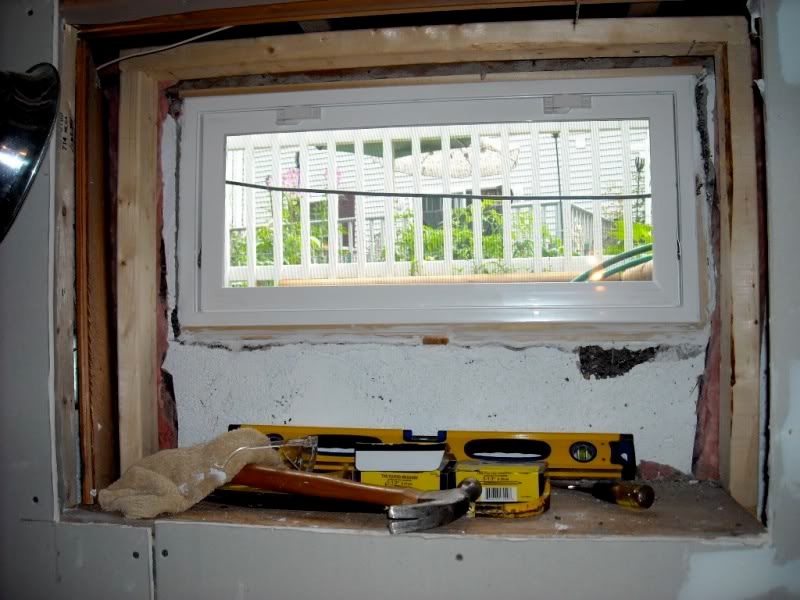
To get moving on tiling of the window wells, one of the older, wooden basement windows needed to get replaced since it was aging. On Sunday we did the replacement. Nothing about this was smooth since the previous owner just slapped concrete all around it and on the outside to form a sill. Anyway, here are the interior and exterior pics...
^ I had to pull out some of the window well to do this (fortunately, no drywall had to come down)
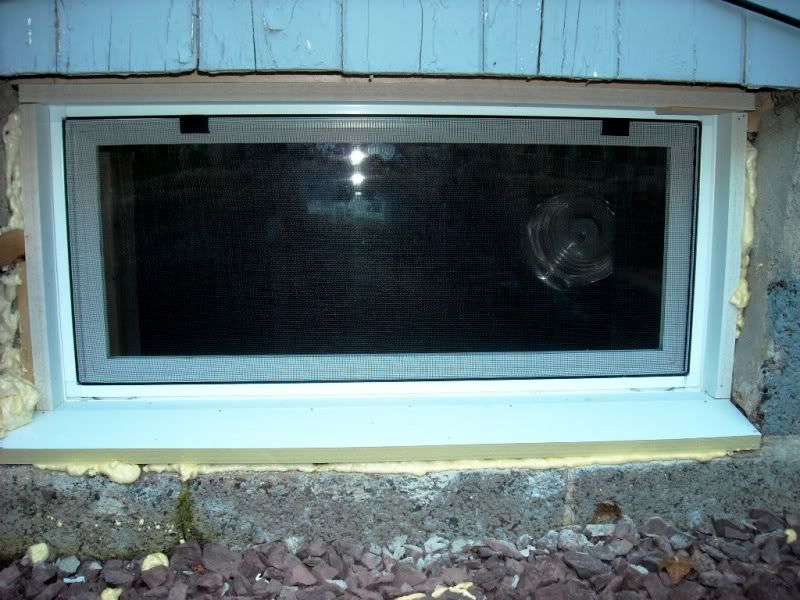
^ I've certainly never replaced a window before and I have to say it came out pretty nice. I mitered the sill at a 15 degree angle and shot the frame in with my brad nailer. Foam insulation fills in all the gaps nicely. Later I'll clean it up and do some extended framing and painting.
====================================================================
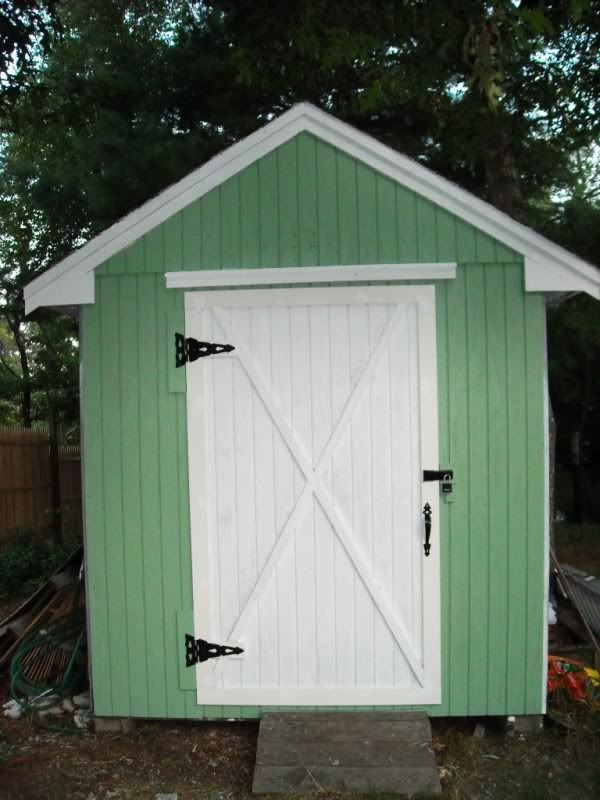
Yesterday morning, we decided to FINALLY tackle our shed problem. It needed to get cleaned, detrashed, and organized. The door was long overdue for some renovation since the lower frame was rotting away. Somewhere along the line we decided that we might as well plan to paint the whole thing (though that's a task for another day). While the cleaning effort was exhausting and took all day, the door repair was actually fun to do.
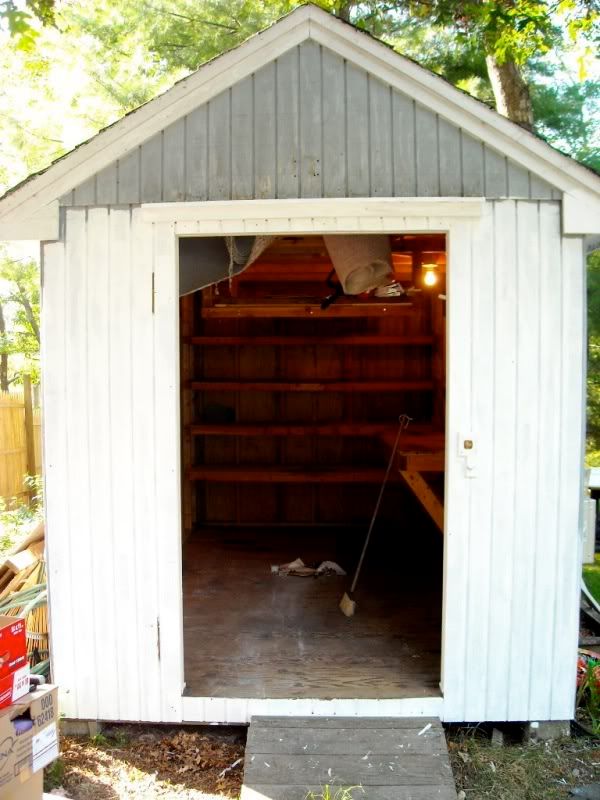
^ at this point the door is on the sawhorses in the shade. Everything in the shed came out and the shop vac went to work. We had mice in there over the winter and so it was a huge mess.
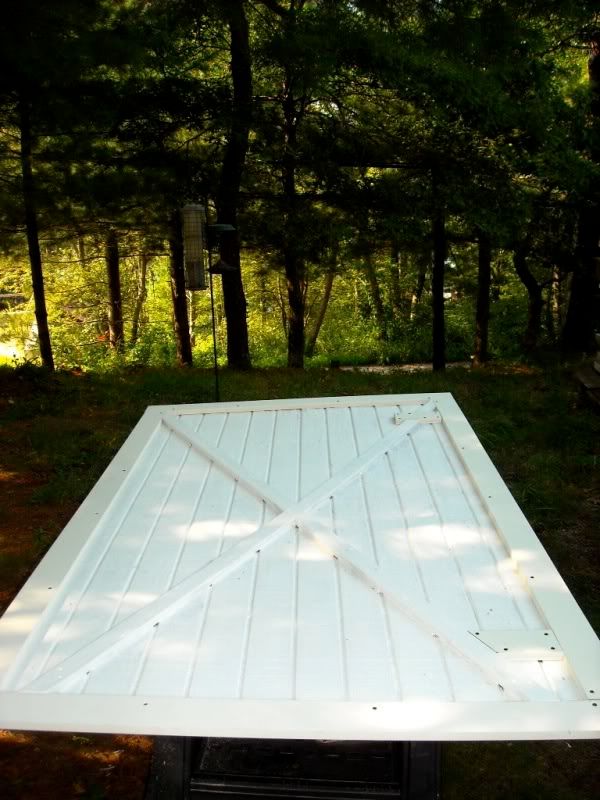
^ On the table, I ripped off all the rotting framework and rusty screws and replaced with exterior composite. A coat of primer and caulked the seams. Since we're replacing the old hardware with something nicer
and much larger, I had to make some mounting adjustments and that worked out very well. The new composite frame will get primed probably today, though we sort of promised ourselves that since we worked until nightfall, we'd take the day off (yeah, right") )
)
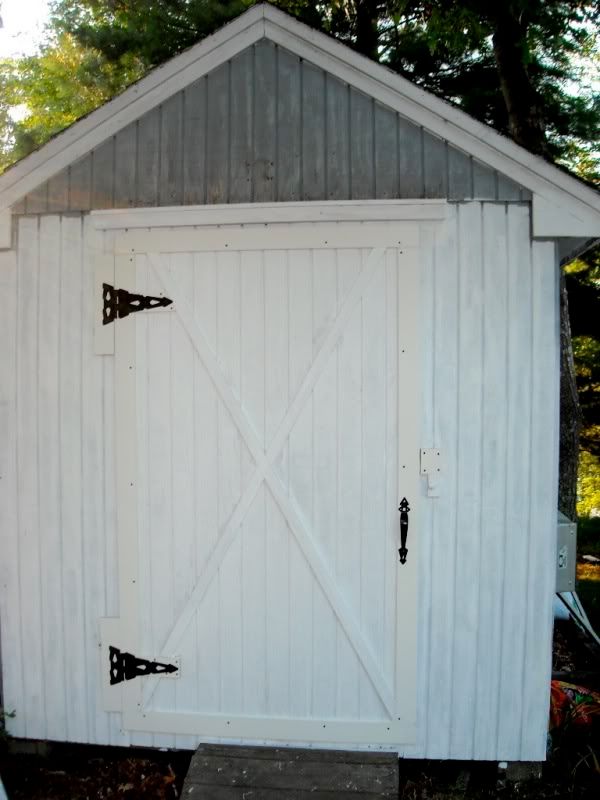
^ Here the door is rehung without much of a hitch. We primed most of the face of the shed in anticipation of painting, as I said. The door will get the same red (cranberry whip) as the house doors (except for the X and frame which will get the creame colored trim) and the shed will also match the house ("Athenian") green.
http://img.photobucket.com/albums/v353/SPOCKED/CLOSET2.jpg
The space where the dry-vac sits was going to be a sort of media closet, but now I'm thinking it might make a nice place for a mini-fridge or a wine cooler. Or it might become a built in bookcase. We made sure to string an outlet in there for whatever it becomes
a closer view of the mudroom..
http://img.photobucket.com/albums/v353/SPOCKED/CLOSET.jpg
The switch on the outer wall starts the fan motor which will pull warm, pellet stove heat from the living room into this new basement room.
August 3rd update...
To get moving on tiling of the window wells, one of the older, wooden basement windows needed to get replaced since it was aging. On Sunday we did the replacement. Nothing about this was smooth since the previous owner just slapped concrete all around it and on the outside to form a sill. Anyway, here are the interior and exterior pics...
^ I had to pull out some of the window well to do this (fortunately, no drywall had to come down)
^ I've certainly never replaced a window before and I have to say it came out pretty nice. I mitered the sill at a 15 degree angle and shot the frame in with my brad nailer. Foam insulation fills in all the gaps nicely. Later I'll clean it up and do some extended framing and painting.
====================================================================
Yesterday morning, we decided to FINALLY tackle our shed problem. It needed to get cleaned, detrashed, and organized. The door was long overdue for some renovation since the lower frame was rotting away. Somewhere along the line we decided that we might as well plan to paint the whole thing (though that's a task for another day). While the cleaning effort was exhausting and took all day, the door repair was actually fun to do.
^ at this point the door is on the sawhorses in the shade. Everything in the shed came out and the shop vac went to work. We had mice in there over the winter and so it was a huge mess.
^ On the table, I ripped off all the rotting framework and rusty screws and replaced with exterior composite. A coat of primer and caulked the seams. Since we're replacing the old hardware with something nicer
and much larger, I had to make some mounting adjustments and that worked out very well. The new composite frame will get primed probably today, though we sort of promised ourselves that since we worked until nightfall, we'd take the day off (yeah, right
)
^ Here the door is rehung without much of a hitch. We primed most of the face of the shed in anticipation of painting, as I said. The door will get the same red (cranberry whip) as the house doors (except for the X and frame which will get the creame colored trim) and the shed will also match the house ("Athenian") green.
Last edited:
 After it's all painted, I'll come off the breaker box and string cables for front (lantern) and rear (motion sensor) exterior lights.
 Our shed is much bigger, much heavier than that video. Like you, the ground is much more irregular so this wouldn't work for us. And, over the weekend, we've been rethinking the need to move it after all. I'd like to, but it's not life or death. The idea was to get it up much closer to the dirt road. It's private so the town doesn't have any obligation to plow it in winter - though sometimes they do anyway. We want to put a driveway right up to the road and have a new overhang off the shed to cover the whole thing. That way we could just pull right out avoiding deep frozen ruts like we have the past few winters.
 ) house is on a private road, so the town never plowed it. Then my Mother called up the Town Hall and asked if that meant she'd be paying less taxes. They've been plowing it ever since.


 The other side has trees and stuff growing in it (which my neighbors were busting my nuts about last night during our annual Labor Day weekend bbq - they call it a "gutter garden"