So, I made this.

Discussion in 'Fan Art' started by Professor Moriarty, Aug 28, 2019.

  1. BK613

    BK613 Rear Admiral Rear Admiral

    Joined:
    Sep 3, 2008
    @Professor Moriarty Yea, I apologize for explaining it so badly. But since I worked this up in sketchup anyway:
    [​IMG]
    The left flat is the left tube and the right flat is the right tube
     
    Last edited: Apr 17, 2021
  2. Gepard

    Gepard Vice Admiral Admiral

    Joined:
    Oct 20, 2007
    The falloff settings in the shear tool are your friend. You can get a lovely S-curve just by setting the sliders to opposite extremes.
     
  3. Professor Moriarty

    Professor Moriarty Rice Admiral Premium Member

    Joined:
    Sep 7, 2001
    Location:
    System L-374
    But that’s just it — @BK613 just proved I don’t have to. The fuzzy pictures we have of the Galileo 3/4 prop strongly imply that the side profile of the corrugated endcaps have straight trailing edges, but his diagram reminded me that in order to achieve a straight line wrapped around a curved surface your “straight line” needs to bend. And that sharp in-focus photo of one of the unwrapped caps confirms it—the profile of that trailing edge is extremely close to what @BK613 posted.

    The trailing edges are a straight diagonal line in side profile. :beer:
     
    BK613 likes this.
  4. BK613

    BK613 Rear Admiral Rear Admiral

    Joined:
    Sep 3, 2008
    @Professor Moriarty Which was the point of me posting in the first place-I thought you were about to do work that you didn't need to do.
     
  5. Professor Moriarty

    Professor Moriarty Rice Admiral Premium Member

    Joined:
    Sep 7, 2001
    Location:
    System L-374
    And believe me, I appreciate it. Just as an experiment I tried using the shear tool @Gepard mentioned and it definitely did a better job (thanks @Gepard!) than slicing an S-curve into the tailcone and then going and fixing up polys, but it still would have been a PITA.

    So now all I have to do is make the ridges on the tailcone a little less pointy. Pretend that I'm Dr. Professor Moriarty, your friendly evil neighborhood optometrist. Is it better with 1, 2, or 3?

    tailcone.gif


    current.jpg
    Current

    105.jpg
    105% larger interior diameter

    110.jpg
    110% larger interior diameter
     
    Psion and Gepard like this.
  6. blssdwlf

    blssdwlf Rear Admiral Rear Admiral

    Joined:
    Feb 26, 2010
    Are the outer parts of the corrugation just a 2 point edge as it seems way too sharp.

    I guess what I'm asking is it like this:
    VVVVVVV

    or this (imagine there is a line connecting the top of the verticals below):

    _| |_| |_| |_

    I think the latter, once you subd it will look close to the corrugation, IMHO.
     
  7. Professor Moriarty

    Professor Moriarty Rice Admiral Premium Member

    Joined:
    Sep 7, 2001
    Location:
    System L-374
    You are looking at the subdivided polys. But this is in Modeler with only 1 level of subdivision. I’ll try rendering these in Layout when I get home.

    ETA: DUH. You've got a sharp eye... I'd forgotten to apply smoothing to the material used for the tailcone... it makes a big difference! I am not going to have time to render these this afternoon (another non-CGI project beckons!) but here's what the 105% example looks like with smoothing applied and the polys frozen, which would approximate SDS level one:

    105-smoothed.jpg
     
    Last edited: Apr 18, 2021
  8. scifieric

    scifieric Captain Captain

    Joined:
    Sep 17, 2006
    Location:
    PA, USA
  9. Tallguy

    Tallguy Rear Admiral Rear Admiral

    Joined:
    May 2, 2005
    Location:
    Beyond the Farthest Star
    First: 3!
    Second: I'd have to check if I just have some built in assumptions or if I'm even being influenced by the TOS E. But I'm expecting more of a sine wave rather than a triangle wave.

    Going back and looking at Metamorphosis in some shots it looks like the low points (closest to the center) are quite sharp while the high points are more curved. But then other shots I see do look more sine and evenly curvy. None of them look like sharp triangles. (V's.)
     
    scifieric and BK613 like this.
  10. publiusr

    publiusr Admiral Admiral

    Joined:
    Mar 22, 2010
    Location:
    publiusr
    E?
     
  11. BK613

    BK613 Rear Admiral Rear Admiral

    Joined:
    Sep 3, 2008
    I would expect something like that (i.e., pinching) if the wave was symmetrical when the metal was laid out flat.
     
    Tallguy likes this.
  12. blssdwlf

    blssdwlf Rear Admiral Rear Admiral

    Joined:
    Feb 26, 2010
    @Professor Moriarty - Hmm, I'm still thinking your corrugation is still too sharp even after Subd...

    Might I recommend something like this:
    [​IMG]

    When Subd is applied looks like this:
    [​IMG]

    I built this using the Gear primitive in LW and selected 72 teeth. You can play with the taper and dimensions to get what you're looking for - what you're seeing are the defaults. I then deleted the top and bottom poly and left the sides. I applied Thicken to get some thickness and used knife to add in two control loops. Then Shear to get the S curve.

    Alternatively, instead of the Gear primitive you could create a Cylinder with 144 sides, delete the top and bottom polys, select every other side poly and scale them in to get the gear look.
     
    Last edited: Apr 19, 2021
  13. Professor Moriarty

    Professor Moriarty Rice Admiral Premium Member

    Joined:
    Sep 7, 2001
    Location:
    System L-374
    Interesting... but I don’t think I’m going to revise the shuttle endcaps to have a curved side profile like you’re showing; @BK613 made a pretty convincing argument that the shuttle’s endcaps have a straight edge in profile.

    I had tried both of those approaches you described, but you added a couple of refinements I didn’t think of—I really appreciate the detailed construction tips! Now that I’m more comfortable with sub-D modeling, I may use one of these strategies to try and revisit the endcaps on the Enterprise warp nacelles; I’ve never been too happy with how I modeled them back in 2013. (Yes, there are parts of that model that are eight years old!)

    Thanks!
     
    blssdwlf, scifieric and BK613 like this.
  14. blssdwlf

    blssdwlf Rear Admiral Rear Admiral

    Joined:
    Feb 26, 2010
    @Professor Moriarty - Sounds good. You can definitely use Shear without a curve to get a straight edge in profile.

    I do think the Enterprise endcaps in SubD will be more challenging because it's a solid endcap with a S-curve profile, unlike the shuttle's which is hollow. I've not tried tackling that yet :)
     
  15. Professor Moriarty

    Professor Moriarty Rice Admiral Premium Member

    Joined:
    Sep 7, 2001
    Location:
    System L-374
    I would imagine I’d use the same approach for that solid end that I used originally when I modeled it with traditional polygon modeling: Just make sure the tailcone is symmetrical on the X-axis, and join each pair of points on one side with a 4-point poly that connects to the mirrored points on the other side. As long as there’s a smoothing polygon loop before the directional change (from the normal pointing aft along the Z-axis to wrapping around the tailcone) it should sub-D nicely.

    I definitely wouldn’t try to tackle this with the old pre-9.0 subpatches that only allow 3- and 4-point polygons. Catmull-Clark’s support for n-gons makes sub-D modeling a bit easier, I’ve found, although sometimes the way that everything flows when subdivided is baffling as hell, so I always try to make sure n-gons only occur on flat surfaces and limit their use as much as possible. I’ve definitely had to do some trial and error on the Galileo as I’m cutting into the hull or extruding from the hull to add detail, especially on curved surfaces, but so far I haven’t hit anything I couldn’t figure out eventually. Compared to those, the Enterprise tailcone seems pretty simple... unless I’m missing something obvious of course :ouch:
     
    blssdwlf and scifieric like this.
  16. Professor Moriarty

    Professor Moriarty Rice Admiral Premium Member

    Joined:
    Sep 7, 2001
    Location:
    System L-374
    If you ever saw the TOS shuttles flying around without their tailgear extended and wondered where the bloody thing went... now you know.

    View at full 4K on Vimeo: https://vimeo.com/scottgammans/shuttlecraft-tailgear-retraction-test-20210511

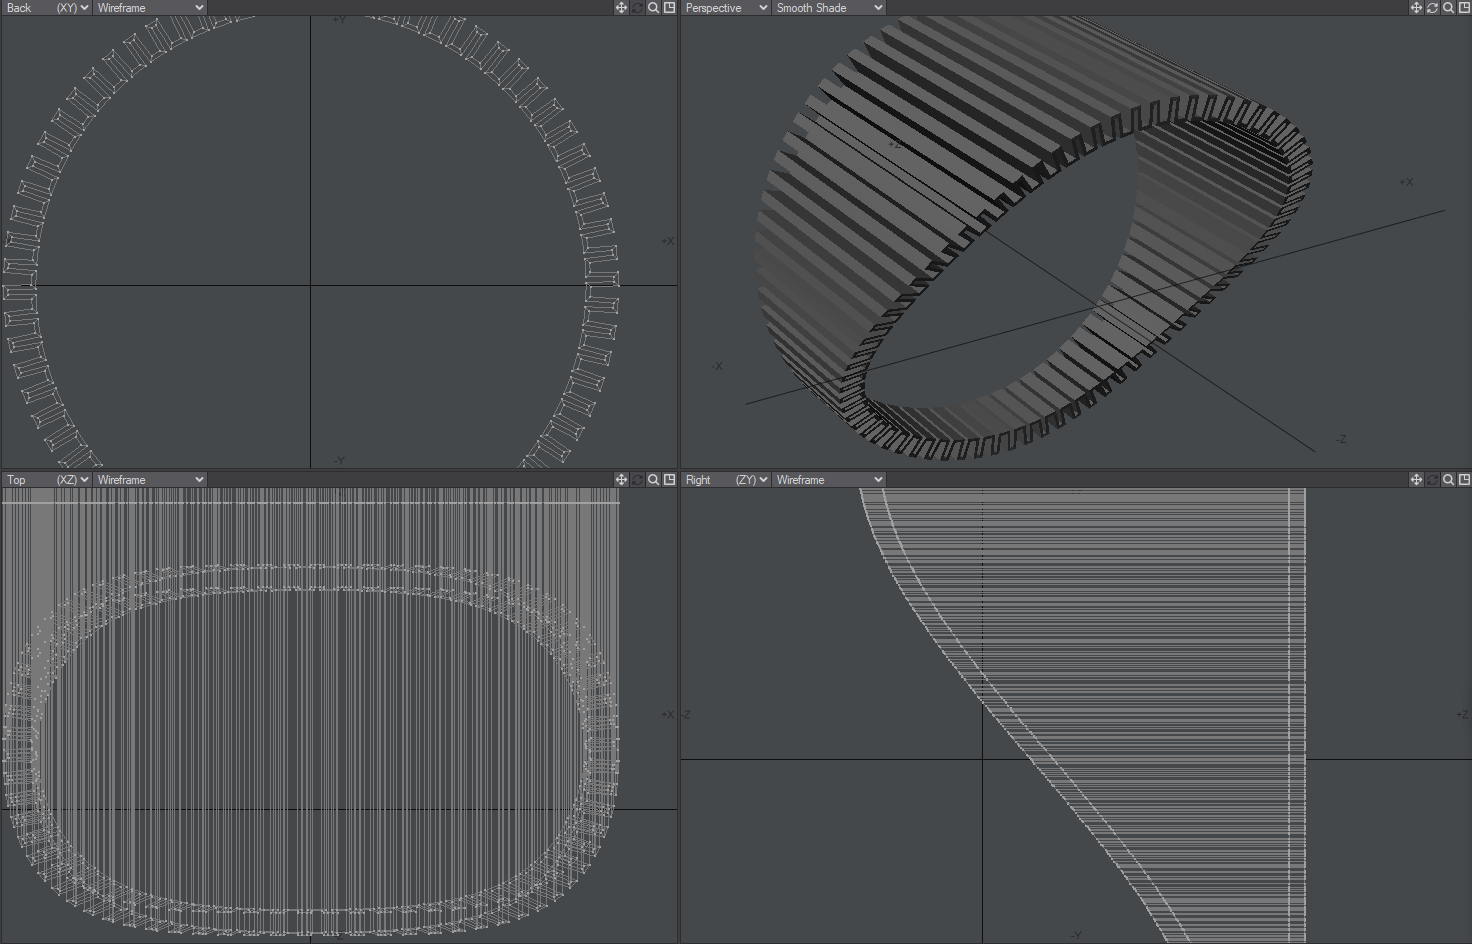
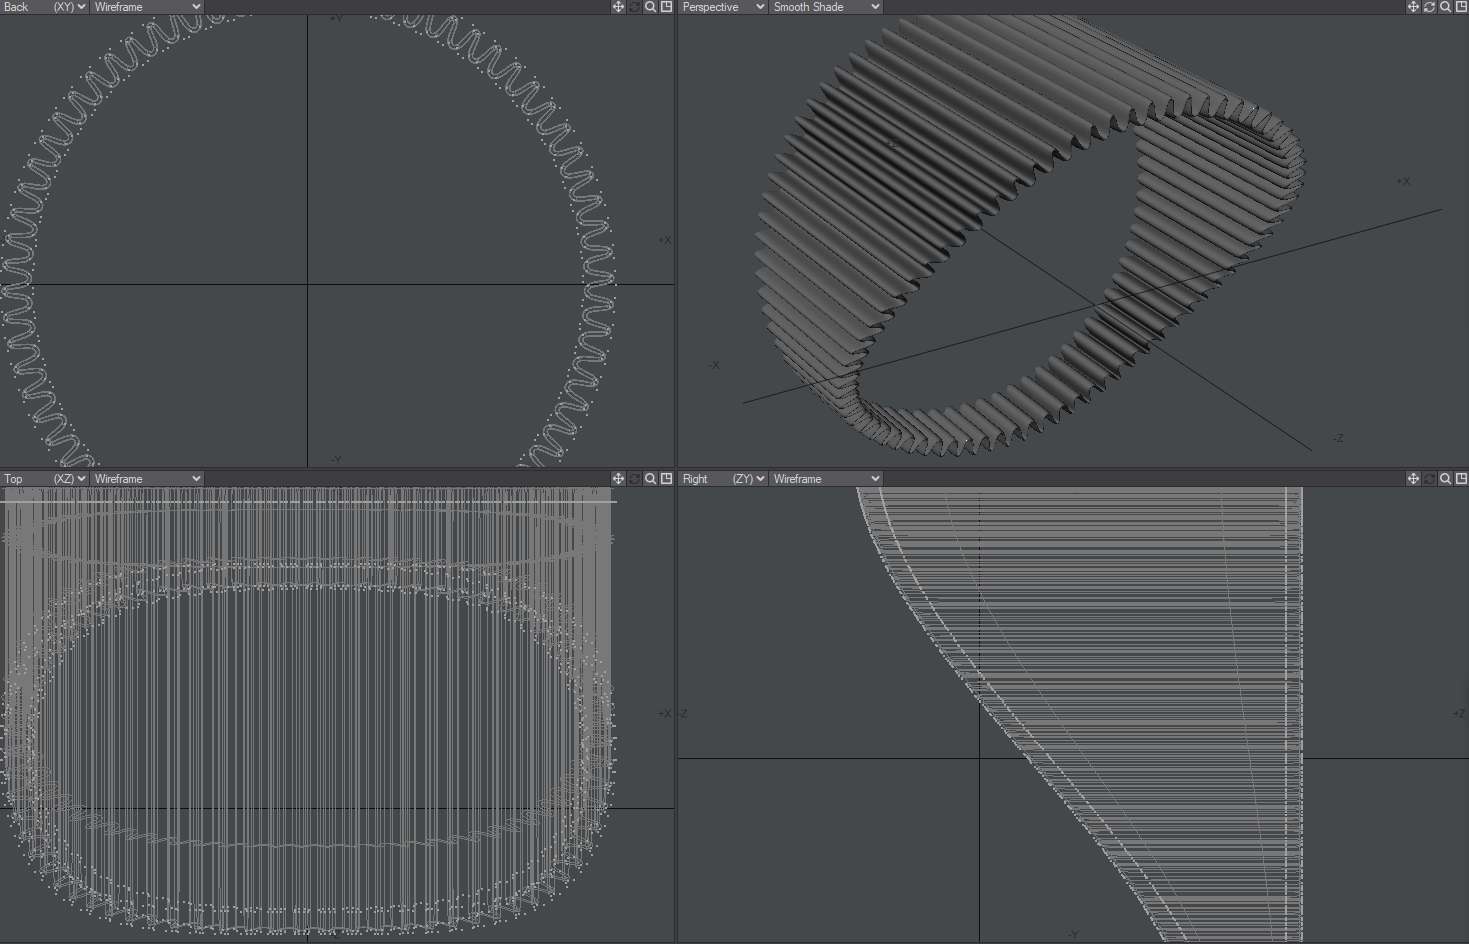
    It's hard to see in the test clip but there are actually four sliding doors that conceal the stowage bay. When the animation starts, the shuttle is in its landed/docked configuration; the tailgear is extended, the lower doors are closed, and the upper doors where the yoke (the Y-shaped part) of the tailgear attaches to the trunnion are open. When the tailgear starts to retract, the lower pair of doors slide fully open and the top doors retract a little more to get out of the way of the retracting tailgear. When the gear has fully folded up and retracted into the stowage compartment, all four doors close.

    After some trail and error, I've decided this arrangement preserves most of the look of the shuttle as seen on Star Trek with a minimum of additions and deletions. There is just barely enough space for everything in the stowage compartment if I cheat a little bit and make the brass cylinder above the silvery piston another piston itself (otherwise, the top of the yoke would intrude 15 cm into the space where the impulse engines are located). The only thing that was sacrificed was that "drag gear" on the inboard side of the yoke that was barely visible anyway (and which made no sense mechanically-speaking). The only things that were added (besides the capability to retract the gear) were the four sliding panels, which are hopefully unobtrusive enough that you could just blame your 19" Philco for the fact you never noticed them before :ouch:

    The modeling on the shuttle is about 90% complete. I still need to animate the forward landing pads, add the vents on the aft outboard side of each warp nacelle, and add a few more interior details--just enough that you can get an impression of what's inside from the outside. Texturing on the outside is already done; this test clip used an earlier version of the model that was not yet skinned.
     
  17. blssdwlf

    blssdwlf Rear Admiral Rear Admiral

    Joined:
    Feb 26, 2010
    Animation and gear looks wonderful and a tight fit! :) I'm guessing there wasn't enough room to slide it flat under the bottom of the hull?
     
    Professor Moriarty likes this.
  18. Professor Moriarty

    Professor Moriarty Rice Admiral Premium Member

    Joined:
    Sep 7, 2001
    Location:
    System L-374
    Not if you want Scotty to have somewhere to point the phasers he was draining during "The Galileo Seven". :D

    You can click the thumbnail below to see a closeup of the tailgear connection to the shuttle (first image) and the stowage bay with the gear retracted and the doors closed (second image).

    shuttlecraft_aft_tailgear_closeup.jpg
     
  19. blssdwlf

    blssdwlf Rear Admiral Rear Admiral

    Joined:
    Feb 26, 2010
    LOL. Nice closeup! It looks like an elegant solution :techman:
     
    Professor Moriarty likes this.
  20. scifieric

    scifieric Captain Captain

    Joined:
    Sep 17, 2006
    Location:
    PA, USA
    VERY nice work!
     
    Professor Moriarty likes this.