Looks great. ")
And I agree, I wish I had more free time!
-Ricky
And I agree, I wish I had more free time!
-Ricky


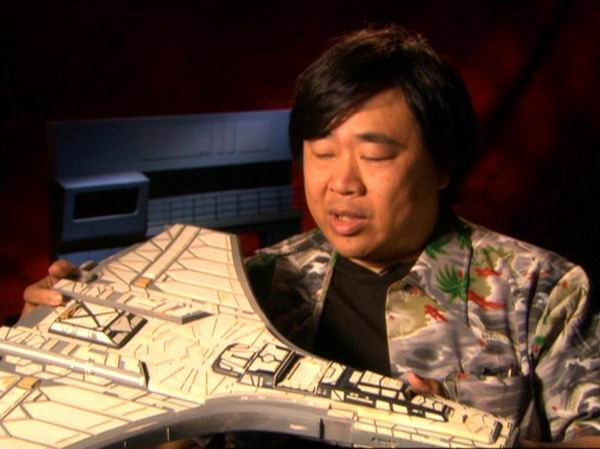


Also since I am mentioning the Vorcha anyone know where the interview is of Jein holding up the Vorcha master with all the sheets of styrene glued on for the hull panels and associated scenes of people working the mold? I am guessing the idea was that they planned to make more than one model in the future for SFX or other purposes. Or if ti was just Greg Jein's MO to do masters then cast them for the final product.
I just do not remember any of these shots of his studio or models in progress.


We use essential cookies to make this site work, and optional cookies to enhance your experience.