• Welcome! The TrekBBS is the number one place to chat about Star Trek with like-minded fans.
    If you are not already a member then please register an account and join in the discussion!

3D interiors in Blender

@Bry_Sinclair: lol, EVA suit not needed, gravity and life support are working properly. ;)

@cardinal biggles: Hahaha, great that I'm achieving it looking somewhat inviting then, it's not easy with the grey! :p

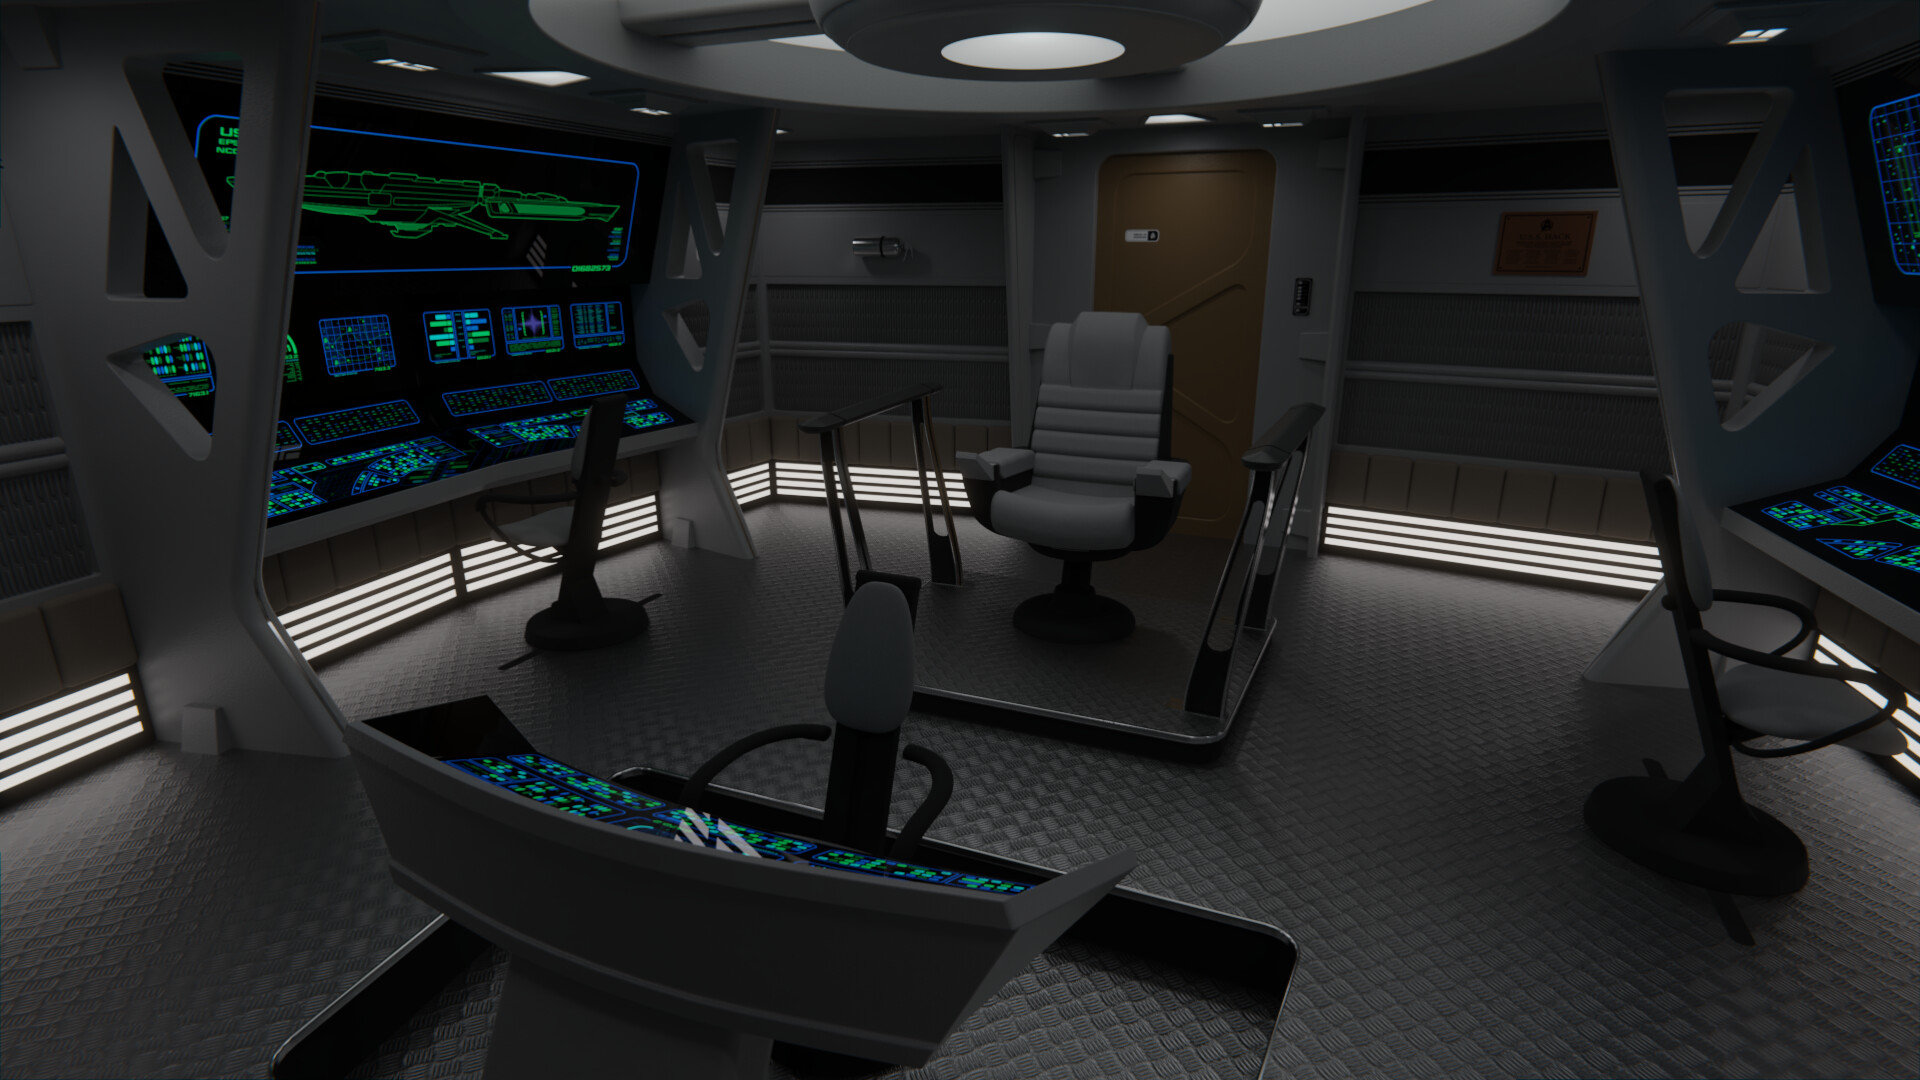
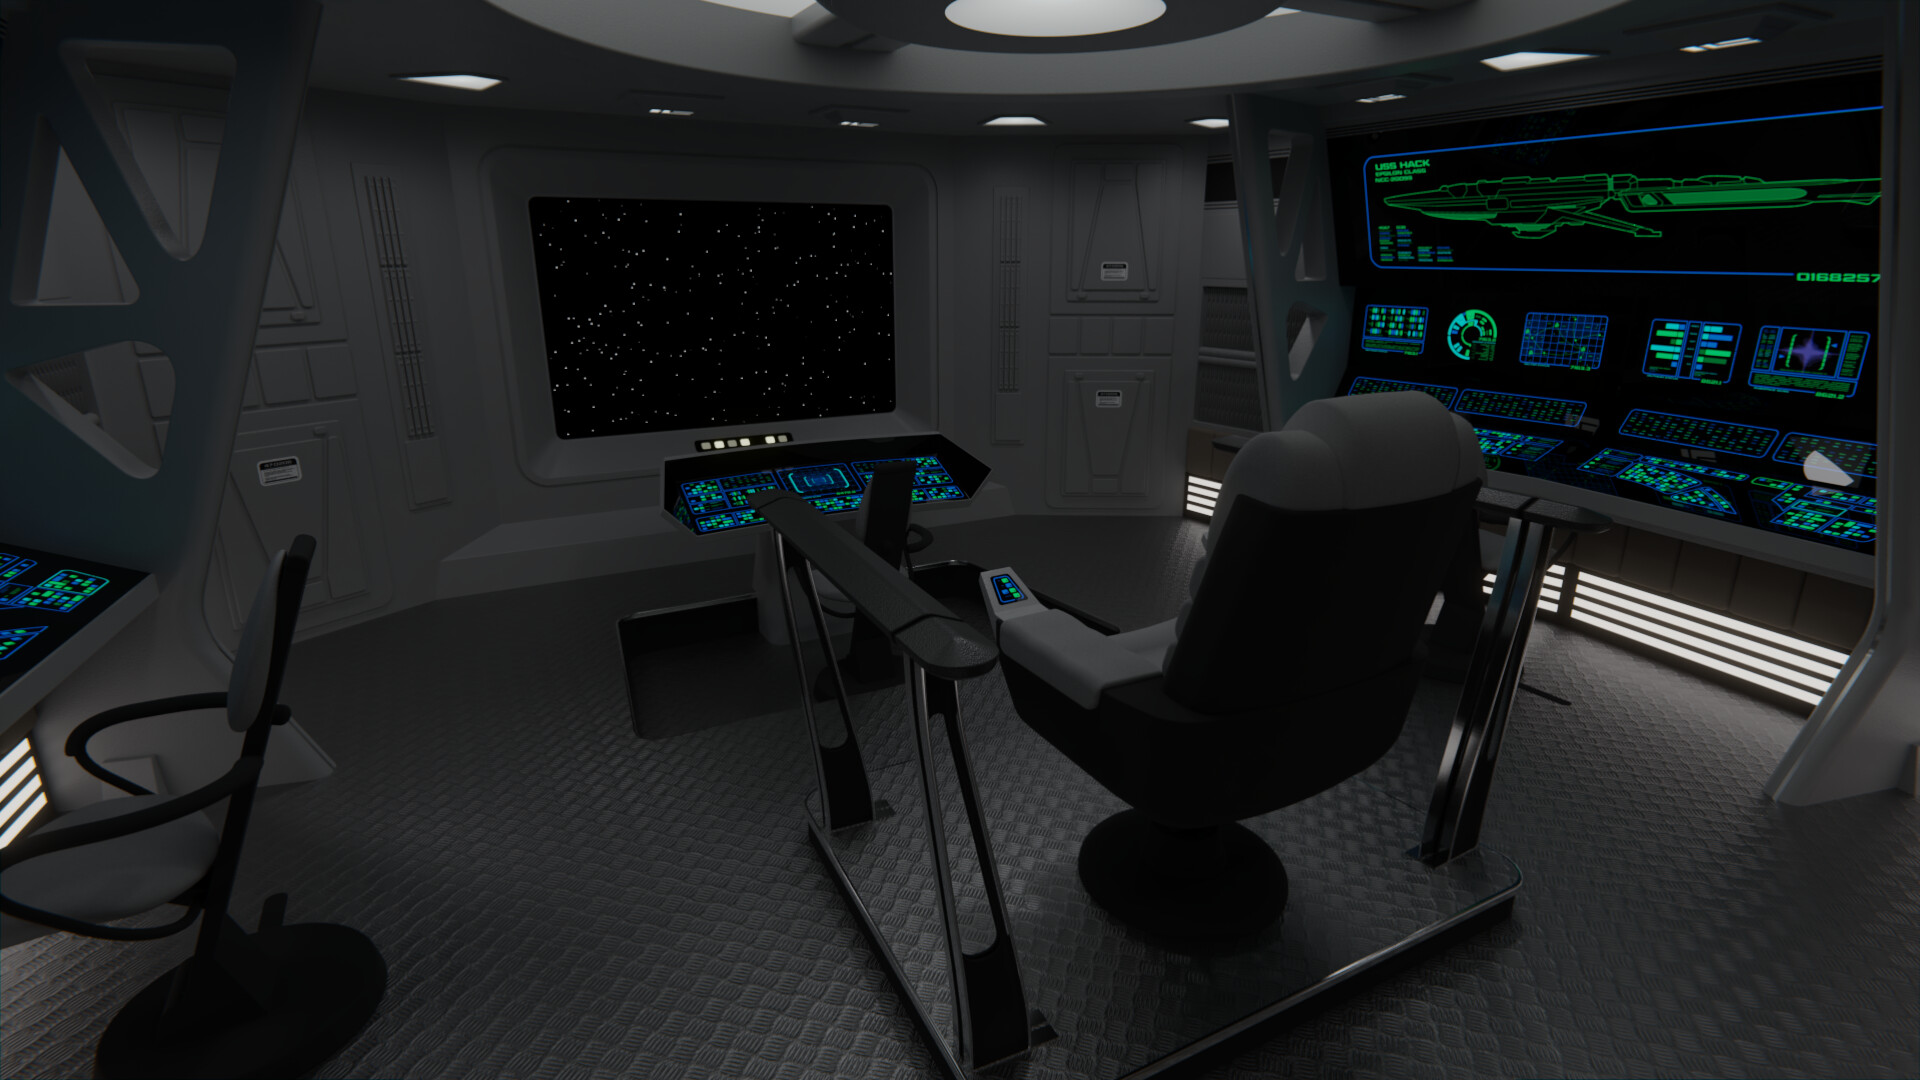
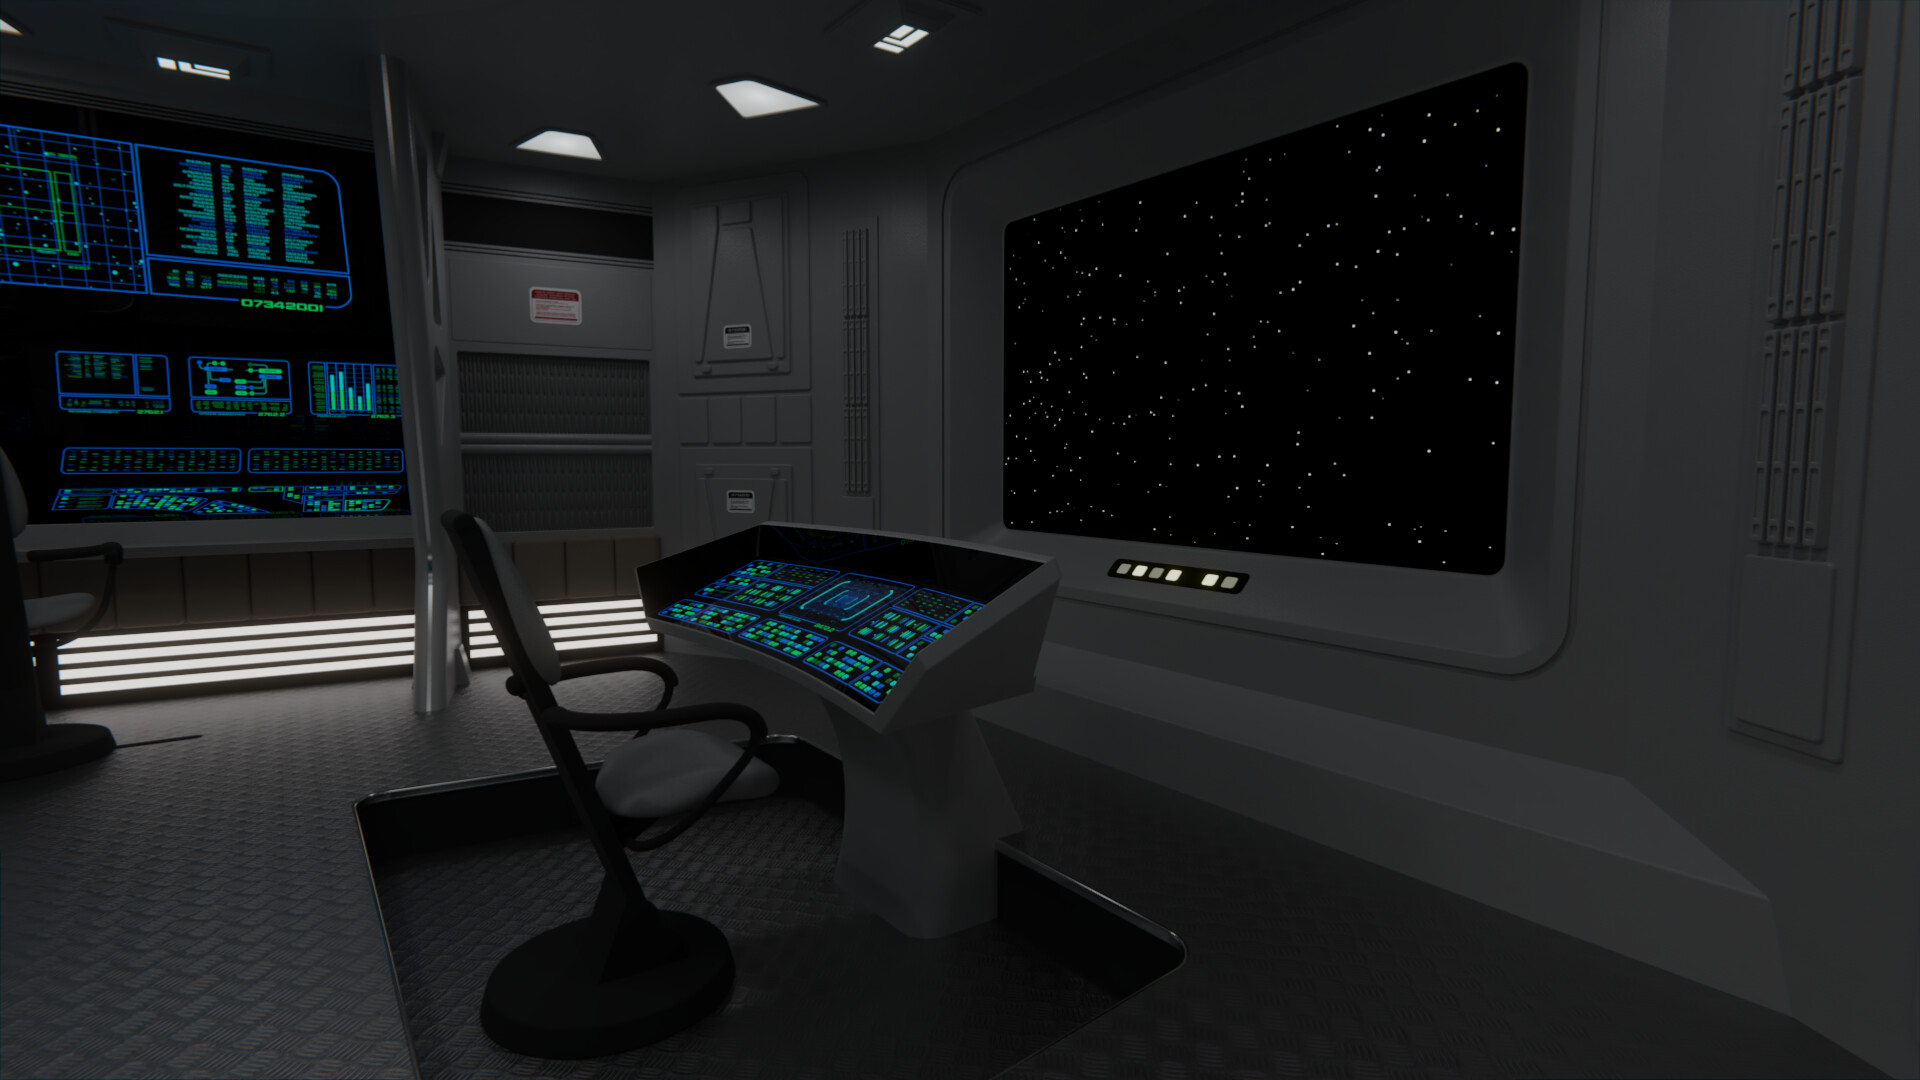
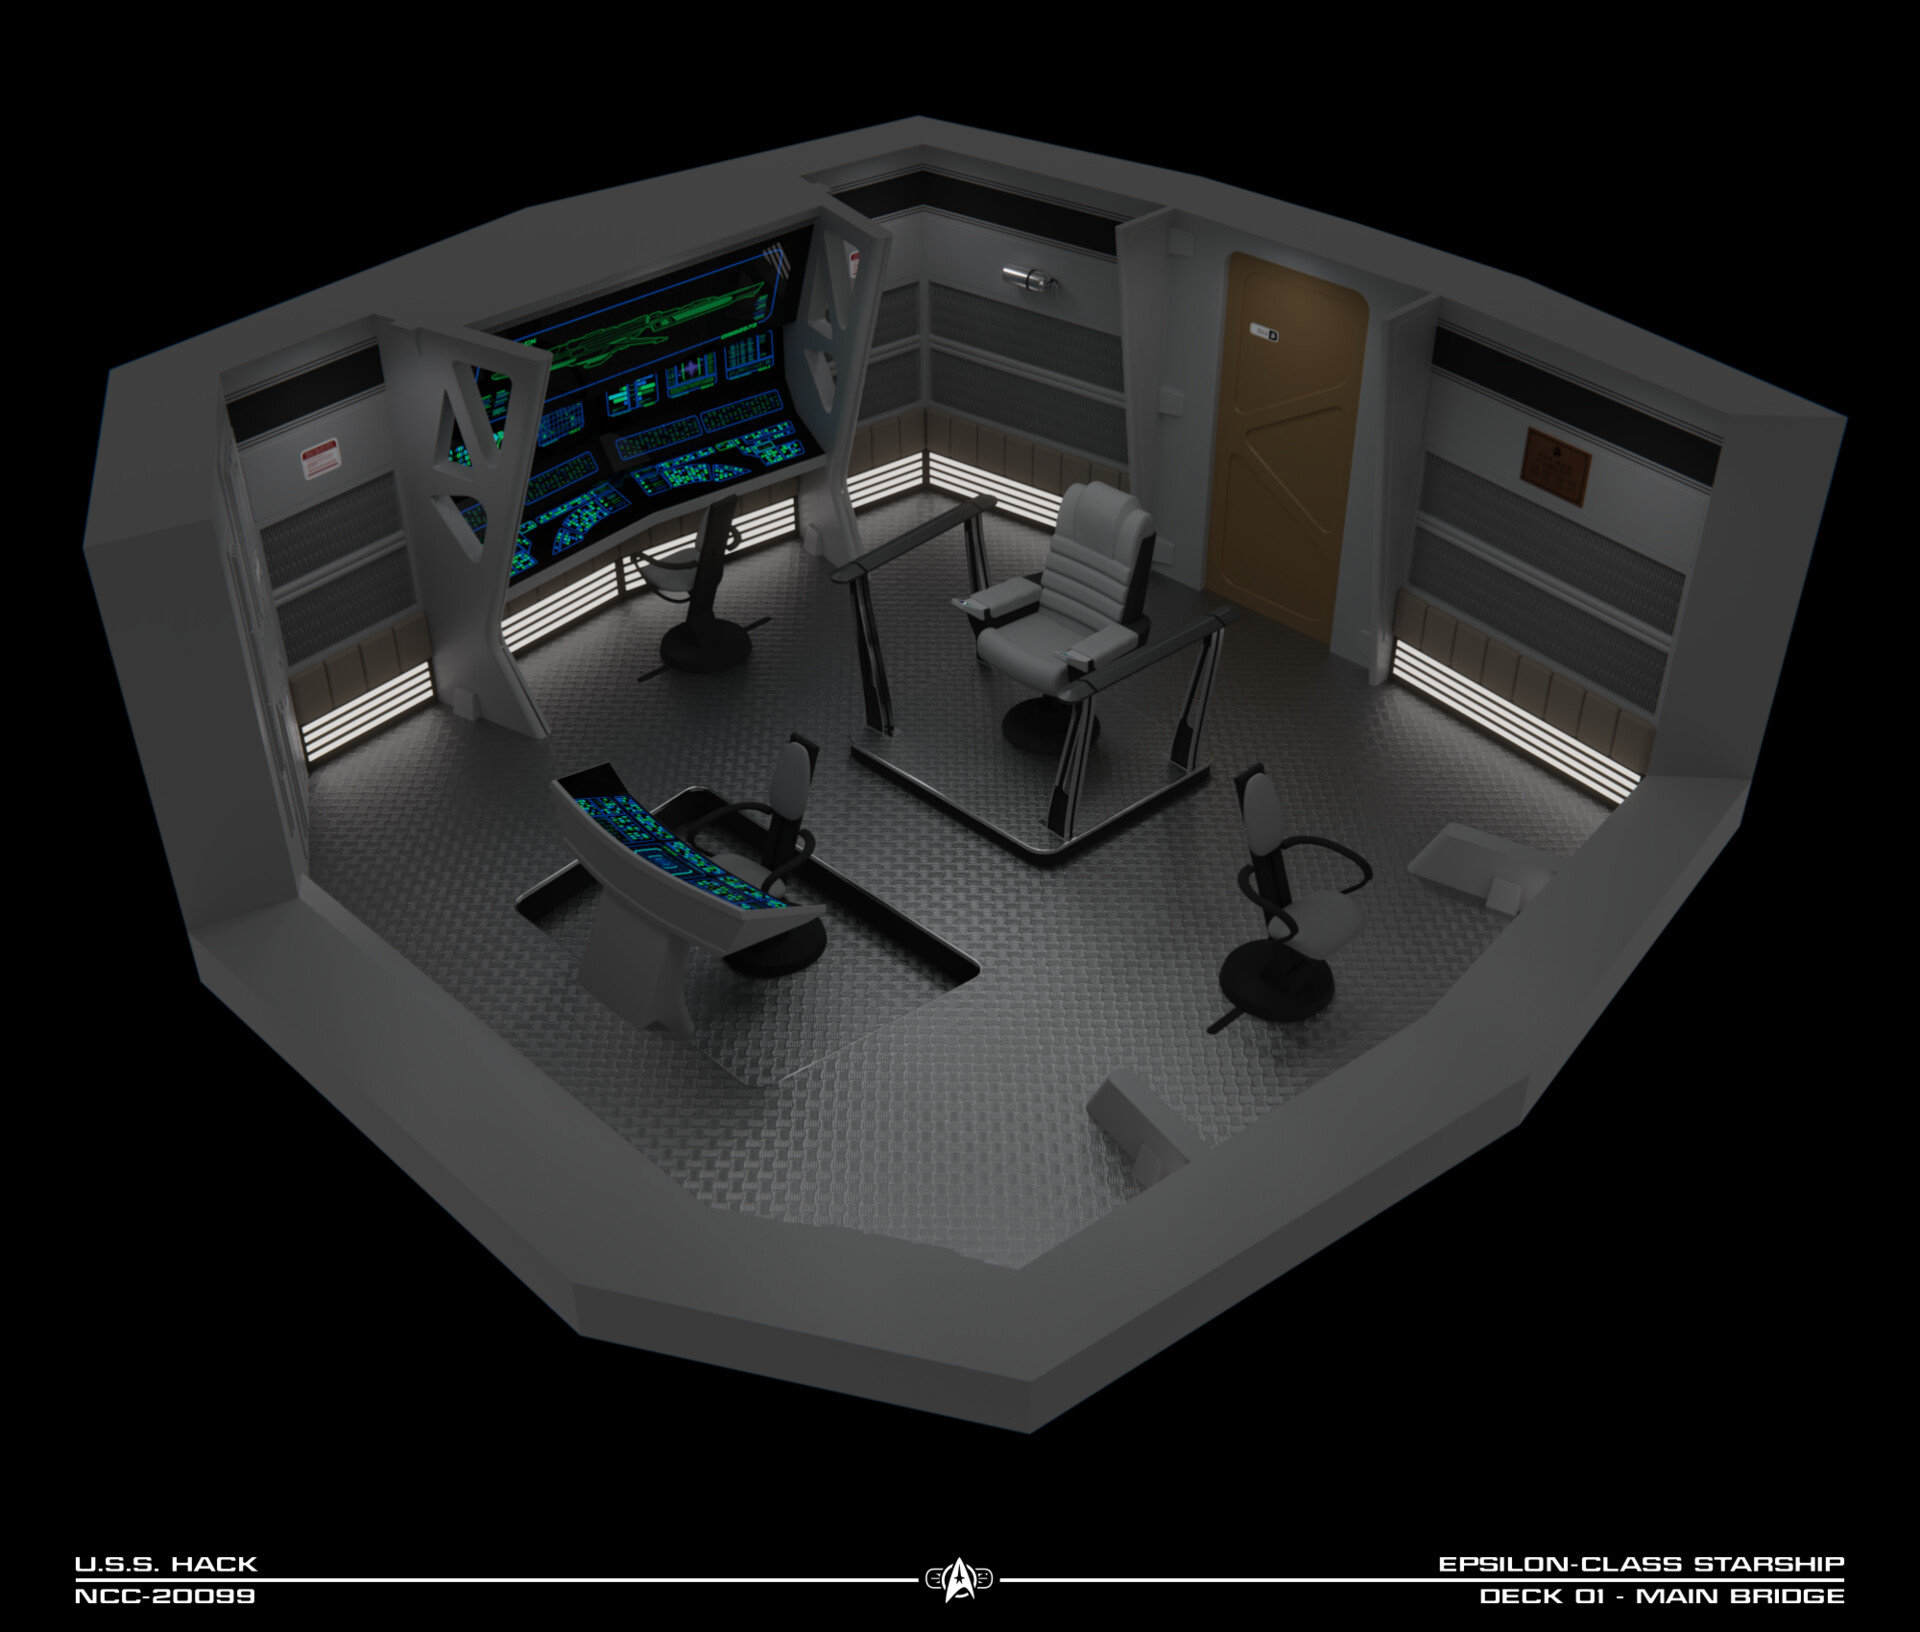
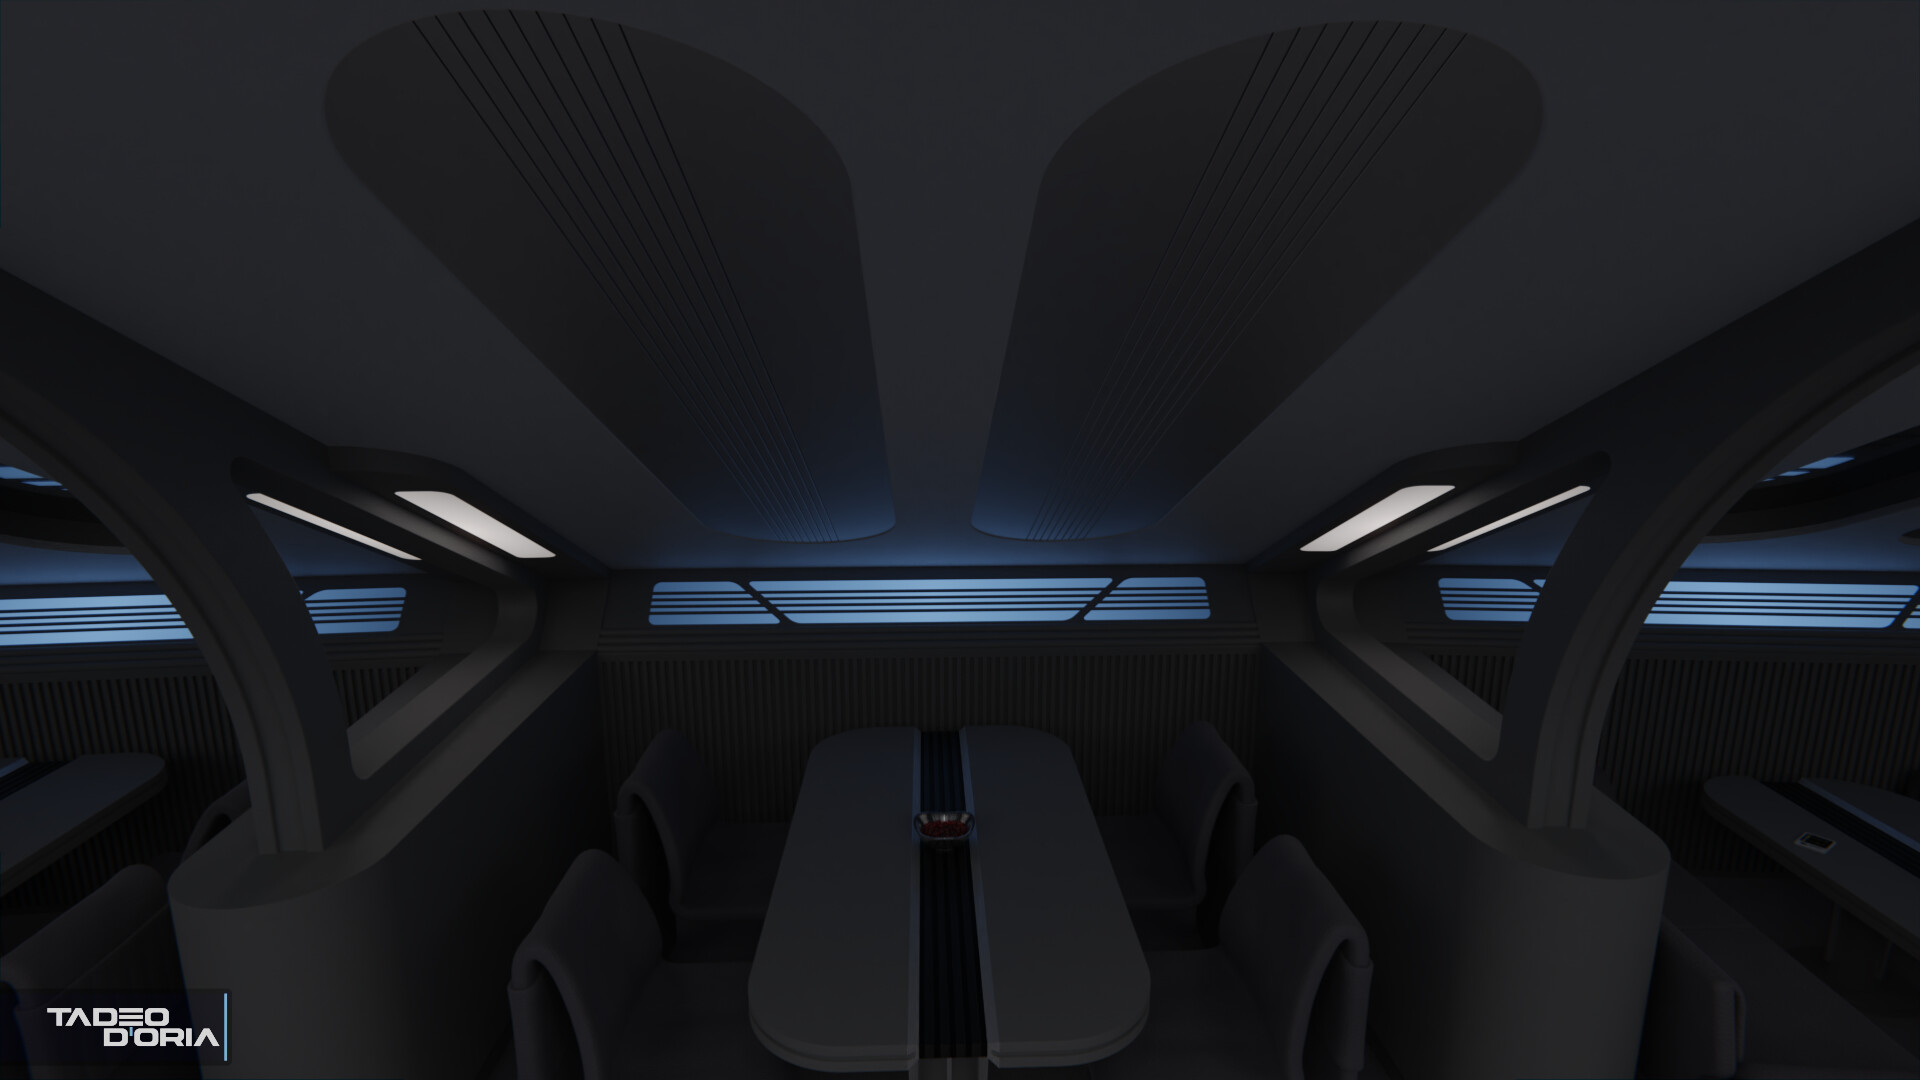
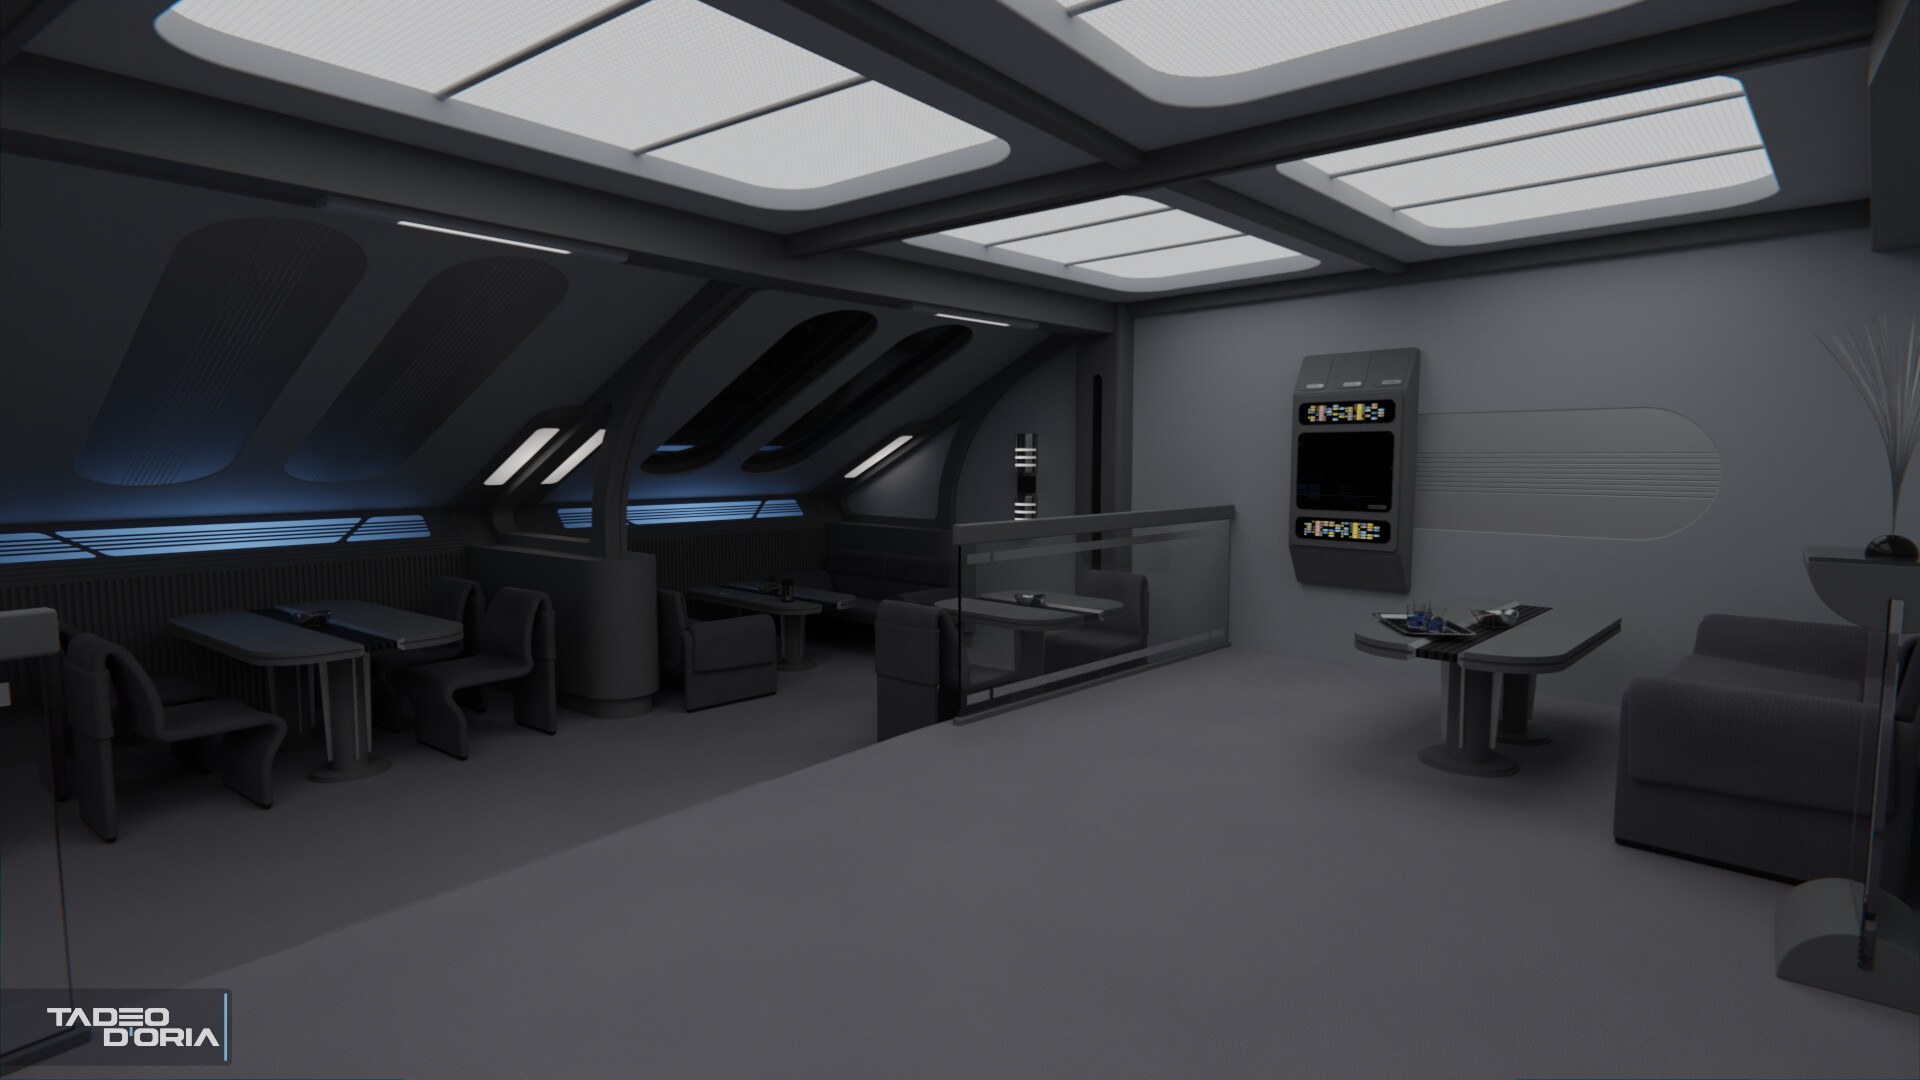
As mentioned previously, the windows shape and placement follows the known exterior design of the Steamrunner-Class, and thus a couple of the wall segments looking into space were left empty. I've added some decoration to these empty spaces, in the shape of metallic "fake windows" with a pattern similar to that seen above the windows on Voyager's mess hall. I likewise modified the wall pattern next to the side replicators to mirror this same design, as I felt it wasn't really tied into the rest of the room before.

Also, I added the same thin extruded lines as on the bar to the wall panels bellow the blue lights under the windows, once again similar to the pattern below the windows on Voyager's set, and seen in the screencap linked above.

What do you think of these new metallic bits? I think the set is finished now, unless there's any other idea for something I could add. :)

tadeo-d-oria-c10-01.jpg

tadeo-d-oria-c9-01.jpg
 
I think the only thing I'd change about the room is the artwork behind the couches; it took me a while to realize that you've got the same piece in both corners, which is kind of dull. If I were the interior decorator on that ship I'd at least put together a different collection of ships in one of the corners, if that's the motif you want to stick with.
 
@cardinal biggles: Heh, yeah I see your point, and I originally wanted to make two pieces; but it would've been a bigger time investment for a small detail that's not really visible from any one place in the room, and I needed to get back to work on paid stuff. :p

I've been working on a small commissioned piece these past few days: the bridge for the Epsilon-Class cutter USS Hack NCC-20099.

The commission called for a modification of my existing SS Rawson bridge with an earlier, Starfleet look. I replaced the front end of the bridge with that of the Potemkin battle bridge to give it a slightly larger area and viewscreen, and sunk the helm a level so that said viewscreen is more easily viewable by the other officers. Here's the end result, hope you like it!

tadeo-d-oria-c1-01.jpg

tadeo-d-oria-c2-01.jpg

tadeo-d-oria-c3-01.jpg

tadeo-d-oria-c4-01.jpg

tadeo-d-oria-uss-hack-bridge-cutaway.jpg
 
Last edited:
Like I said on Twitter, looks like a good party ride for a Trek RPG group. Small enough bridge that all the major characters have a seat.
 
Thanks for all the comments, I'm glad you like this one, it has a nice little project to do. :)

@Norsehound: Indeed! I wouldn't be surprised if I start seeing RPG groups using this one. Always a happy surprise (and a possible new client) when I see people using these interiors on Twitter or Reddit.

@Matthew Raymond: My client saw how the consoles were laid out on the Rawson bridge and liked them that way. ¯\_(ツ)_/¯ It's not like we've never seen this arrangement in Trek before, and it kinda works if you assume each arc is for a single hand of the user.
 
The only problem is that the inner arches make for poor ergonomics. The unlucky people who have to work those stations will end up in sickbay with some sort of repetitive stress injury sooner or later. :p
 
I don't think those inner arches are bad ergonomics, on the contrary most ergo keyboards are split and rotated in pretty much that arrangement down the middle; just imagining using it feels a lot more comfortable than a straight keyboard, where you do end up twisting your wrist to write.

Still, the OCD didn't let this one go; rather than suggest a change to my client, I went ahead and modified those keyboards to mirror the usual Enterprise-A keyboard area, then I showed the changes to my client, who approved it after seeing it in place. I've also added a little rail for the chairs to sit on, making the side buttons easier to reach. You can see the updated images on the original post of the Hack bridge above.
 
If you are not already a member then please register an account and join in the discussion!

Sign up / Register


Back
Top