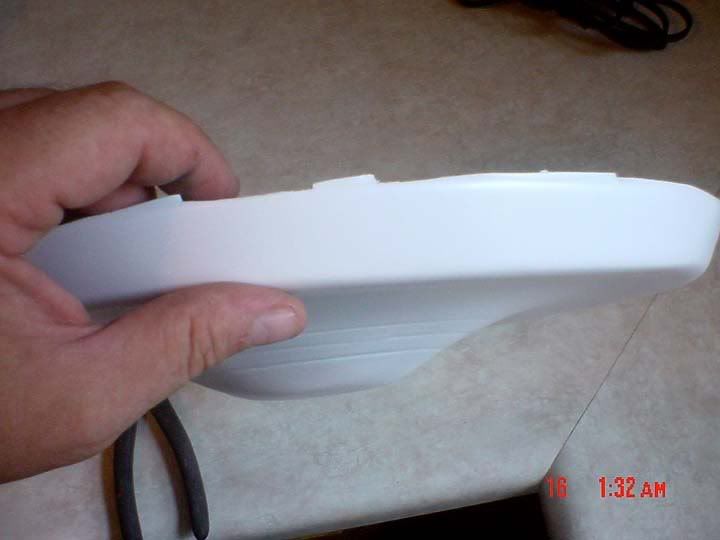
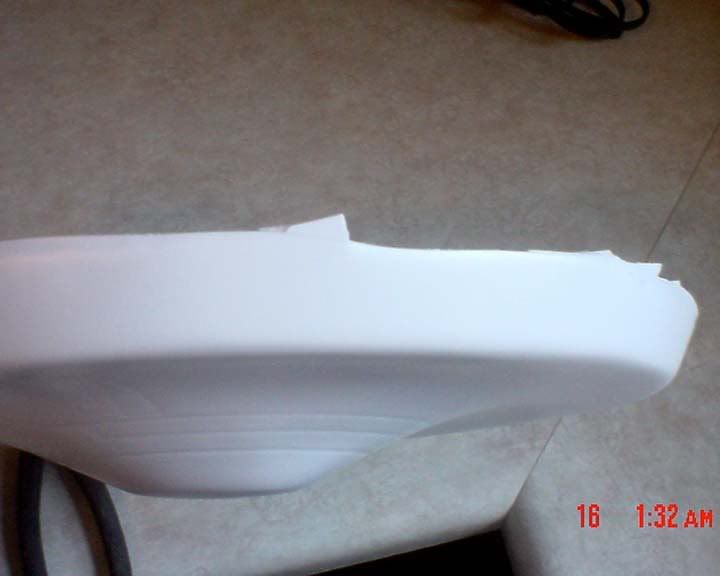
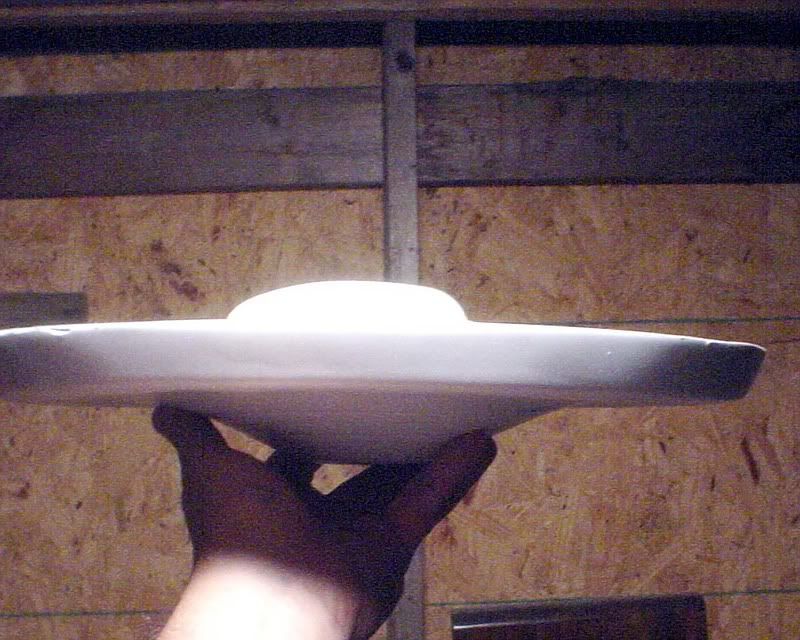
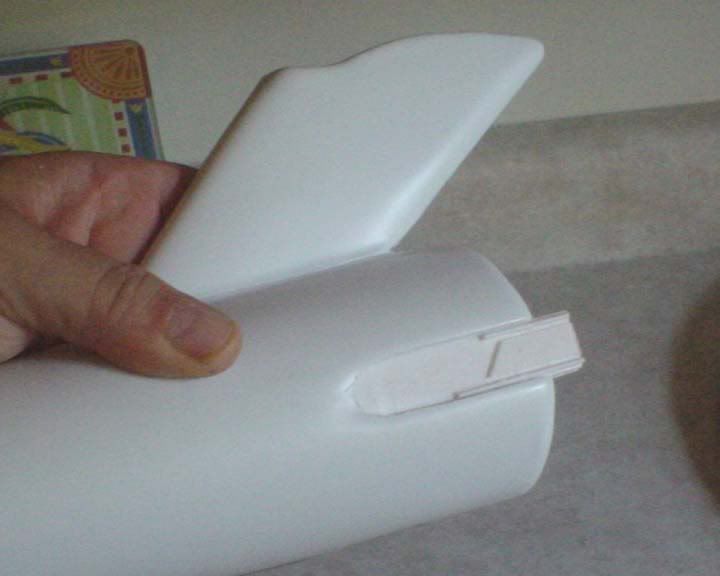
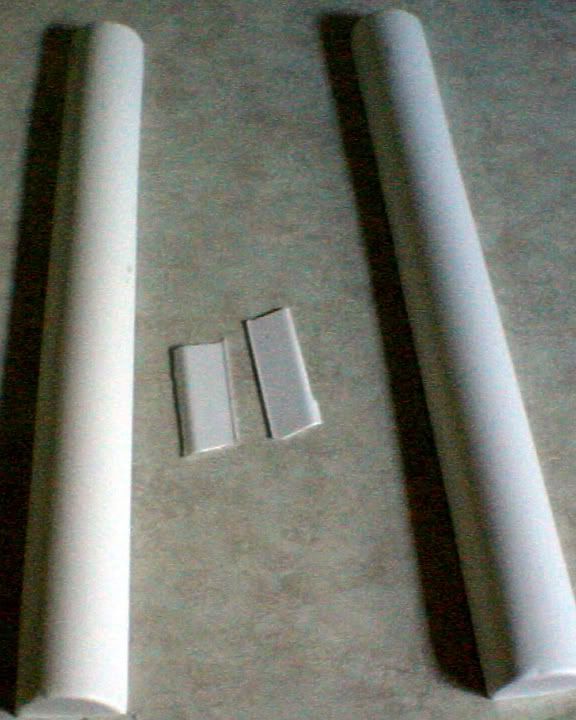
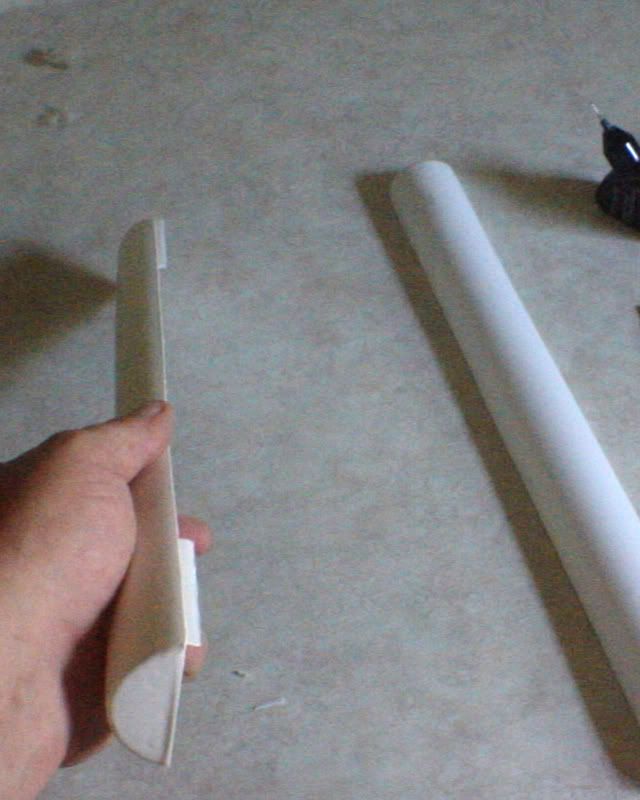
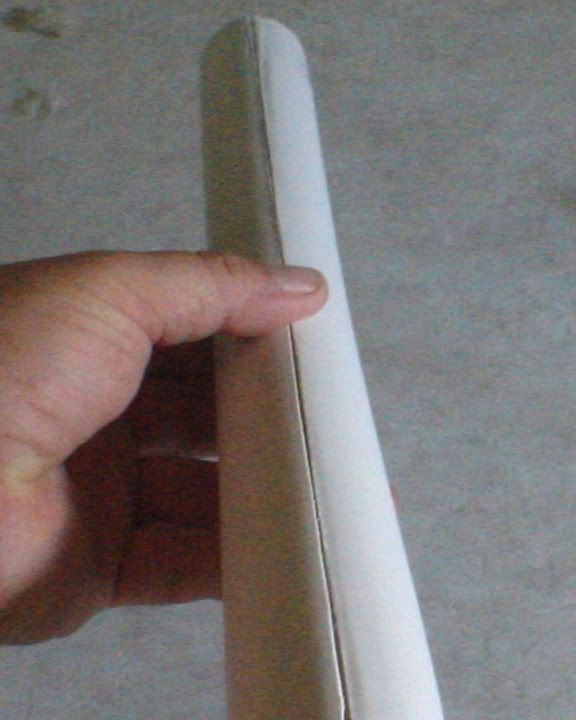
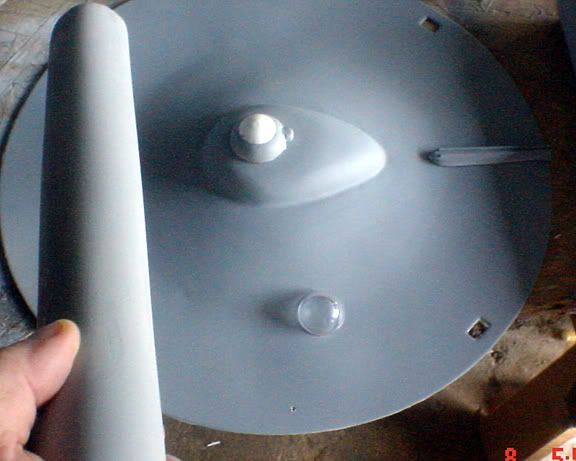
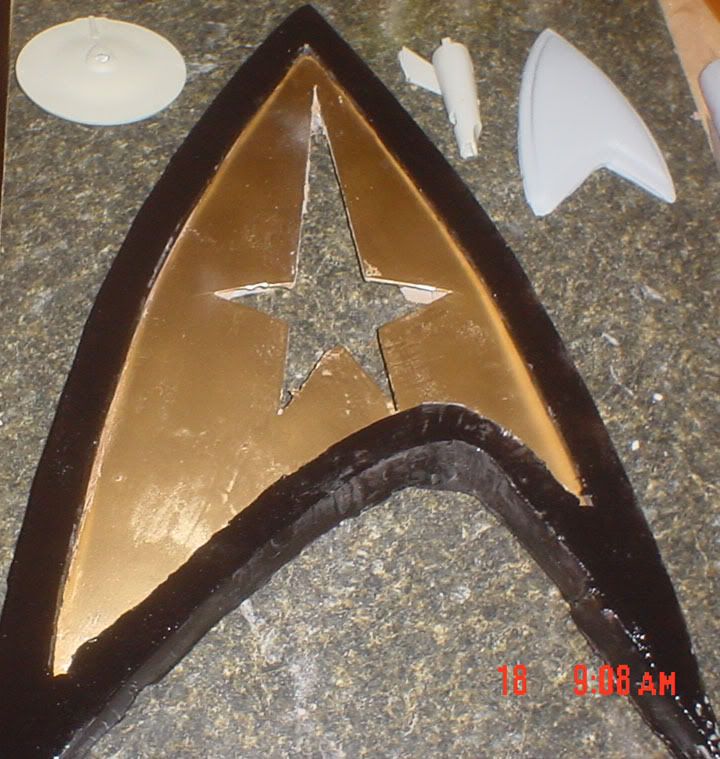
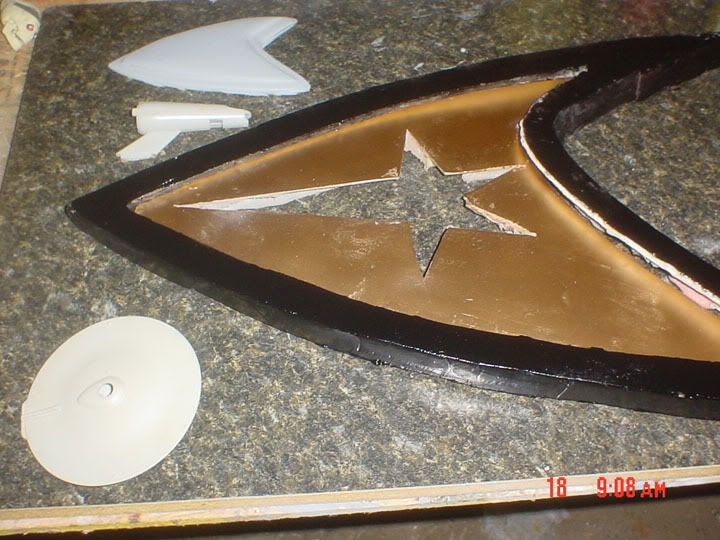
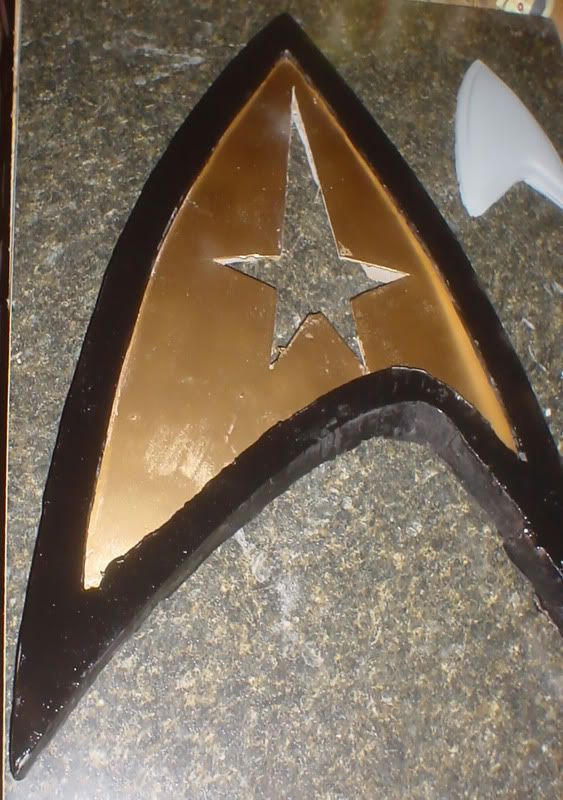
There's been much discussion, at some points, in the history of this project concerning the need for a lathe, especially when it comes to making circular parts and maintaining symetry.
I wanted to share some pictures and quotes from another thread, to show what I learned from REL, which actuallu confirmed much of what I've said in the past about scratch-building.
Since this is what I'm working on now, I thought it applicable.
My previous post on this subject, to set the stage...
"Well....the TOS Enterpise is just a series of cones and spheres.... I mean I've gotten pretty good results with tubes, cones and spheres, made out of paper and balsa wood. An associate of mine, took my finished parts and matched them up with the MR and said that even though the masters had been made by me, out of paper, tape, foam and fiberglass, that they matched up very close to the MR, several parts were spot on and I had started my masters back in Oct of last year.
I'm not saying that they wouldn't be accurate down to .001, if you used a lathe, but what to do if you have no lathe, or turn table, or expensive equipment?
You use what methods are available. REL's work on the E-D and others is a perfect example.
I find it amazing that I get the results I do. This is my first go round and I've never sculpted anything like this in my life. So, to see what's possible is just astounding.
I tried all of this, in the begining, by going through a machinist, but they wanted an arm and a leg to do anything and took forever to do a thing. I still have half of a ship sitting in a machine shop 30 miles from here, it just never got finished. The thing is, I've done my fair share of machining, but I don't own the equipment. I even offered to do some work for the guy, to help speed things along..."
Quoting REL.
"Actually I did use a screeding/cross section method on the saucer to the D, but because of it's oval shape I couldn't use the traditional method of mounting it on a board with a pin in the middle. I also knew that cross sections would get me the basic shape, but no matter how much I sanded, I would still see a ribbed area from each cross section when it was smoothed out.
So after filling in the cross sections with foam and skinning it with bondo, I made a hand held piece of plexi in the shape of the saucer contour that had a notch at the base so it could slide along the outside edge of the saucer, then piled bondo into the middle and worked it around the top of the cross sections. I used the same technique on the Bird of Prey to get the saucer on that.
So this works very well for surfaces that aren't round but when you still need a nice smooth and perfect edge.
Not trying to hijack your thread KTM, just offering some easy tips.
Illustration of what I did on the D's saucer.
http://sovereignreplicas.com/hand_screed.jpg
http://sovereignreplicas.com/D_054.jpg
To whit my response was.....
"Thanks REL, perfect example of what I was trying to articulate. Right on. I appreciate that."
REL was again kind enough to illustrate....
http://sovereignreplicas.com/hand_screed2.jpg
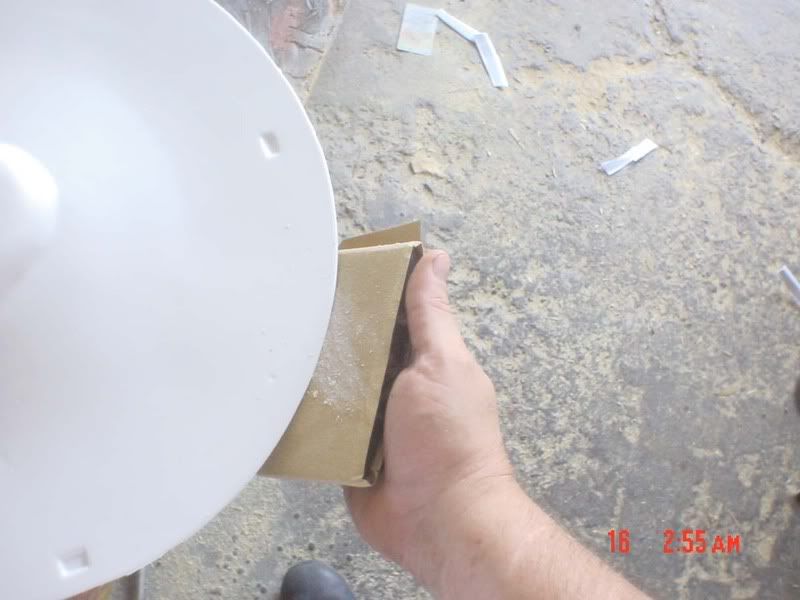
This is essentiall exactly what I was doing initially, only without and exact cut template. I've since when with the cut template and am finishing both the upper and lower saucer sections. I'll have links to new updates soon.


