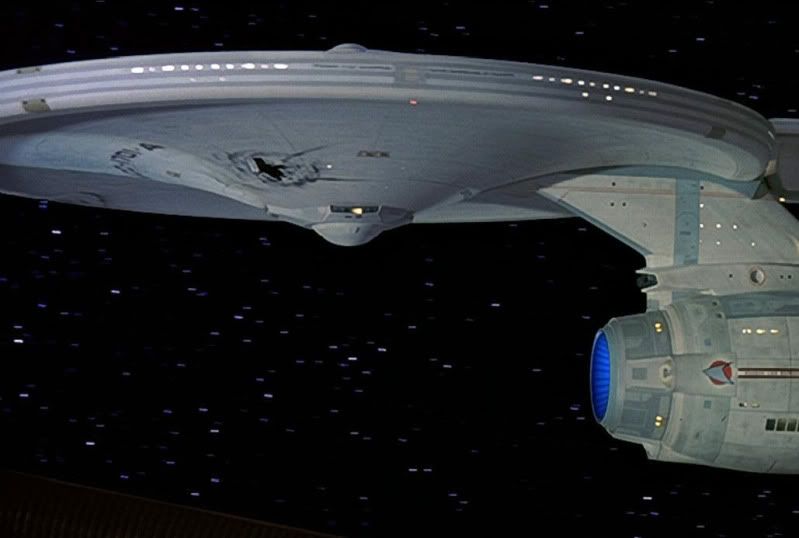
Concerning the neck, I felt that the neck below and above the red line is a single piece. A section was removed from (or grafted onto) the front of the neck to accomodate the wedge shaped \_/ nose. These were blended together with filler and sanded. The curved section at the leading edge of the neck was a third piece added on and the same process of filling and sanding done.
Yes, but let me show you how I think it can be done best, if I was a model maker. Sorry for the amount of big pictures I'm going to use

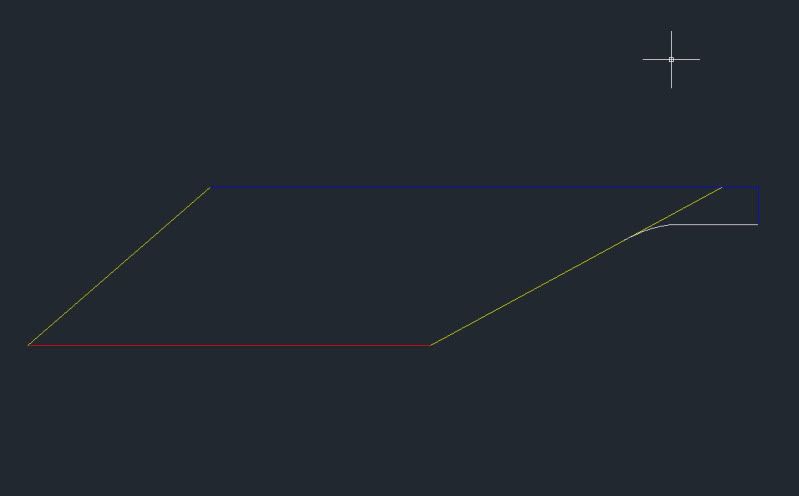
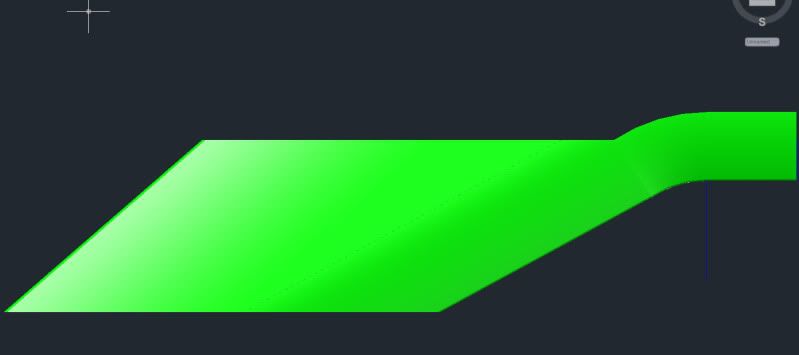
I would start with the front edge leding up to the saucer and determine the surface on the bottom and top:
From this I would make the front and back:
Then I would fill up the trapezium shape,
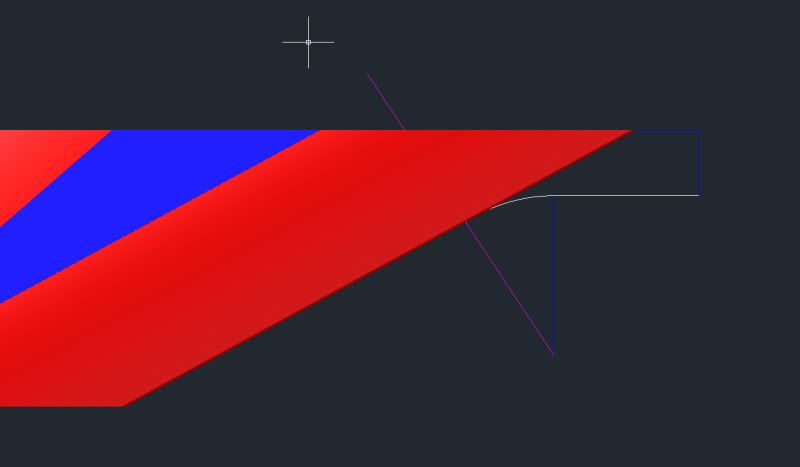
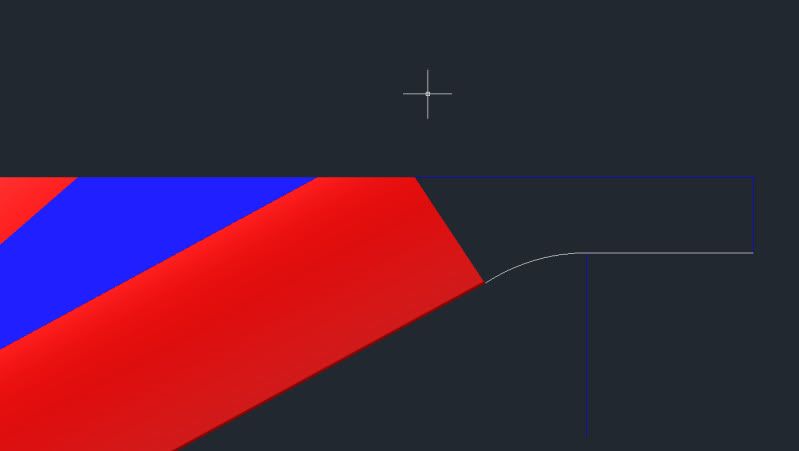
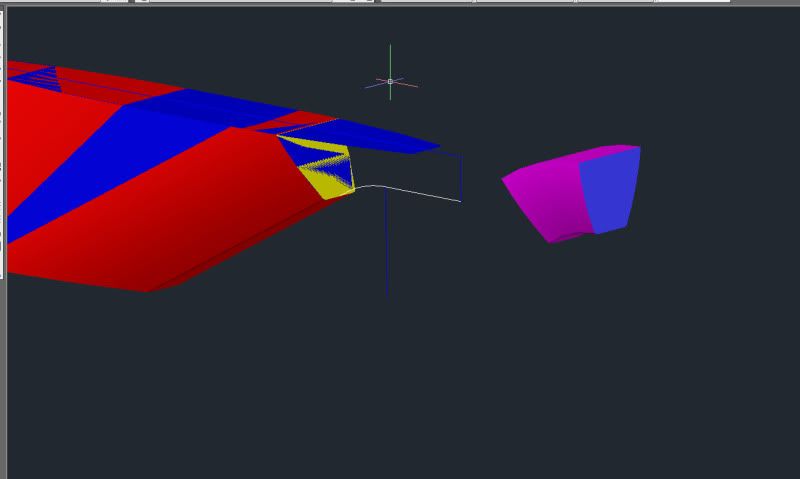
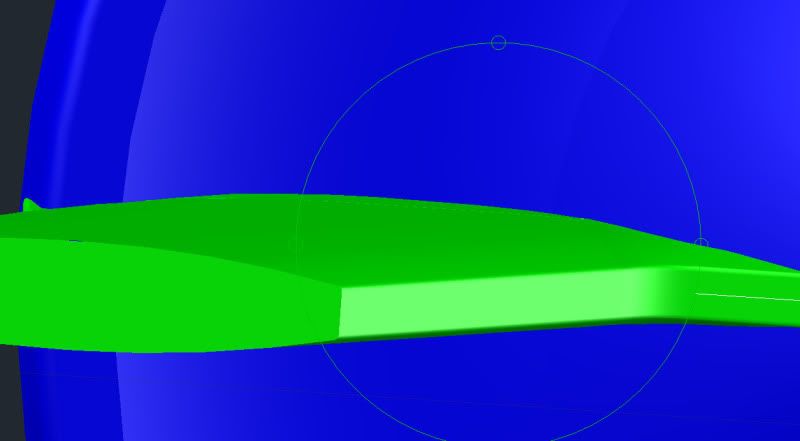
and cut of the point of the front, from the center of the curvature I need (magenta line):
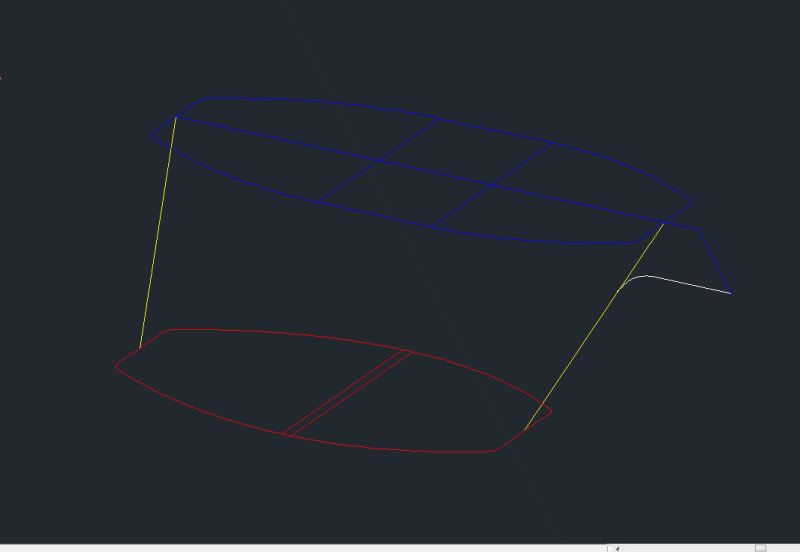
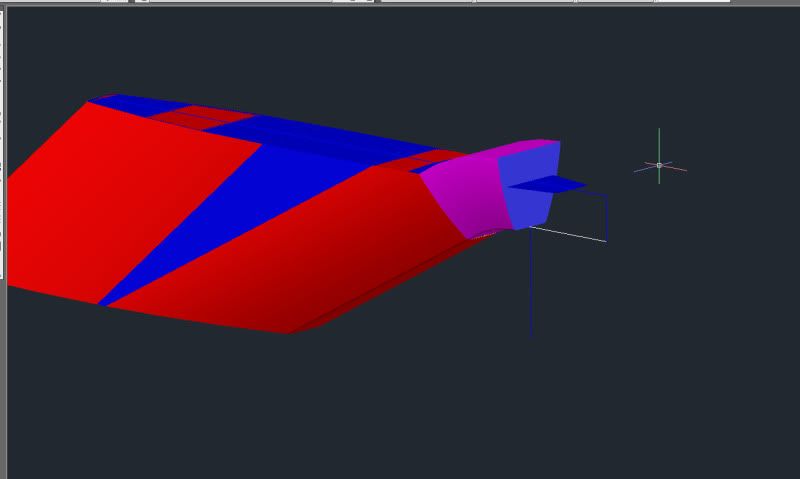
From that I would have a cross section, the yellow and magenta colored plane:
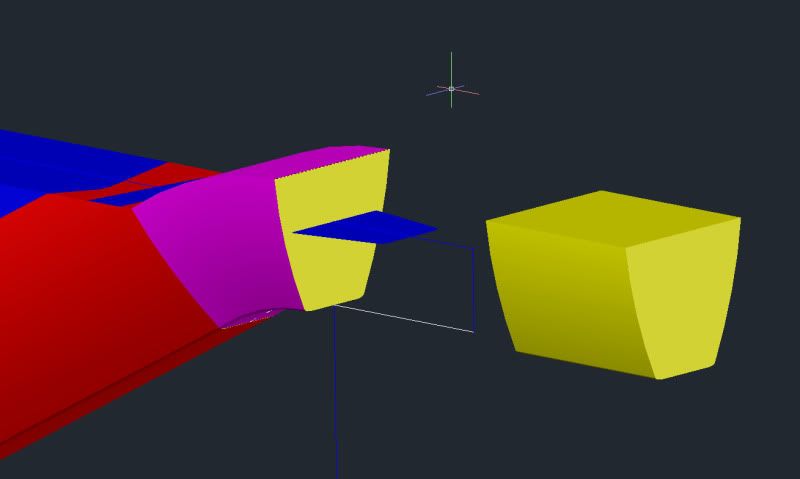
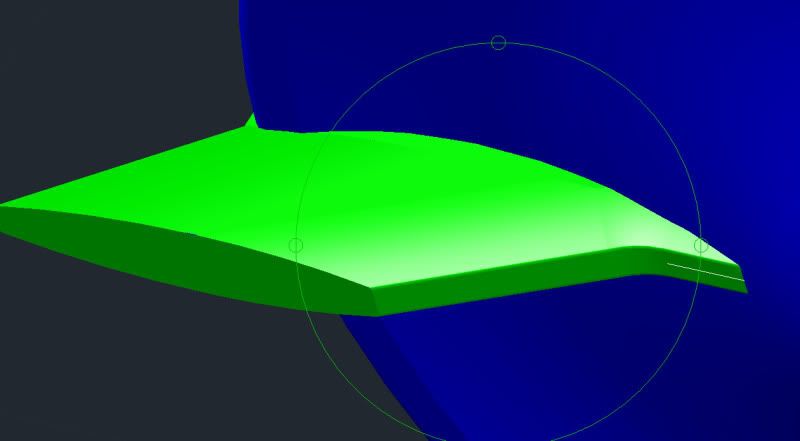
This plane I then could use on a CNC machine and make a nice rounded shape:
From that shape I could take the piece I needed for the curvature:
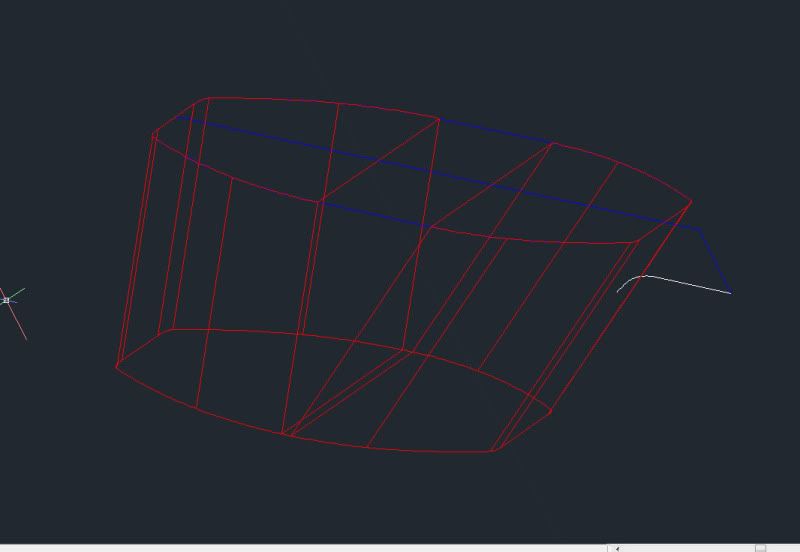
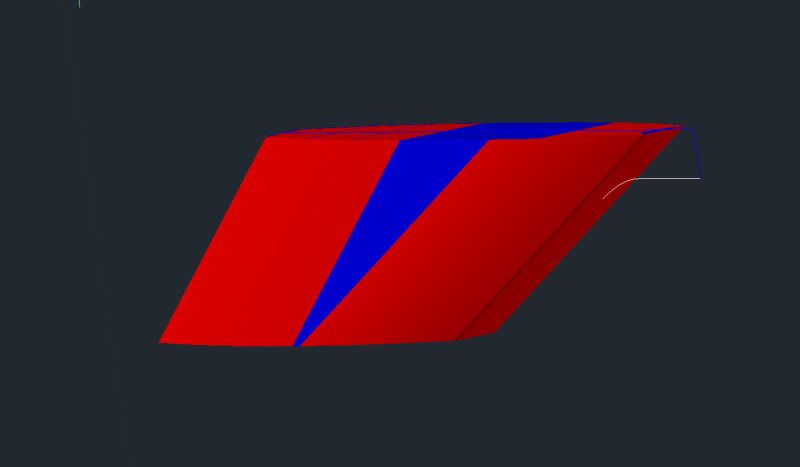
From that I would get a plane to elongate a beam:
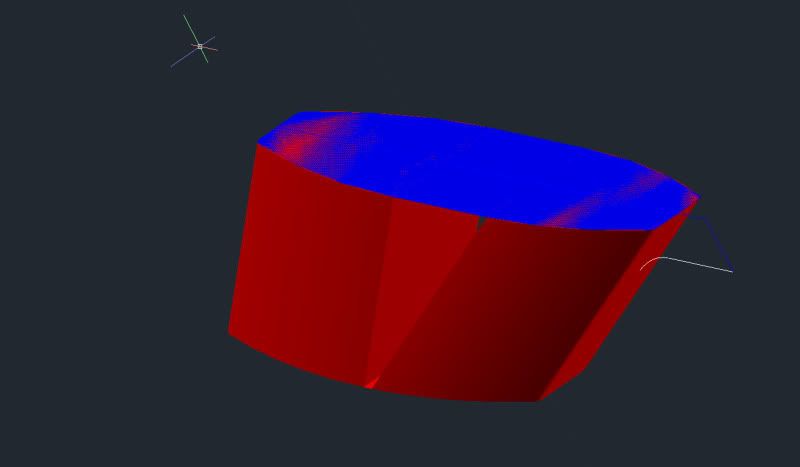
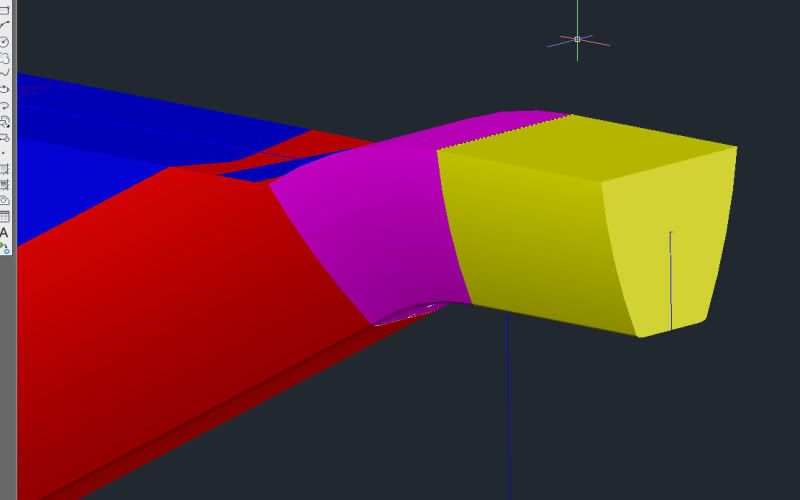
So I would end up with this:
Now if I would stick that part in a saucer I would get this:
That is, if I was a model maker.
Made in AutoCad, print screens, so expect it to be better when rendered in a 3d program.
")


")