Sweet! Would it be too much trouble for you to draw up a wiring diagram for this? I'm curious as to how to do stuff like this myself. Best I can do right now is just attach a lightbulb to a battery.
 :rolleyes:")
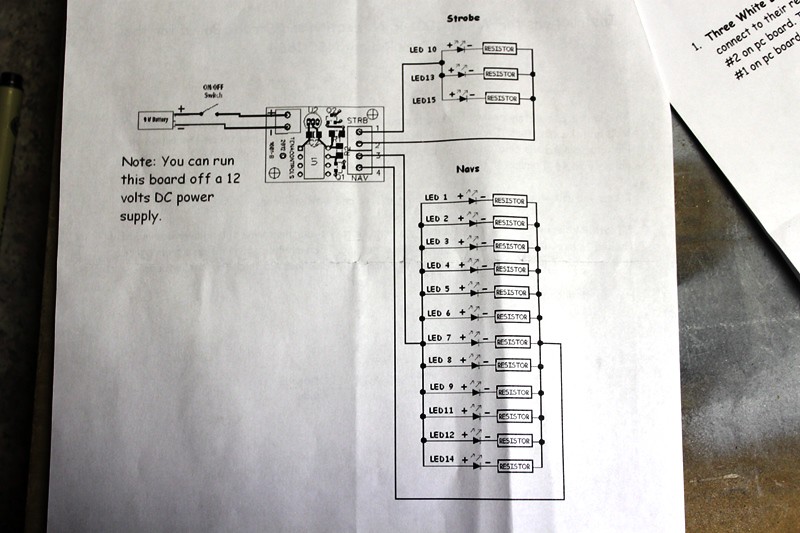
Here's the wiring diagram provided by Tenacontrols for the nav/flasher wiring. It's a parallel wired circuit running off a 12 volt wall adapter. You can also run it off a 9V battery. There is a slide switch located in the base where the wall adapter plugs in:
The rest of the window lighting was basically the same type of parallel wiring with some series wiring for stern impulse engines and shuttle bay door lights.
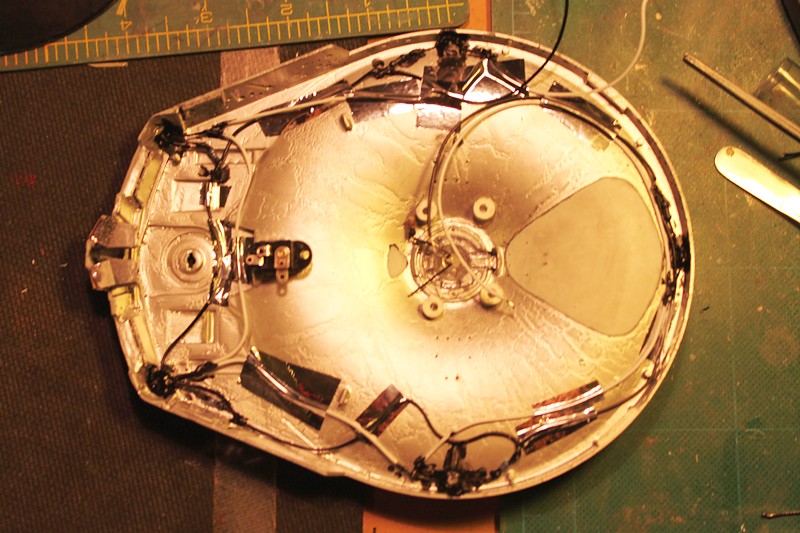
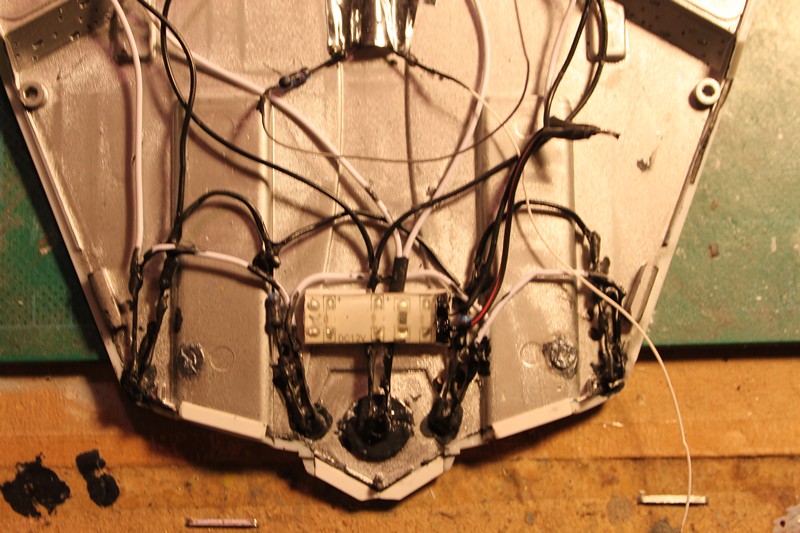
Here's a photo of the power jack cemented into the stern half of the lower saucer and the nav/flasher board placed in the center of the saucer:
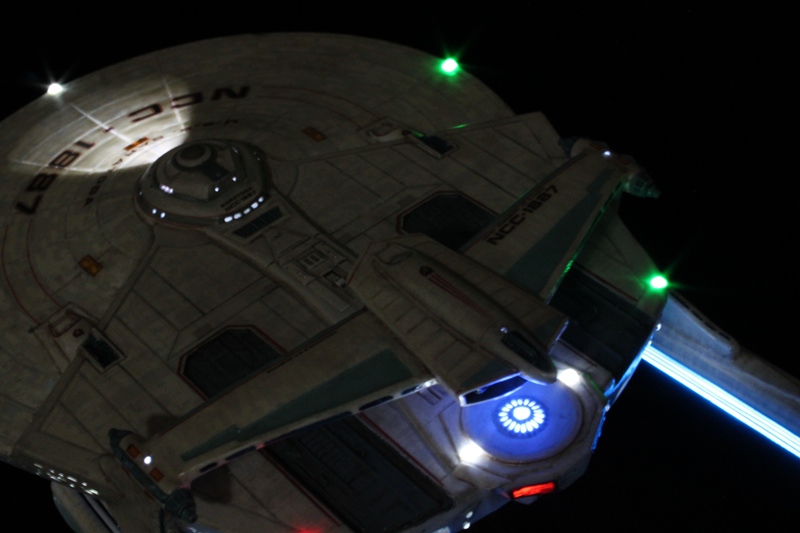
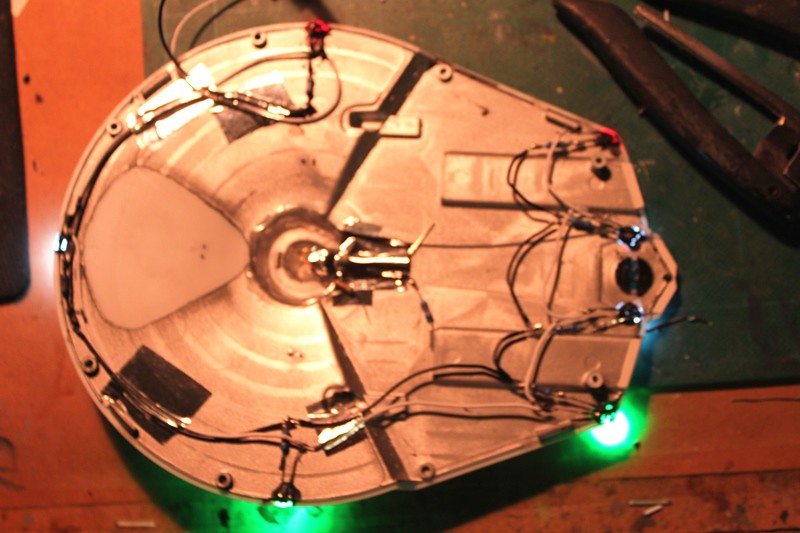
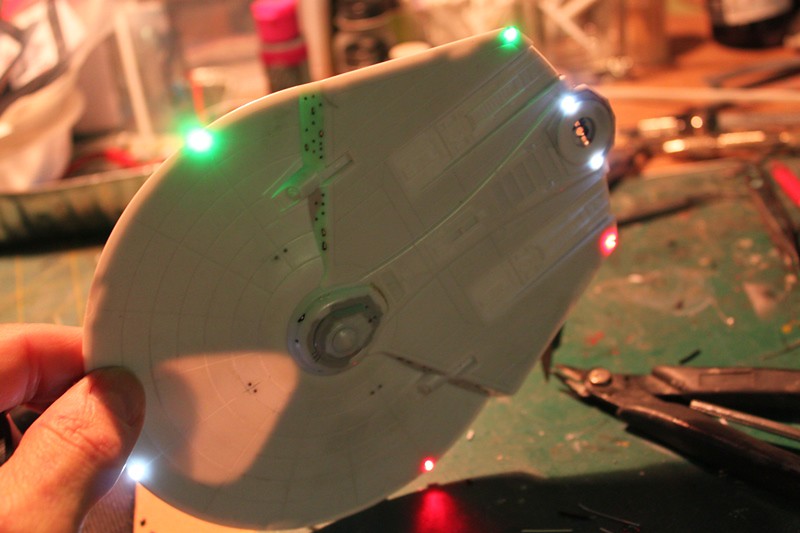
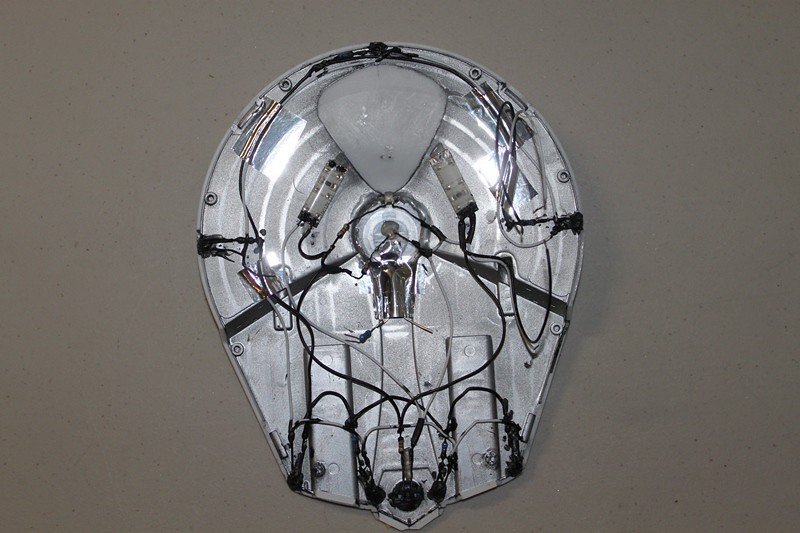
Here you can see the wiring for the lower hull formation lights. They flash one second on, one second off. The strobes at the ends of the nacelles and the top of the bridge deck do a fast blink, then one second off:
Upper hull flasher wiring:
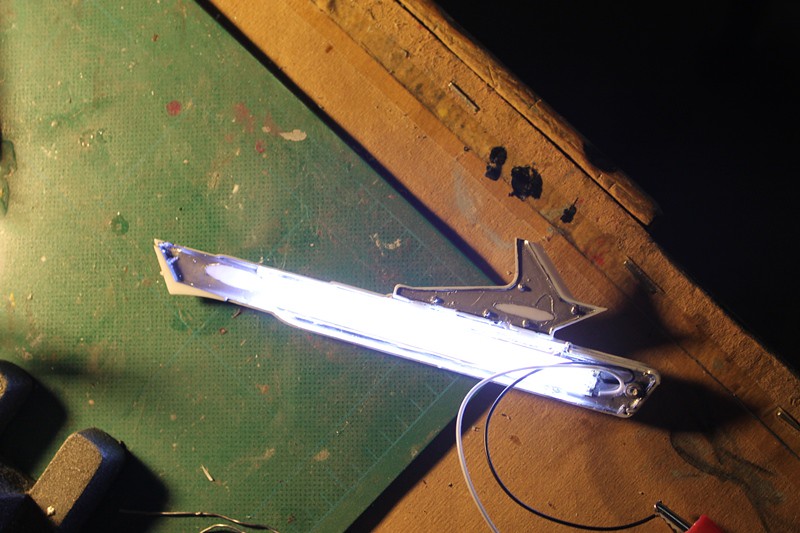
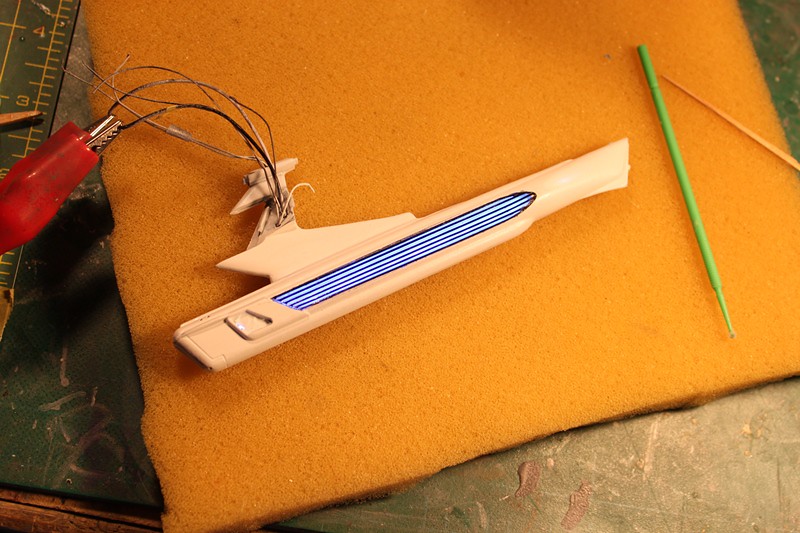
Window illumination was provided mostly by using LED strips lights like this one in the nacelle:
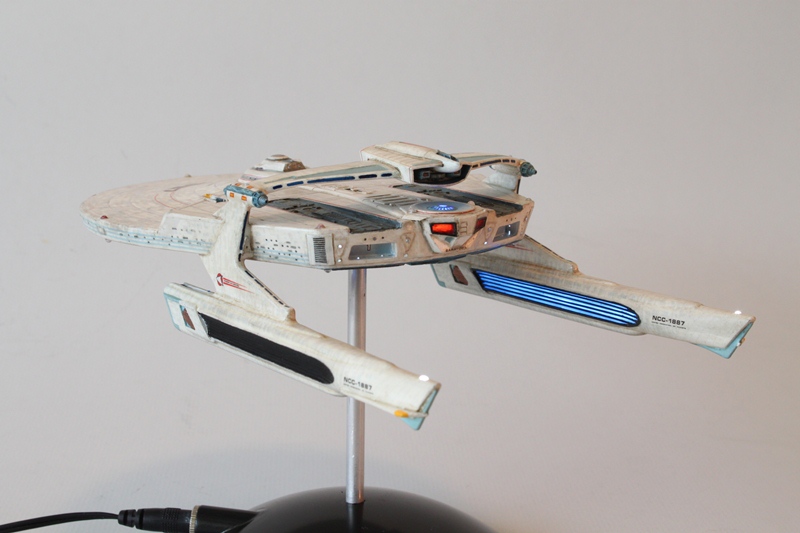
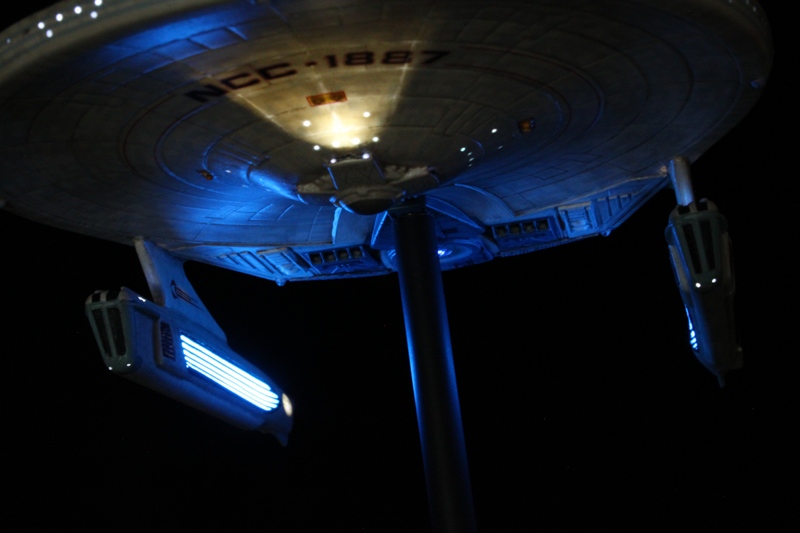
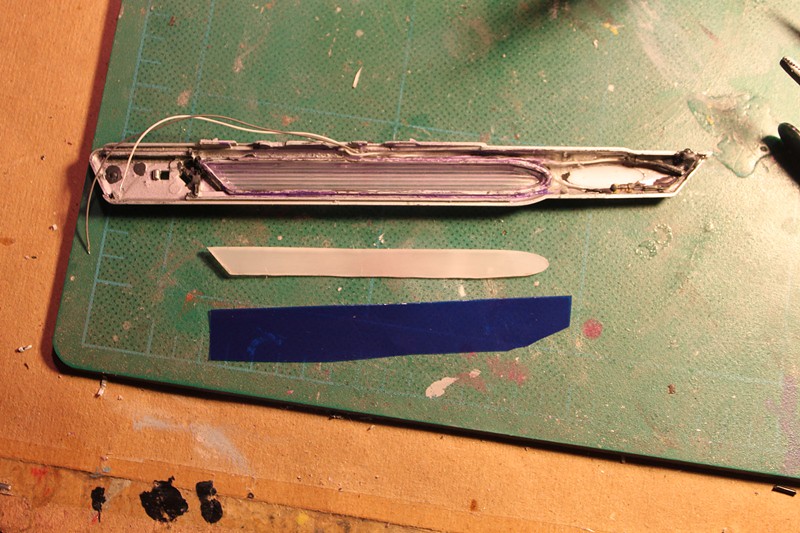
The nacelles used a strip of white translucent milk jug type plastic to diffuse the glow. A strip of transparent blue film gives them their blue color:
Upper saucer strips:
Nacelle glow after the ParaGrafix photo-etch grill was painted metallic black and attached using Elmers clear glue:
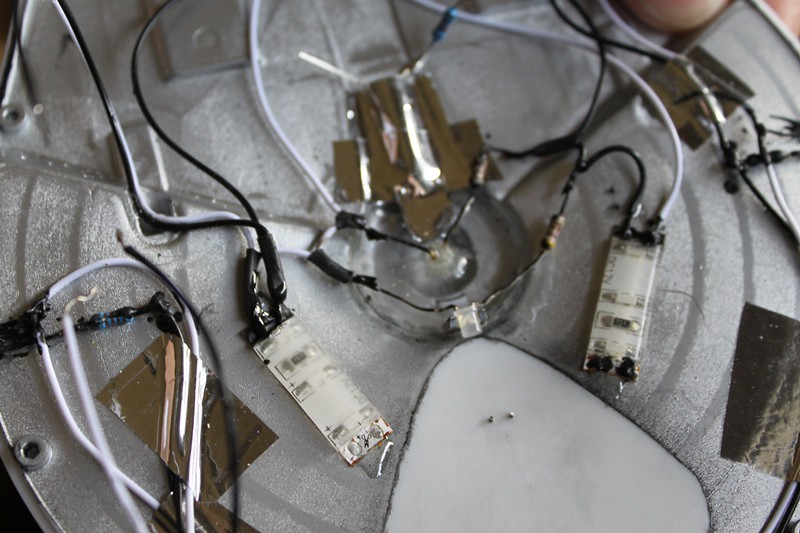
Here you can see one of the two LED strips in the lower saucer. I aligned them on each side so they'd be right under the angled windows at the front of the "secondary hull":
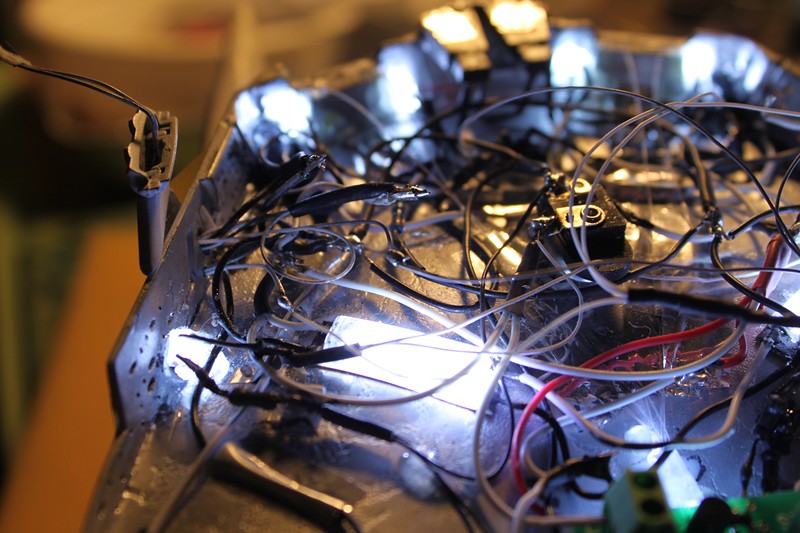
Anyway, it looks like a rat's nest in this photo taken just prior to sealing up the hull and, you know, it sort of is. Unfortunately, I don't really work from diagrams preferring to just trim and solder wires on the fly as I go along. It's pretty easy if you just remember the basics of parallel and series wired circuits and know which value of resistor is needed. The main thing was to keep wires from crossing into any of the Raytheon Effect zones so as not to have shadows cast on the plastic from inside. The other trick was to keep window brightness to scale and avoid beaconing by not having LEDs pointing directly at a window. Otherwise it looks like the cabin behind the window is lit like the surface of the sun which just doesn't make sense for anyone to have a room that bright.
Anyway, I've probably bored everyone to tears with this stuff. If you want to see more in progress pics you can find them here:
https://www.flickr.com/photos/29607470@N08/sets/72157649031293118
All photos have titles and/or descriptions describing what I'm doing in the image.
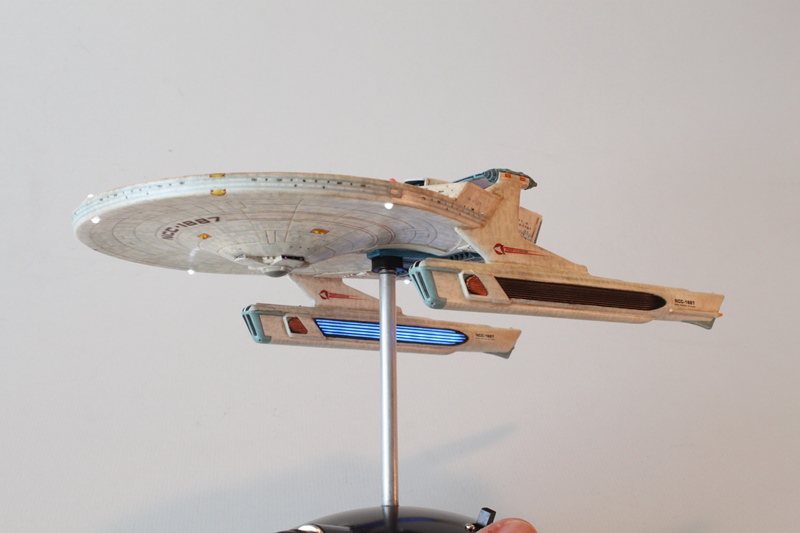
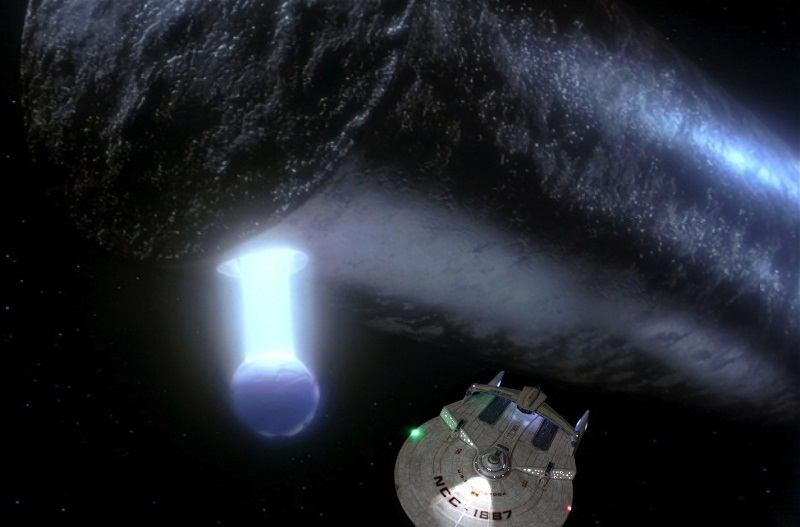
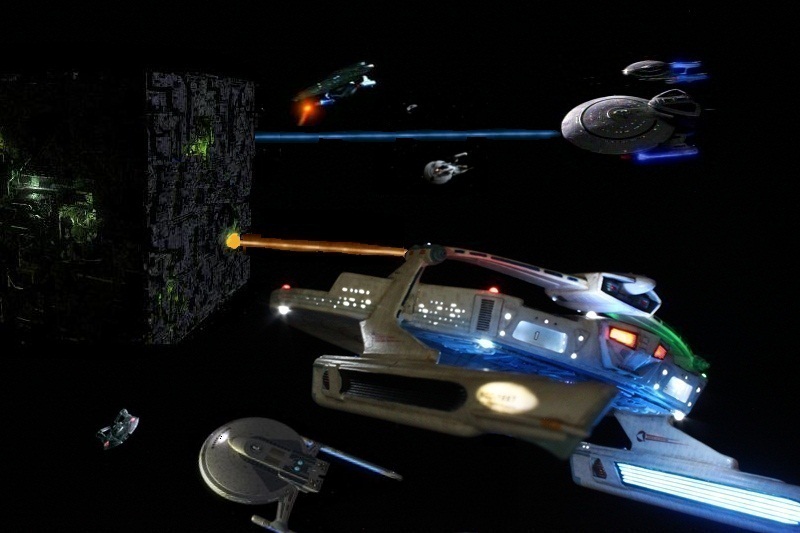 Battle of Wolf 359 by trekriffic, on Flickr
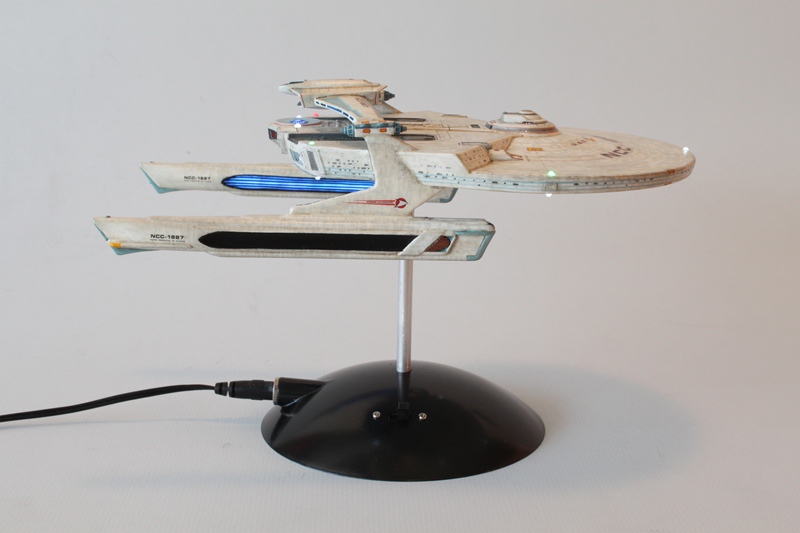
 IMG_9195 by trekriffic, on Flickr
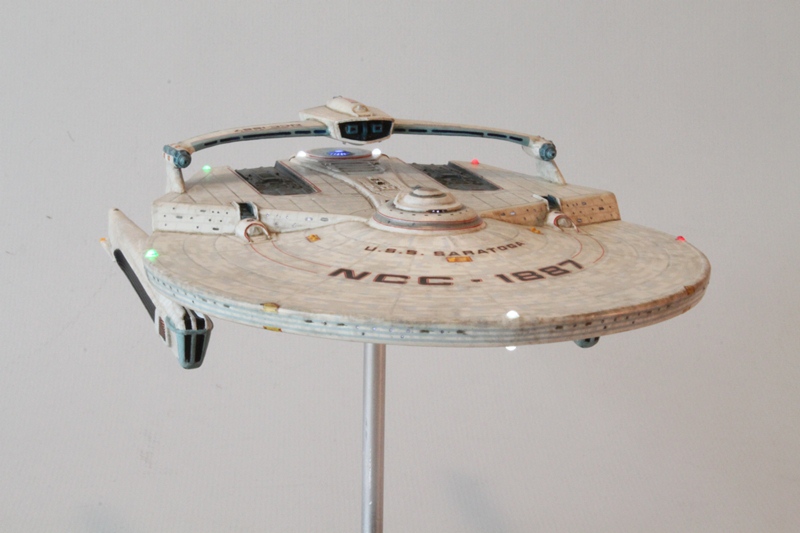
 IMG_9182 by trekriffic, on Flickr
")


 Wow! That was much more than I was expecting, many thanks! I may never do something like this, but at least I know where to start now.