-
Welcome! The TrekBBS is the number one place to chat about Star Trek with like-minded fans.
If you are not already a member then please register an account and join in the discussion!
You are using an out of date browser. It may not display this or other websites correctly.
You should upgrade or use an alternative browser.
You should upgrade or use an alternative browser.
The "what are you working on?" Art thread.
- Thread starter Venardhi
- Start date
Cool Design ")
Im currently uploading all my older stuff to Dev Art
link: http://kaisernathan1701.deviantart.com/gallery/?catpath=/
Im currently uploading all my older stuff to Dev Art
link: http://kaisernathan1701.deviantart.com/gallery/?catpath=/
Thank you B.J. Good to see a lot of familiar faces still around.
Did some detailing work last night in between infant-crying bouts lol.


Good to see a lot of familiar faces still around.Did some detailing work last night in between infant-crying bouts lol.
Last edited:

Been on a detailing binge.

I was going to comment on the working from physical angle changes in the geometry and if it is intentional or not, but more I look the more it works for the better as the visual segmentation it creates in the panels lends a more "current day" look to the building technique. The Daedalus config is a neat one to play with, maybe because it is so different yet so similar to the typical trek ship? Loving the light bounce int he renders too.
Yeah I was definitely going for something less sleek and more manufactured feeling. Almost like it was riveted together by hand. Awesome that it comes across in the renders, as I wasn't quite sure the best way for that to come across.
For tonight I started on the nacelles.

For tonight I started on the nacelles.
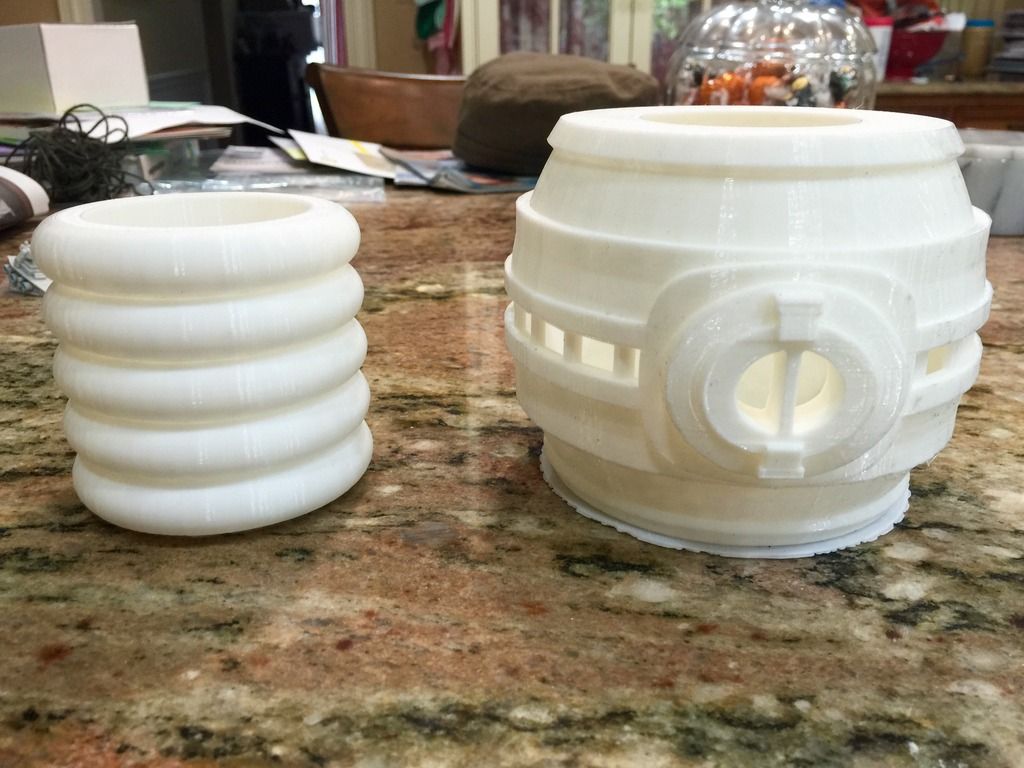
I just started 3D printing my own Warp Core.


It had to happen eventually.... A really very early pass of starfleet HQ in the early 25th century, based on some of the pre-Cryptic STO concept art for my 'Explorers' animation.
Its curious to note that said concept art bares little resemblance to the USGS data I was able to obtain of the San Fransisco bay area to use in this asset.

Its curious to note that said concept art bares little resemblance to the USGS data I was able to obtain of the San Fransisco bay area to use in this asset.
Last edited:
I just started 3D printing my own Warp Core.
That's a fun one! I tweaked some of those parts, so that it fits together better, if you are interested.
-Ricky
Yes, I'm interested. I have to reprint the upper portion anyway. The library got in clear filiment, so I'm going to redo it with that.That's a fun one! I tweaked some of those parts, so that it fits together better, if you are interested.
-Ricky
Anyone want to guess what I'm working on?

Well you're close, I'm making an R2D2 nightstand for Ian. I'm 3D printing parts, I have a few more parts to go and I'm going to incorporate them into a nightstand for him.
Well you're close, I'm making an R2D2 nightstand for Ian. I'm 3D printing parts, I have a few more parts to go and I'm going to incorporate them into a nightstand for him.
Anyone want to guess what I'm working on?
Well you're close, I'm making an R2D2 nightstand for Ian. I'm 3D printing parts, I have a few more parts to go and I'm going to incorporate them into a nightstand for him.
What kind of printer are you making these on? The parts have a different look to them than mine usually do.
-Ricky
@MadMan1701A They are done on a few older Makerbots. I'm not actually using this R2 "eye" I've reprinted another. The inside on this one is all cracked and the outside is rougher than usual. However I wanted to test out the spray paint color and love it. I've also printed the other vent and the power coupling. Now I'm trying to decide if I want to do the legs. That would be a lot of printing but it would really make the nightstand R2 look awesome.
ETA: It would be easier to accomplish this a few months ago. At that time if you got to the library and no one was using the 3D printers, you could use as many as you want. The libary has 9 Makerbots and most of them were free. Now they only allow you to use one, that's it. While I understand making them available to many people, there are times when ever one of them is open and I could have had this done much sooner.
ETA: It would be easier to accomplish this a few months ago. At that time if you got to the library and no one was using the 3D printers, you could use as many as you want. The libary has 9 Makerbots and most of them were free. Now they only allow you to use one, that's it. While I understand making them available to many people, there are times when ever one of them is open and I could have had this done much sooner.
That's pretty cool though... I don't think any libraries around here are doing anything like that. How do they handle the filament, do you have to pay, or do they keep it on hand?
-Ricky
-Ricky
The Library supplies the filament and they are pretty good about it. When I started the Warp Core, I was doing it in the white filament. I'm very good friends with the guy who heads the technology department, because I'm there almost every day. I told him what I was doing and he ordered the clear filament because of it. Your project is weighed after it's done and you pay by the gram, it's $.05 per gram. So most things are a few dollars at most, even the warp core was only $5. and that was with 15% infill.That's pretty cool though... I don't think any libraries around here are doing anything like that. How do they handle the filament, do you have to pay, or do they keep it on hand?
-Ricky
Here are all my parts for the R2D2 night stand I'm building for Ian. These are for the "body" part, I think I'm overall happy with them. I have to clean them up and paint them, so that will still take a bit of time.
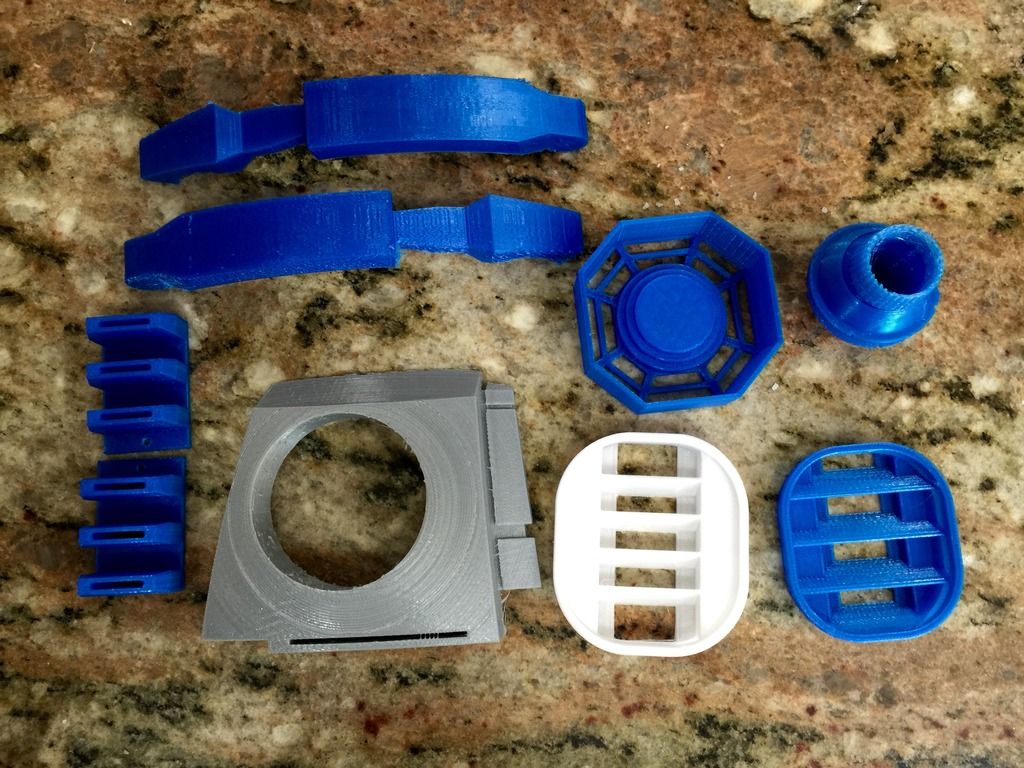
I've also started printing out the parts for the R2D2 legs, this is probably going to take a while. Printing two sets of parts, and there are 113 parts to print. So I'm thinking about installing the other parts, giving it to Ian and then install the legs later.
Here are the first two leg parts,
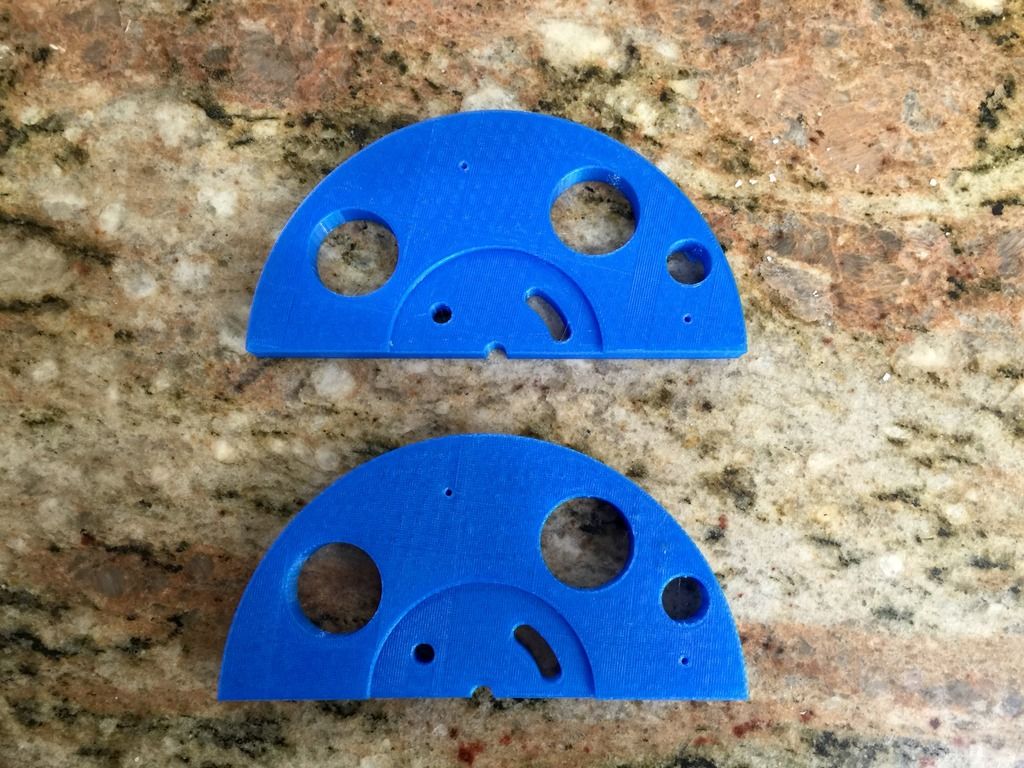
I've also started printing out the parts for the R2D2 legs, this is probably going to take a while. Printing two sets of parts, and there are 113 parts to print. So I'm thinking about installing the other parts, giving it to Ian and then install the legs later.
Here are the first two leg parts,
http://ashleytinger.deviantart.com/art/Connie-Sets-Wip-617639340
I went in fits and spurts the last few days. Starting top left and going clockwise, that's the Auxiliary Control Room, the Main Bridge (I'm trying to figure out the dome sizing), the Crew Quarters (currently set up for two, but I'm thinking of making it for four with bunks on either side), the Junior Officer's Quarters, and then the Senior Officer's Quarters. No, none of the quarters have actual bathrooms, just the space for them. It wasn't something I planned on showing, so I fudged on it like I did with the head in the Transporter Room.
All of these are based on the floorplans from Mr. Scott's Guide to the Enterprise using the sizing scale listed on each schematic. Built and rendered up in Truespace, most of this is just laid out without much detailing. The quarters probably are just about done as is, but the Auxiliary Control Room and the Bridge are both 'projects'. Surprisingly enough, I think the Aux Control Room will take less time to model than the bridge.
Similar threads
If you are not already a member then please register an account and join in the discussion!