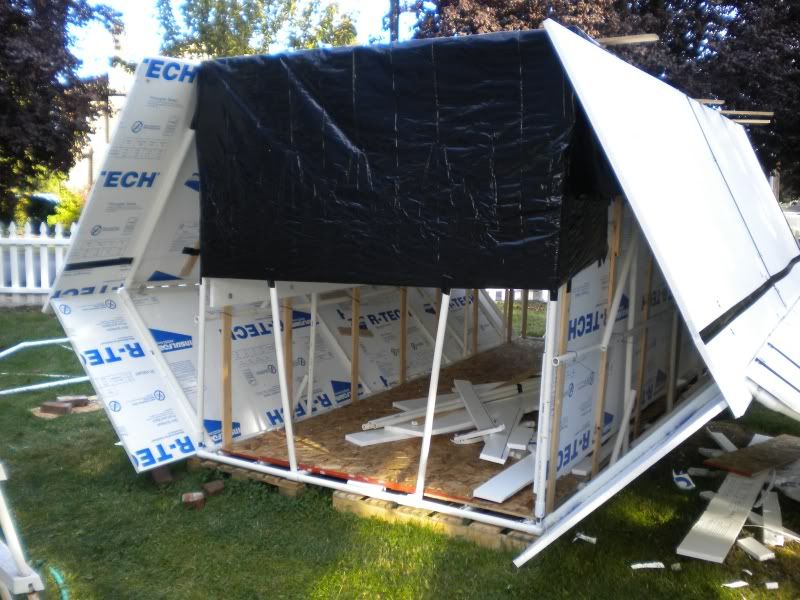
It's looking great Bradester!I wouldn't have thought of the plastic sheet to keep it waterproof...
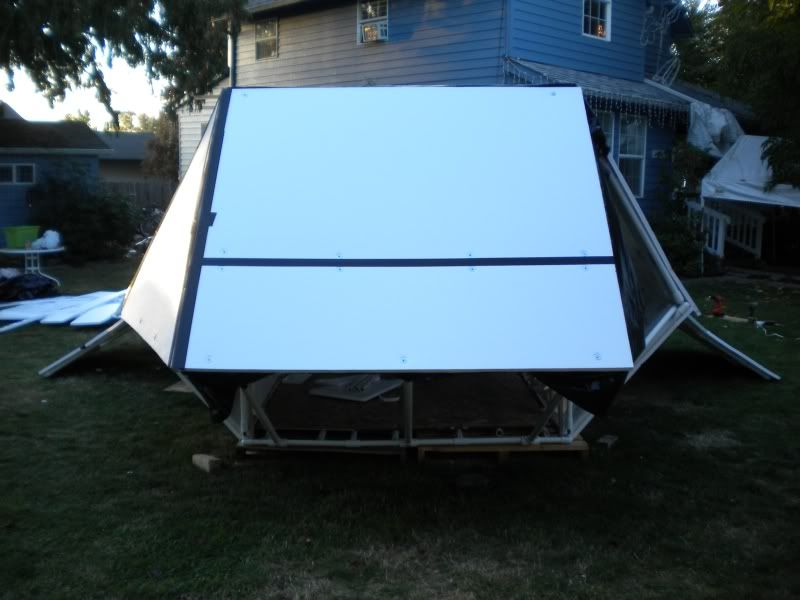
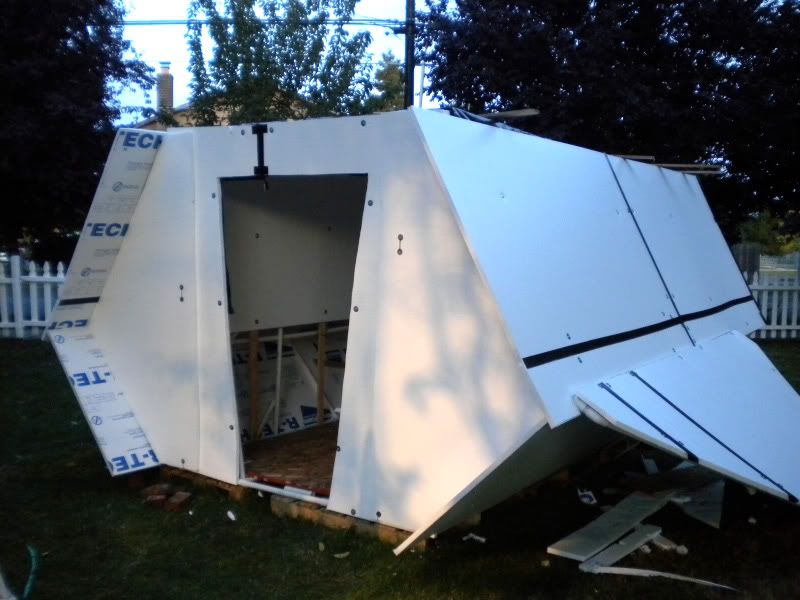
Thanks! Tonight I completed the right side of the shuttle. Didnt take any pics since it got dark, but will most likely post more tomorrow.
It's looking great Bradester!
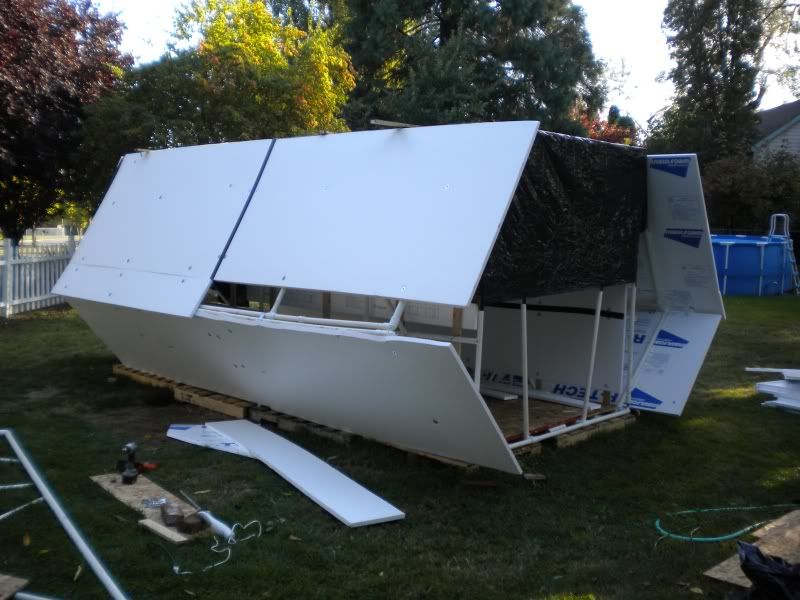
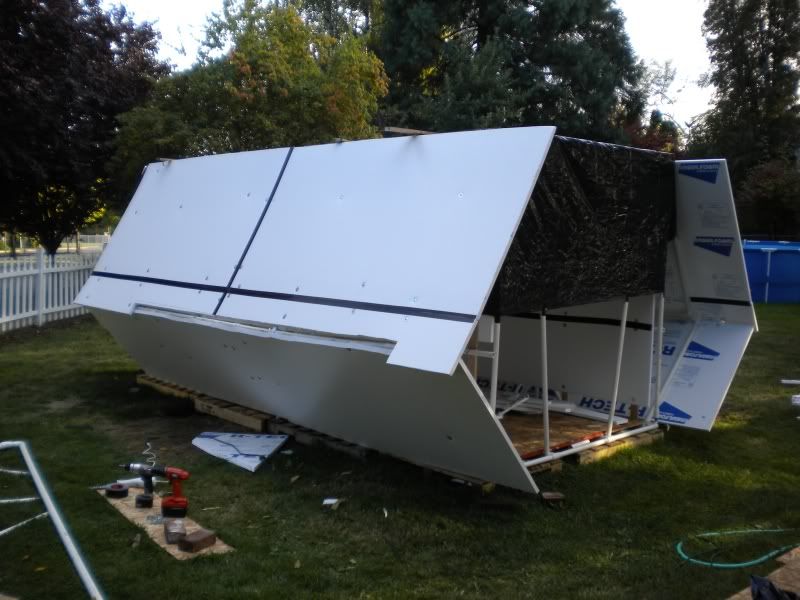
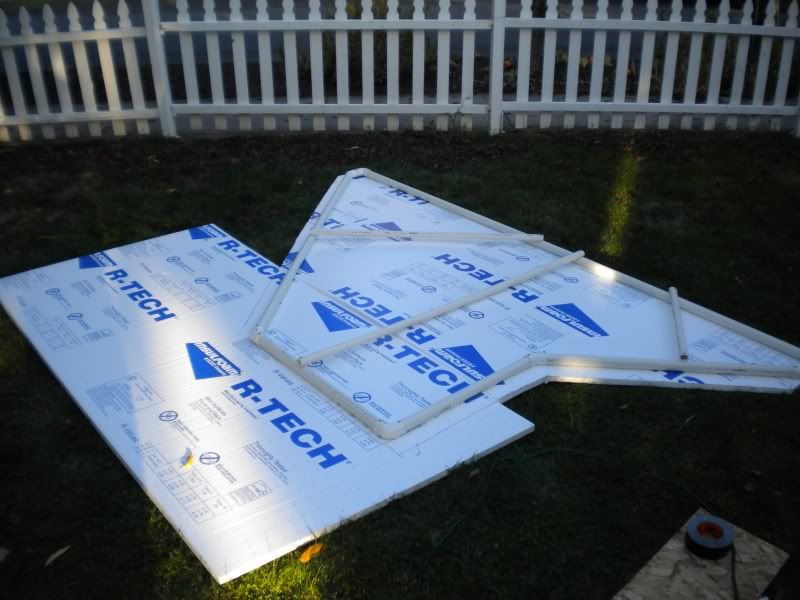
Cool. I may be up at the home depot tomorrow...Yeah. The 2 inch would probably be perfect... do you know off hand how much that costs, per sheet?It comes in .5 to 2 inch thicknesses, so depends on what you use. Im using the 1 inch thick and its pretty sturdy. A blunt impact the size of the palm of your hand it will handle just fine, but if you poke it hard with your finger it will probably go right thru.
Depends on the brand, if it's pink or white foam, and if it is foil-backed or not. The 2 inch will run you $15+ per sheet is my guess.
")


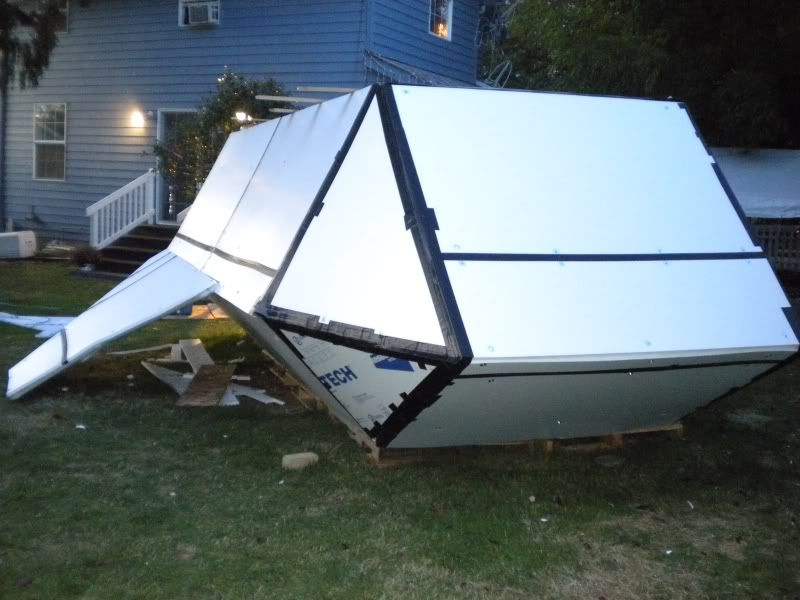
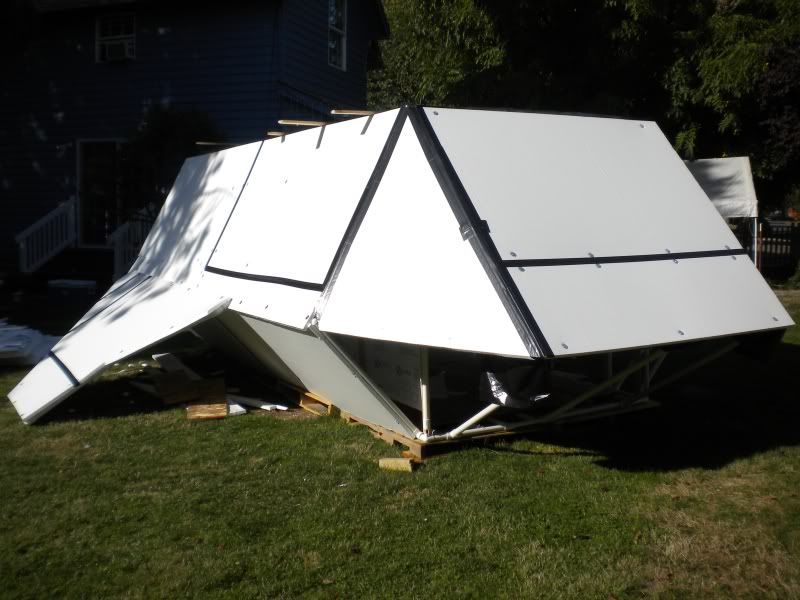
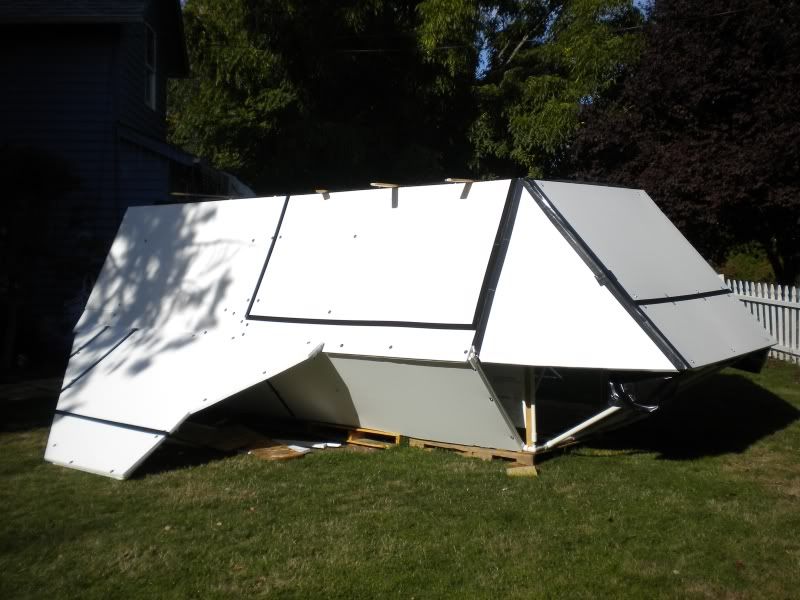
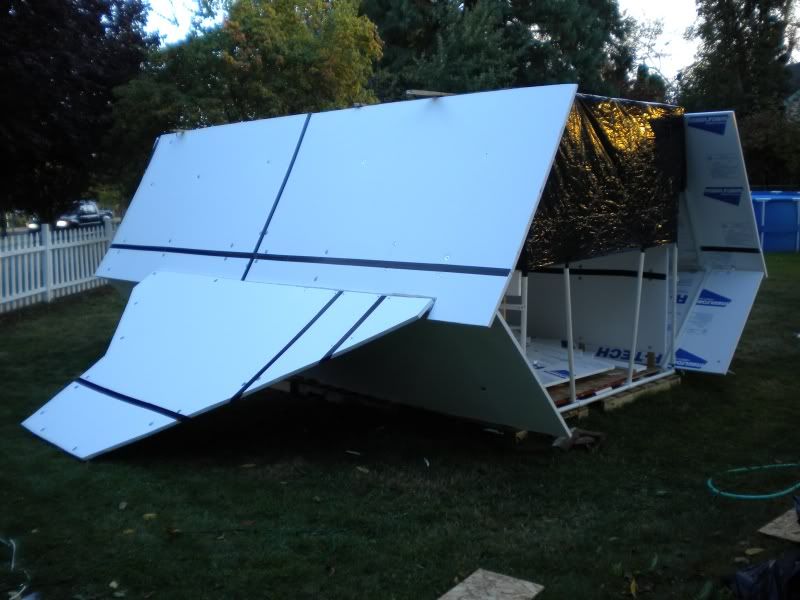
It looks really good! I only have one question. In the first picture, there are portions of the sides that stick out past the back. Are those staying? Cause it just looks a tiny bit... odd without a similar one sticking off from the roof in the same way...
It looks really good! I only have one question. In the first picture, there are portions of the sides that stick out past the back. Are those staying? Cause it just looks a tiny bit... odd without a similar one sticking off from the roof in the same way...
Yup, those are staying as I am planning to put an impulse engine above the back door. I had to cut the top piece off to try and help with the water draining as it's supposed to start raining for almost a week starting tomorrow.
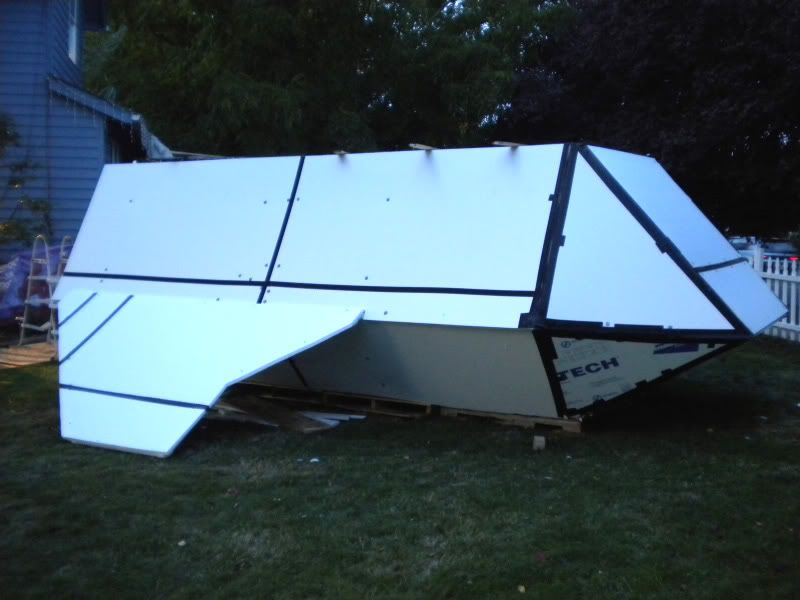
Be honest and tell me what you think. Sometimes when you stare at something for a long time, you lose track of what others might think.
Be honest and tell me what you think. Sometimes when you stare at something for a long time, you lose track of what others might think.
I think I wish I had one of those to use in another low-budget, high-fun sci-fi movie. That thing looks great!
Looks great Bradester can't wait to see more photos of interior when you get started working on it too bad its going to rain on your parade.
Signed
Buck Rogers
Here's a question for you... can that foam sheathing be spray painted? I'm getting ready to start my Stargate, and I want to use some of that textured spray paint on it... but I don't want it to melt.Caught a break in the weather, so I painted as much as I could outside today. Here is what the base coat looks like. The upper white areas you still see will be red and more details are still to be added.
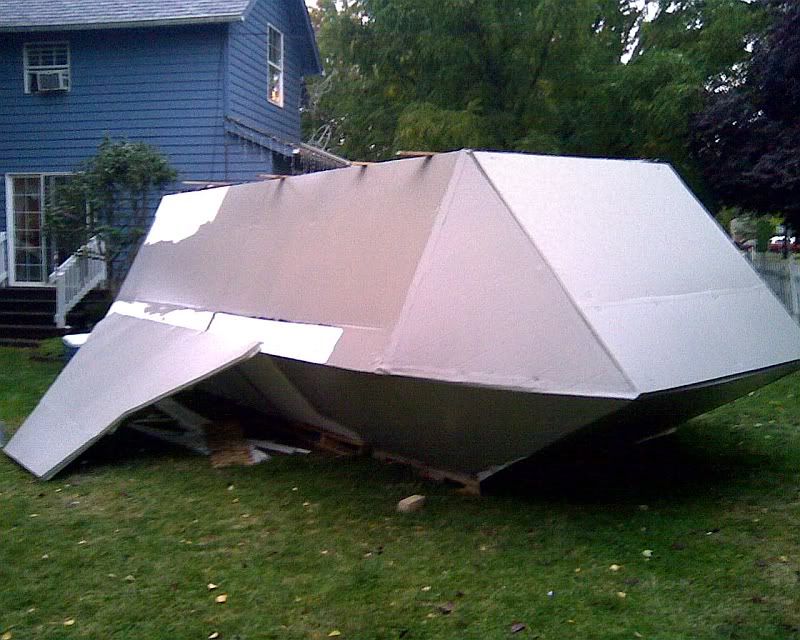
Here's a question for you... can that foam sheathing be spray painted? I'm getting ready to start my Stargate, and I want to use some of that textured spray paint on it... but I don't want it to melt.Caught a break in the weather, so I painted as much as I could outside today. Here is what the base coat looks like. The upper white areas you still see will be red and more details are still to be added.
We use essential cookies to make this site work, and optional cookies to enhance your experience.