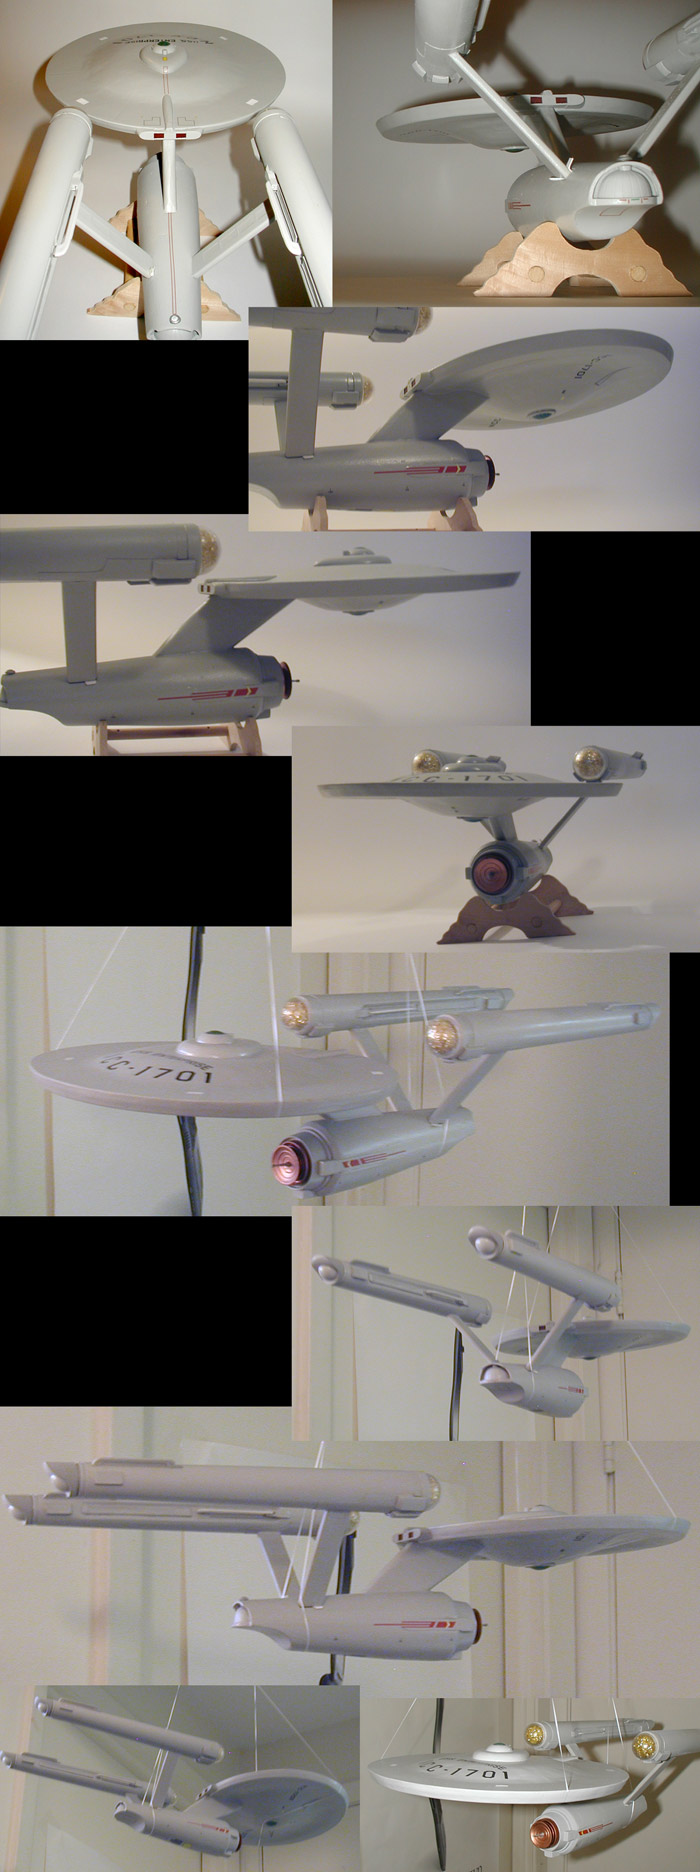
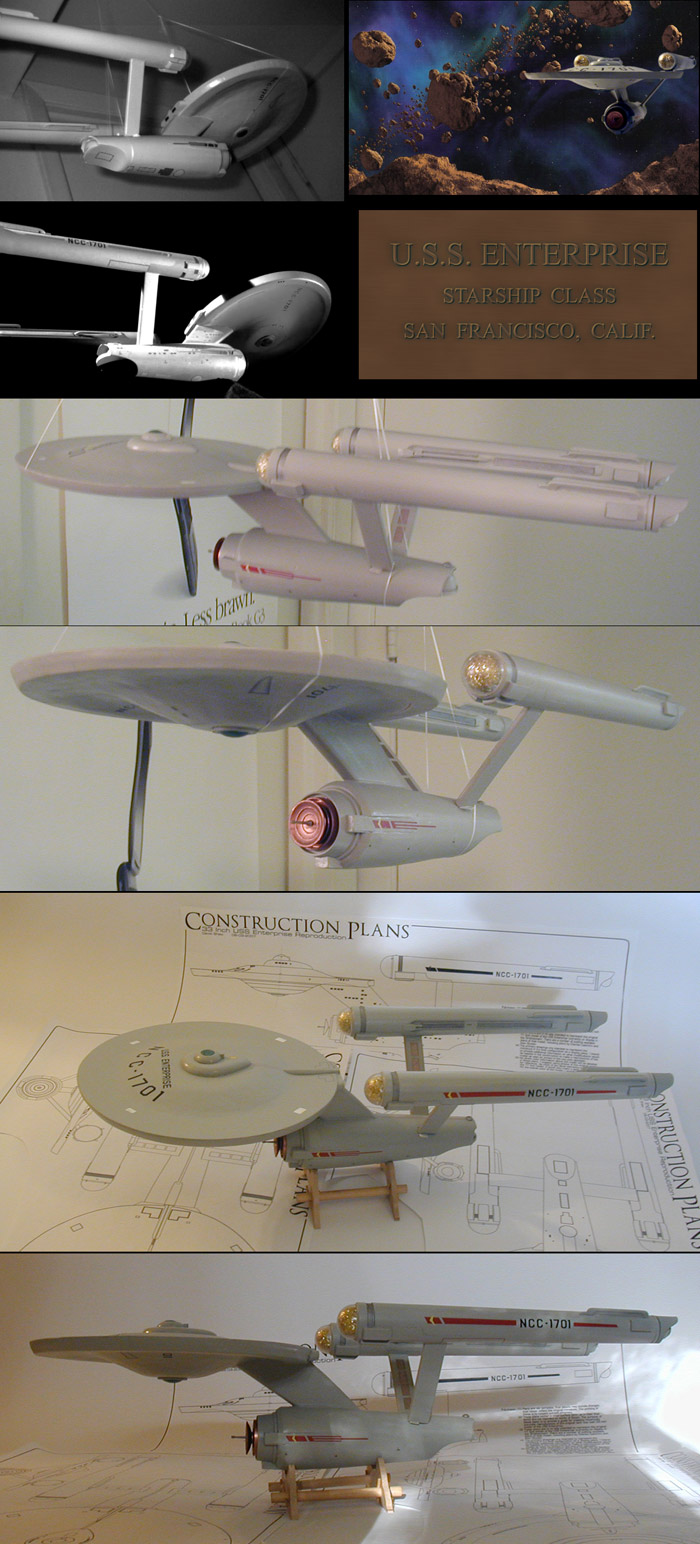
Last weekend I put together a demo of how I scratch build things like models and props and I figured I'd add it to this thread as it is the same method I used for building the primary hull of my Enterprise model. For the demo I picked something non-Trek related because I felt it was important to see that this could be done for just about anything. So I chose the command module of a Space: 1999 eagle as the subject (as I know little about it). All told, this demo took about 2 days from beginning to where I stopped (with about two hours of actual work invested).
Resources and Materials
What I'll be using is pretty straight forward...
Foundation
As stated above, I know little about Space: 1999, so I hit the web to find a reference plan to work from. This isn't aiming for hyper accuracy, so low resolution diagrams were more than enough for what I needed here. I printed them out and then started cutting the top view to the shapes I needed for cutting the foam core board (mostly estimates of the shapes).
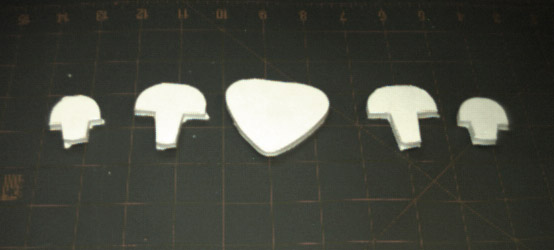
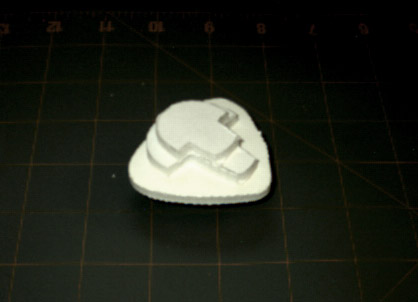
Once cut, I started gluing the pieces together to form my foundation.
__________
Basic Shape
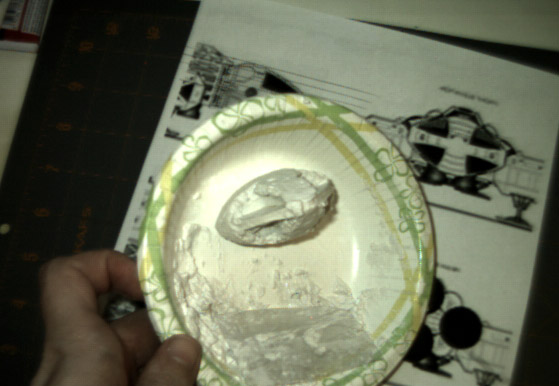
With the foundation made I now needed to build up the basic shape, which is what I use the Sculptamold for. You just add water to it until damp and start sculpting. This is non-toxic, so no worries molding it with your hands.
I generally take a few passes at it, letting the first rough application dry a little.
Then filling in the gaps a little more...
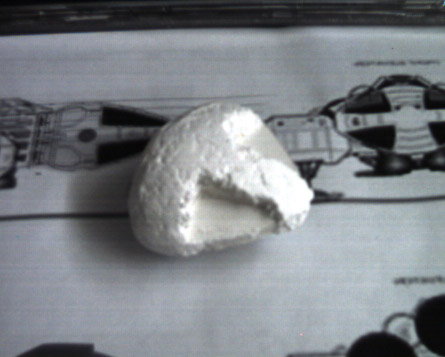
And finally ending up with a good general shape that can be sanded and carved to nearly the form I want.
__________
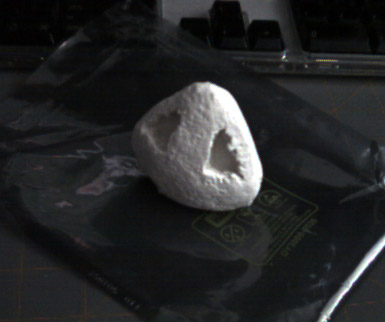
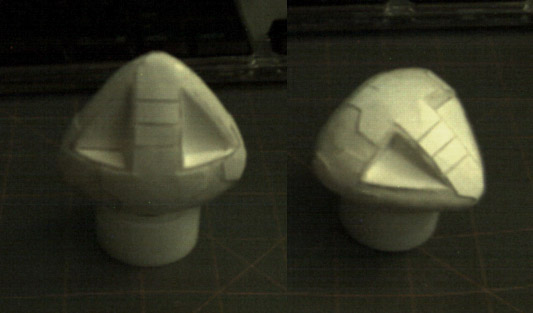
Initial Sanding and Refinement
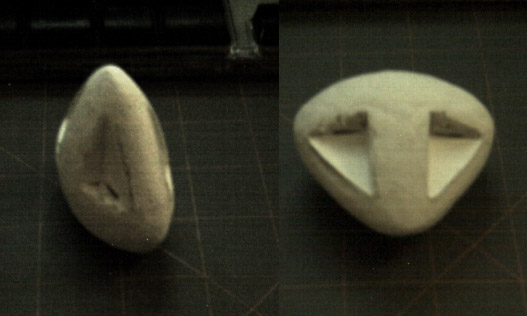
After letting it set for a little while more, I did some more sanding of the shape. I also added the first elements of card stock within the indentations.
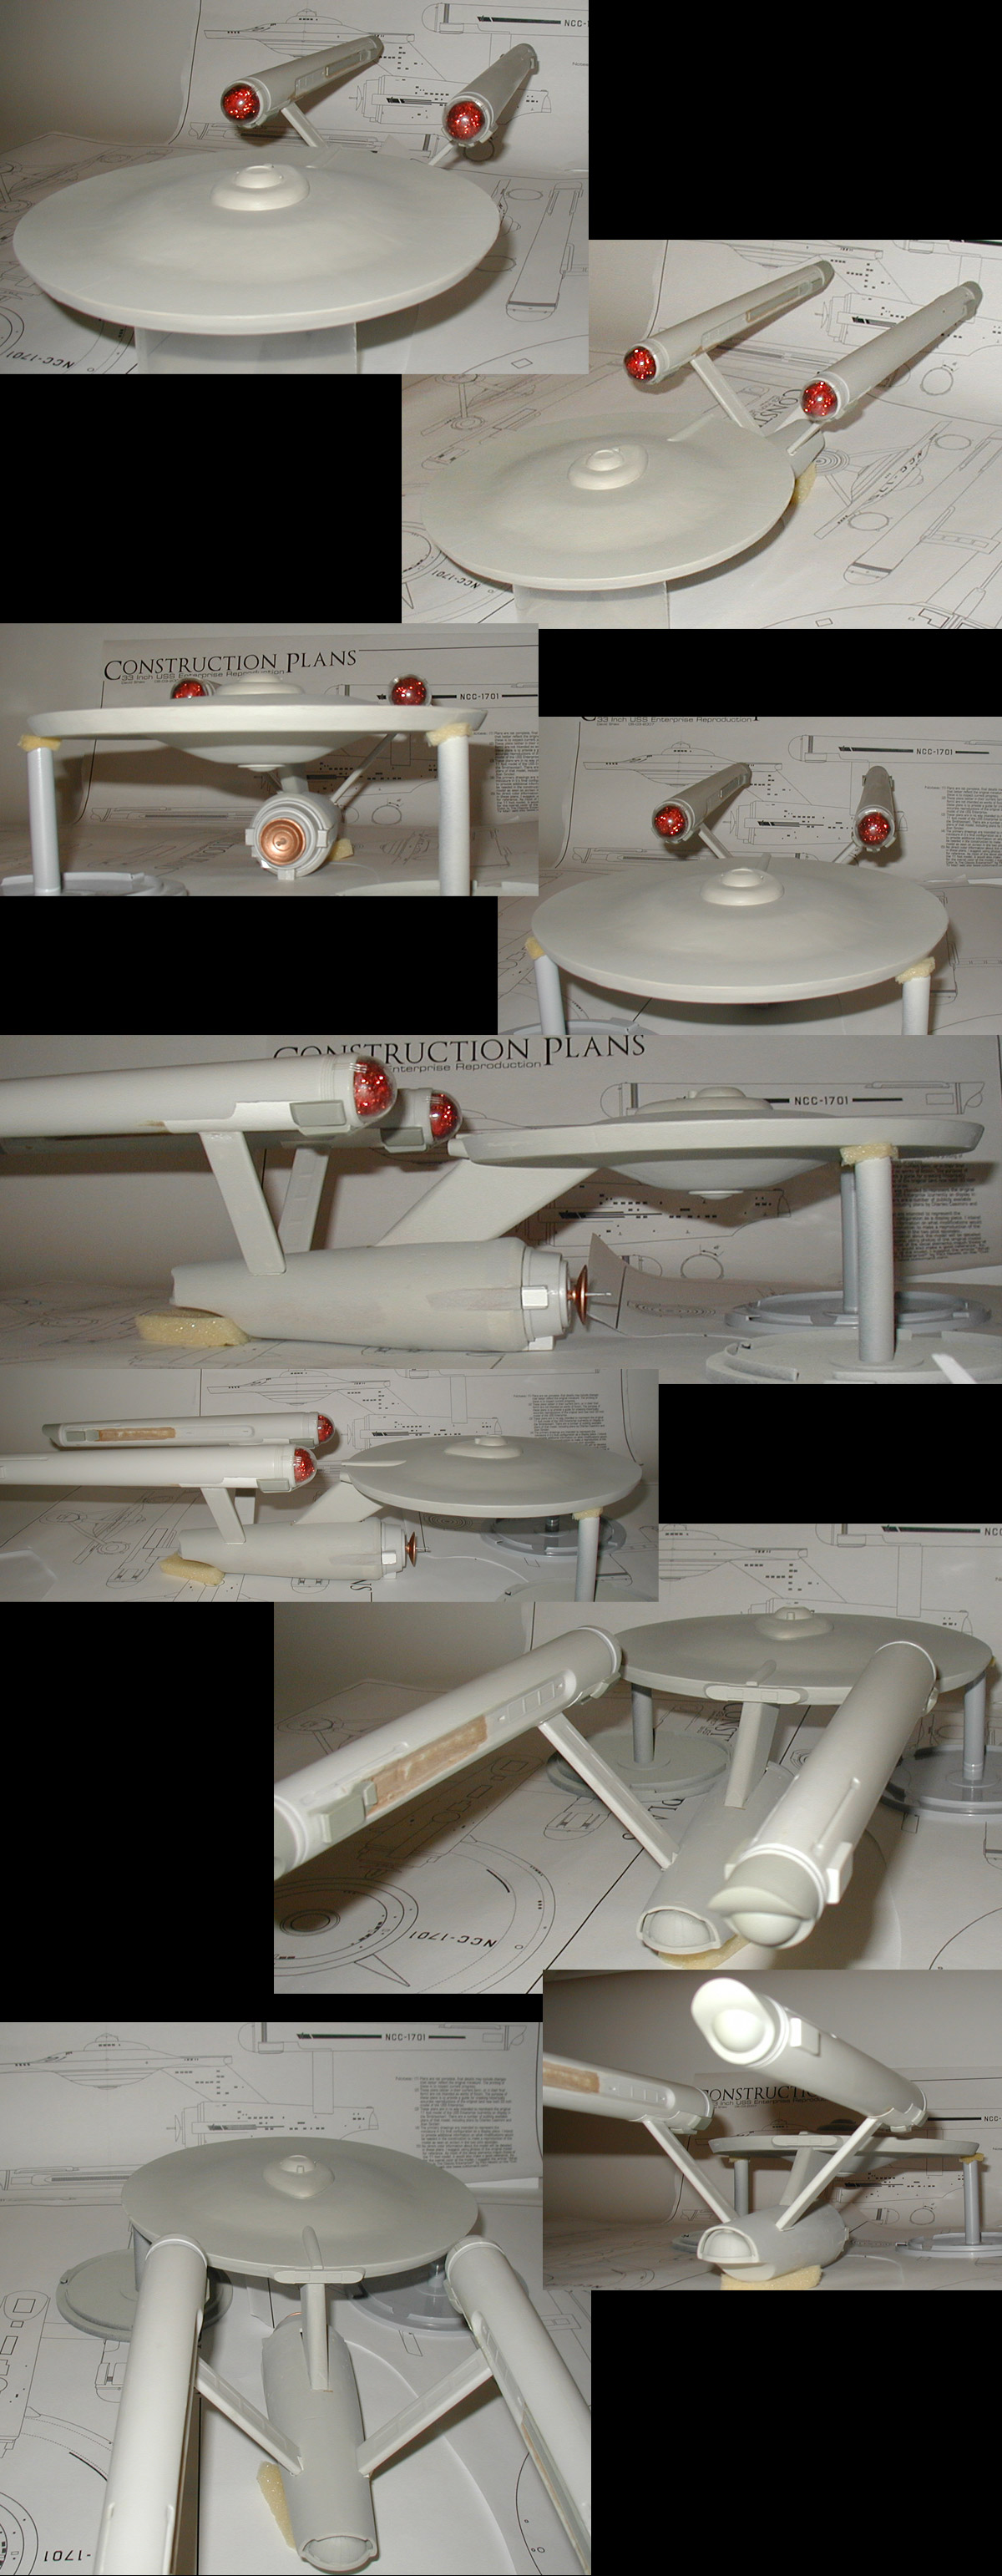
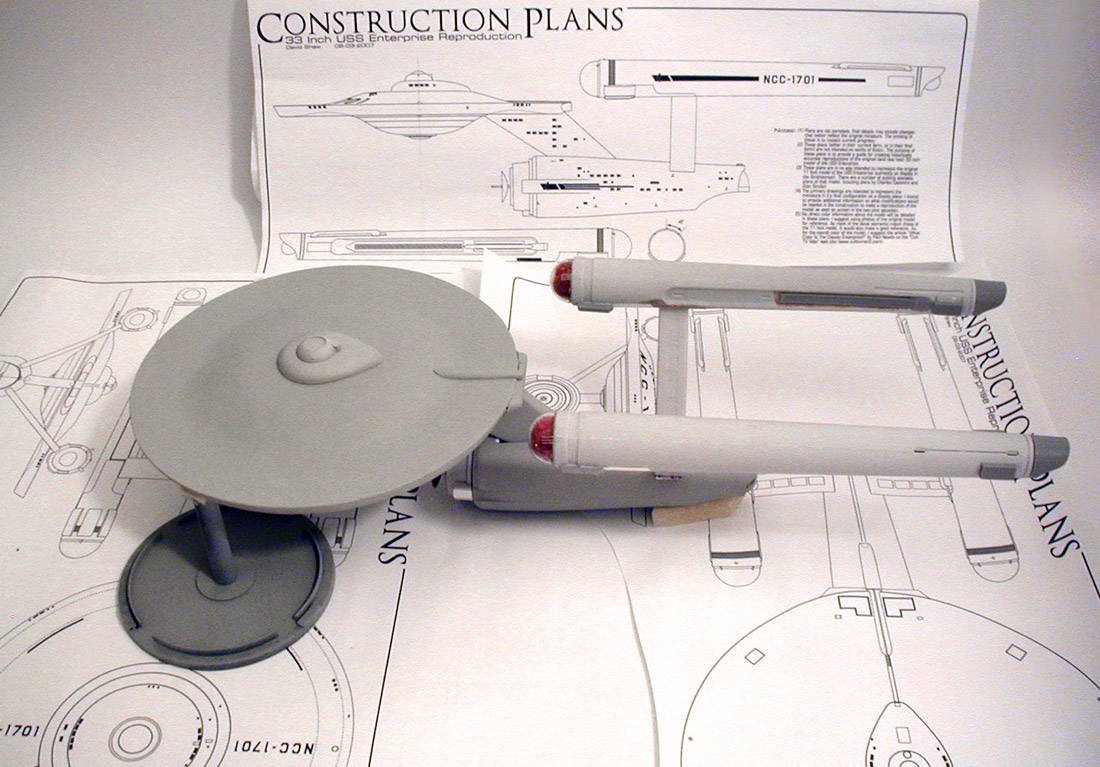
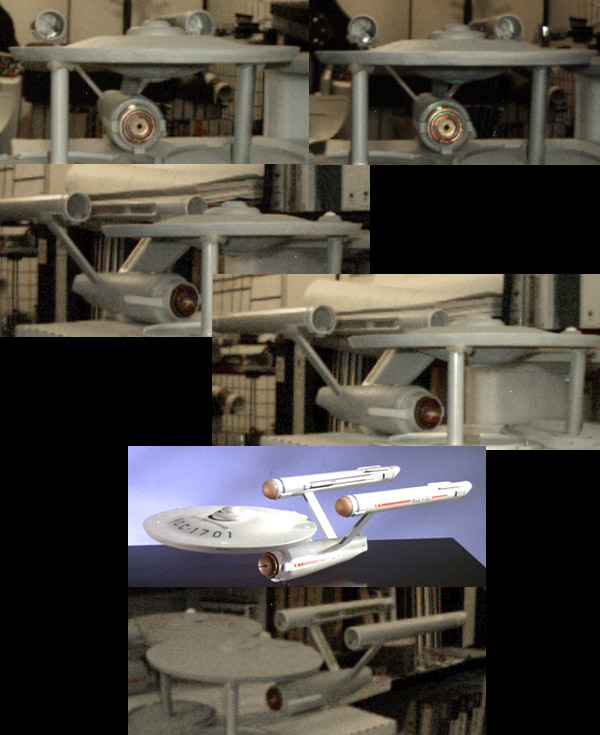
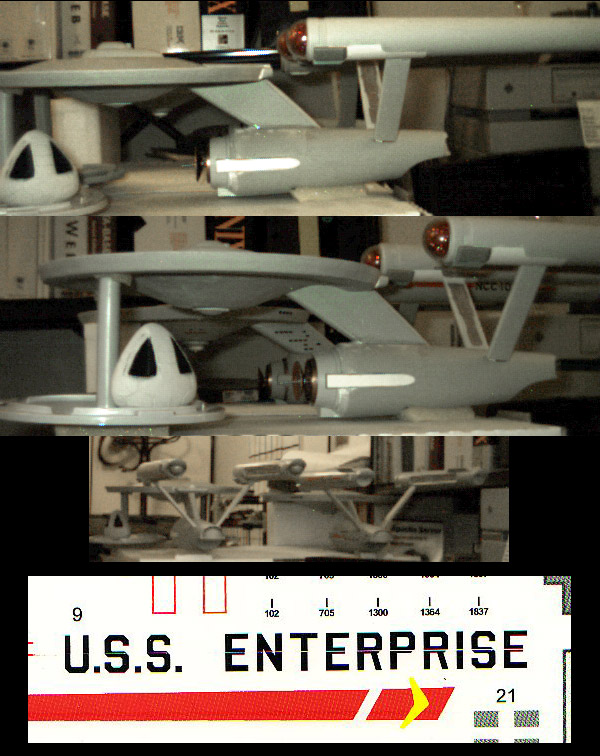
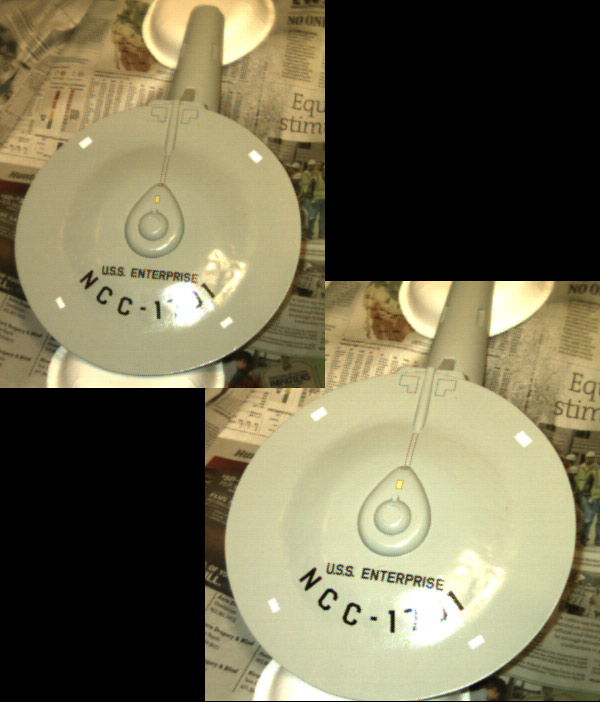
One of my mistakes with the Enterprise primary hull was letting this stuff sit for too long... it gets harder over time, making it harder to sand out imperfections. Best to get that aspect done early (within the first few days).
Because this is mainly water based (both for the Sculptamold and glue) it helps to get the initial form made of foam core board as close to the final shape as possible so that it dries quickly. And it does generally dry quickly... at this point I'm less than 24 hours into this build.
Adding Detailing
I moved along faster on this than I normally would because I knew I was running out of time and this is just a demo of the technique. So between that and the fact that this isn't a shape I am overly familiar with, means I doubt this would measure up to the standard of those who follow Space: 1999.
One of the details that stood out (for me) when looking at images of the command module was the panels. The panels help turn it from an organic shape into one that feels more industrial. So it was that detail that I've started in on.
This is the first few panels, and I'll go back and sand them down to get rid of the raised areas I don't want. After all, the raised outer edges are what I'm after.
... And this is basically what we end up with.
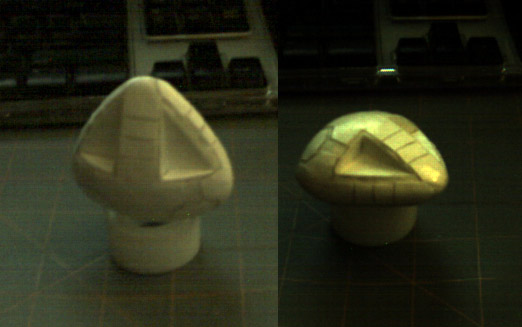
From here I'd give it a couple coats of clear gloss latex enamel (which helps water proof it) and then start painting it. Those are steps which I may or may not do to this model as I think it has generally reached the stage where you guys can see what can be done with this technique.
So, that is it... hope this will be helpful to others.
__________
Resources and Materials
What I'll be using is pretty straight forward...
- Foam Core Board
- poster board, card stock
- brown paper bag, standard paper, (wrapping) tissue paper
- Elmer's Glue
- AMACO Sculptamold (cellulose-based paper maché)
__________
Foundation
As stated above, I know little about Space: 1999, so I hit the web to find a reference plan to work from. This isn't aiming for hyper accuracy, so low resolution diagrams were more than enough for what I needed here. I printed them out and then started cutting the top view to the shapes I needed for cutting the foam core board (mostly estimates of the shapes).
Once cut, I started gluing the pieces together to form my foundation.
__________
Basic Shape
With the foundation made I now needed to build up the basic shape, which is what I use the Sculptamold for. You just add water to it until damp and start sculpting. This is non-toxic, so no worries molding it with your hands.
I generally take a few passes at it, letting the first rough application dry a little.
Then filling in the gaps a little more...
And finally ending up with a good general shape that can be sanded and carved to nearly the form I want.
__________
Initial Sanding and Refinement
After letting it set for a little while more, I did some more sanding of the shape. I also added the first elements of card stock within the indentations.
One of my mistakes with the Enterprise primary hull was letting this stuff sit for too long... it gets harder over time, making it harder to sand out imperfections. Best to get that aspect done early (within the first few days).
Because this is mainly water based (both for the Sculptamold and glue) it helps to get the initial form made of foam core board as close to the final shape as possible so that it dries quickly. And it does generally dry quickly... at this point I'm less than 24 hours into this build.
__________
Adding Detailing
I moved along faster on this than I normally would because I knew I was running out of time and this is just a demo of the technique. So between that and the fact that this isn't a shape I am overly familiar with, means I doubt this would measure up to the standard of those who follow Space: 1999.
One of the details that stood out (for me) when looking at images of the command module was the panels. The panels help turn it from an organic shape into one that feels more industrial. So it was that detail that I've started in on.
This is the first few panels, and I'll go back and sand them down to get rid of the raised areas I don't want. After all, the raised outer edges are what I'm after.
... And this is basically what we end up with.
From here I'd give it a couple coats of clear gloss latex enamel (which helps water proof it) and then start painting it. Those are steps which I may or may not do to this model as I think it has generally reached the stage where you guys can see what can be done with this technique.
So, that is it... hope this will be helpful to others.
")
")