It was only after I commented on your
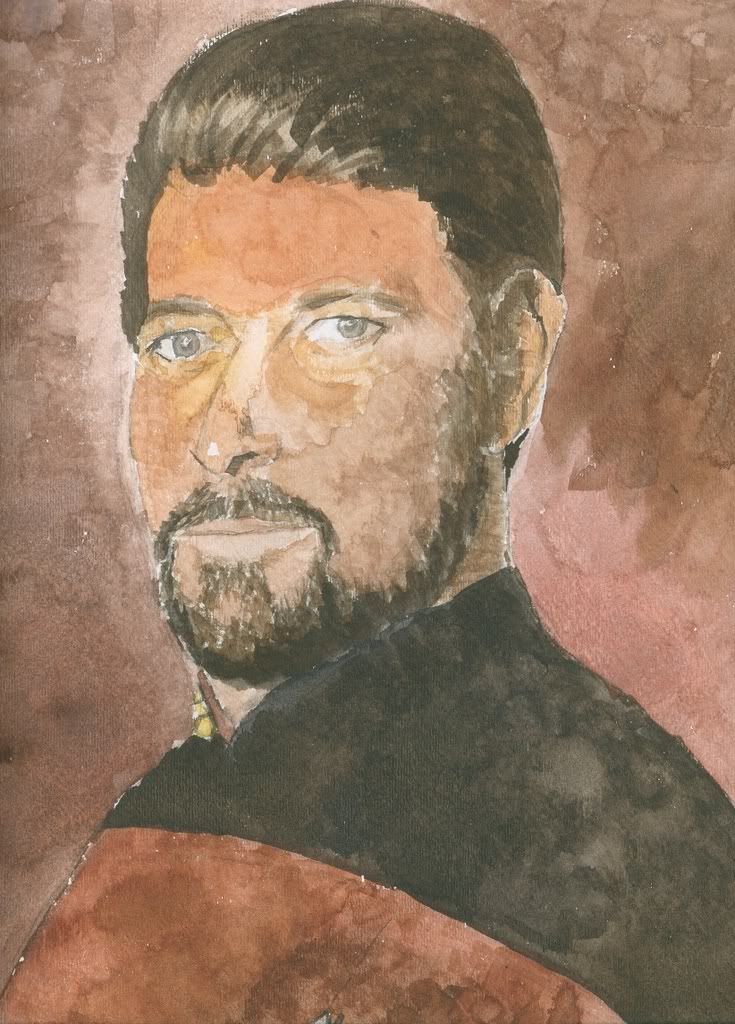
Kirk portraits in another thread that I noticed your Riker portraits in this one. I can see you've already been experimenting with something on the order of what I suggested: With the top portrait, you worked with shading with variations of color only, whereas with the bottom you used pencil to shade the shadow areas of Riker's face.
Here is where you discover how watercolor can be such a bi. . . um, a
bear. If you go with your intuition and divide the face into regions of light, shade, and shadow (just as you would with almost any other medium), and apply the appropriate initial pigment to just those areas, what watercolor tends to do is stain the edges of those areas, creating lines where you don't want them. And there's no getting them out because when you apply more pigment, you darken whatever you touch and that only draws attention to these lines rather than away from them.
So the technique you (and I) have to try is creating, quite literally, pools of water within the areas you want to dry all at once, and using your brush to inject flecks of pigment into the transitional parts of the edges while the water is still wet. This is extremely tricky, and you have to have 1) uninterrupted time to do this, because once this dries, it's too late; 2) a completely flat surface on a ground or basement floor that cannot shake, and a table that pets or small children cannot rattle. This way, when the entire pool dries, the light, shade, and shadow colors are exactly where you want them.
Because watercolor is so fickle, you can't do pointillism with it -- where you dab, dab, dab, dab at the canvas. You must do long, flowing strokes like Japanese calligraphy -- there's really no other way. Because when you dab an area, you create blobs that dry that way, and the result looks like it's been sponged. (I'm making a guess here, but I'm thinking on the bottom portrait, that's
not jet black watercolor on Riker's shoulder but rather ink.)
So when you do your brushstrokes, imagine that you're painting a sculpture rather than a flat piece of paper. Let the brush caress your areas from top to bottom in the direction that the object bulges. If you've ever stained wood, you'll get the exact same advice: Apply the stain in complete strokes from one edge to the other, in the direction of the grain. Dabbing creates blobs.
I love that you're working in real-world media and that you're tackling a really hard medium. I think your top Riker portrait is your most evolved of the four. I'm
very anxious to see what's next.
DF "Imagining a Monthly Challenge Where the Artists Here Are Limited to Watercolor Only!" Scott