• Welcome! The TrekBBS is the number one place to chat about Star Trek with like-minded fans.
    If you are not already a member then please register an account and join in the discussion!

1:350 Scale Enterprise

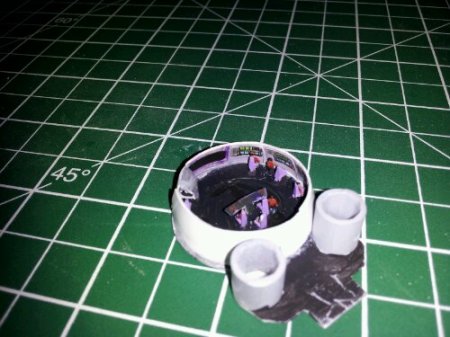
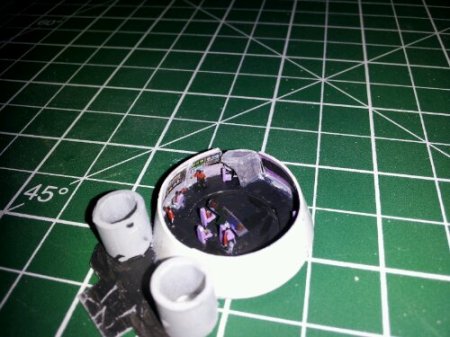
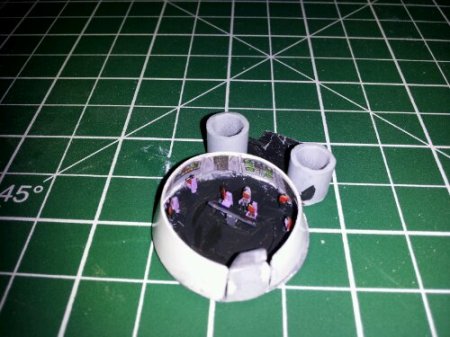
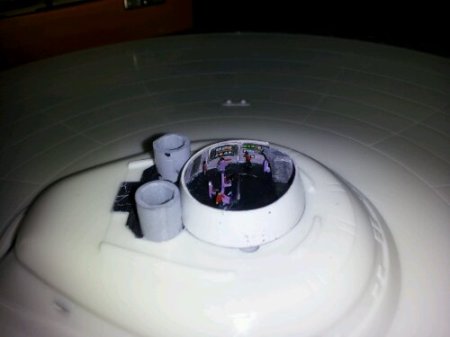
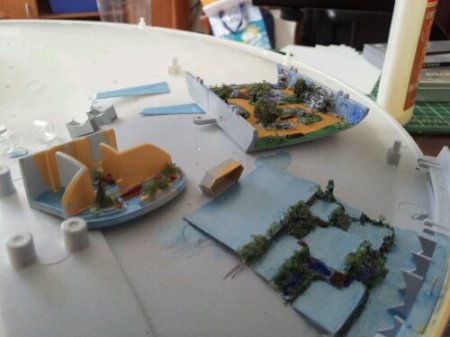
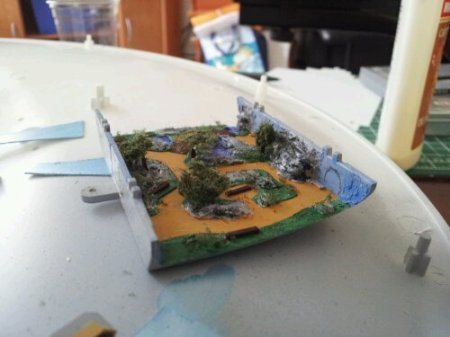
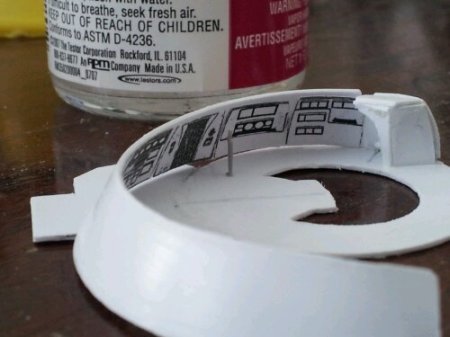
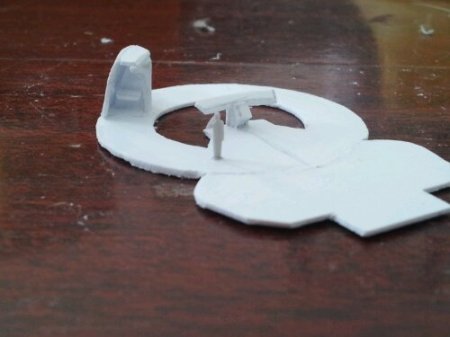
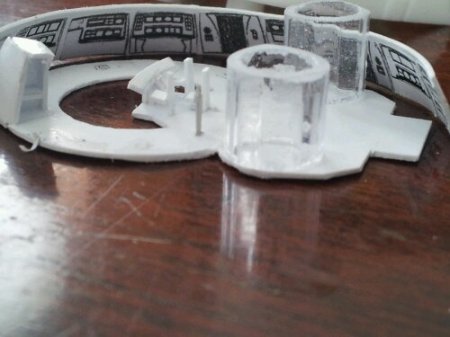
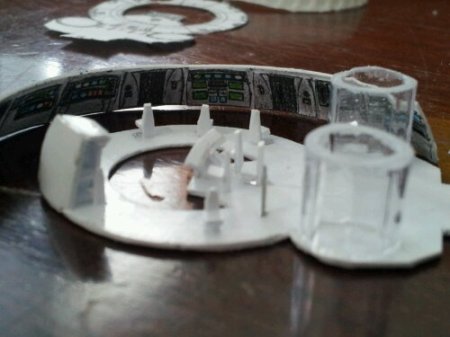
Finally! Back to work. I scrapped my bridge walls and remade it in one sheet. Went with pasting on an image of the interior bridge. I'll add some 3D elements to give it some more depth- and colour...
wpid-2012-08-04-13-06-14.jpg

wpid-2012-08-04-14-12-27.jpg

wpid-2012-08-04-15-02-14.jpg

wpid-2012-08-04-16-06-51.jpg
 
Last edited:
Pretty much done the bridge- the flash really shows some whitish spots that you just can't see otherwise... Oh well. I'll run a couple fibre optic lights into it, but that's pretty much it for it. Well- the back docking bit- but that's just some walls.
wpid-2012-08-06-20-04-27.jpg

wpid-2012-08-06-20-04-13.jpg

wpid-2012-08-06-20-04-40.jpg
 
My pylon connectors seem too fat for the secondary hull. I could file them down to be thinner but I'm a bit worried that they have support a bit of weight. Am I being thick here or is this a known issue?
 
They're supposed to be a very tight fit for support. Be VERY careful if you decide to file/sand to make them fit.
 
I had an issue with the holes in the flanges not being even a close fit over the pegs so I filed them a bit. Have I made an elementary mistake early on because they really would not fit at all? Once I could get the pegs to fit I now have the gap. Was I supposed to force them to fit would adjustment because I had squeeze maybe a 3mm and forcing it would have scraped all the paint off. I did try being a bit forceful but it just looked like they were not going to fit at all.
 
This is good to know about for when I get to it... And I welcome anything related to building this kit.

Anyone else excited about the original E kit coming out? It comes with a bridge (sigh)... My wife won't buy it for me until I finish this one- but i NEED to have it!!! Not that I have any idea where I will put two of these monstrosities.
 
I had an issue with the holes in the flanges not being even a close fit over the pegs so I filed them a bit. Have I made an elementary mistake early on because they really would not fit at all? Once I could get the pegs to fit I now have the gap. Was I supposed to force them to fit would adjustment because I had squeeze maybe a 3mm and forcing it would have scraped all the paint off. I did try being a bit forceful but it just looked like they were not going to fit at all.

Without seeing your specific kit parts, it's hard to say. Maybe there was a molding problem, maybe you just didn't fit them right. All you can do now is make sure that pylon connection inside the secondary hull is as solid as you can get it. Reinforce it with Evergreen/Plastruct strip - bits of sprue will do if you can carve/sand them to the right shape.
 
Short strand fibreglass bondo is a very good option as well... But you have to work fast, because once it's cured, sanding becomes a bitch with small scale stuff. I've used it with a couple of models and it's brilliant stuff. It cures at a speed that gives you a change to sculpt and then cut off bits while still on the soft side- then sand.

I used it on my Klingon ship kitbash.
 
I think I'm going to try sanding down the light-blocking paint near where the parts meet to see if that gives me a couple of milimeteres.
 
Nice work.

Are there any better diagrams on the web to assist with the light placement? I've just tried fitting the secondary hull together and the wires seriously get in the way of the connectors and the windows. Obviously there are placements that avoid this but I struggle to see how one can easily determine those without help.

I'm struggling to work out which lights should illuminate the arboretum and shuttle bay compared to general lighting and which flashing lights should be positioned where.
 
Gee- I haven't posted in a while... My wife bought me the photo-etch kit so that made me re-evaluate my plans for the ship. I don't like the forced perspective bits, but I was able to make use of the bits. I figure it won't have to look perfect because once it's sealed up, those wee windows will be the only way to see in anyway. I really like how this one little (well not so little) room can hold so many people. Of course as it is, with tables and for recreating purposes, it will be comfortable for about 40 people.


And I've been working on making the Surak type shuttles more accurate. But it's so damned small and my eyes suck up close. LOL
The one on the left is the unaltered one- I've filled in gaps on the one on the right. Cut away and added some other bits.
 
Nice work.

Are there any better diagrams on the web to assist with the light placement? I've just tried fitting the secondary hull together and the wires seriously get in the way of the connectors and the windows. Obviously there are placements that avoid this but I struggle to see how one can easily determine those without help.

I'm struggling to work out which lights should illuminate the arboretum and shuttle bay compared to general lighting and which flashing lights should be positioned where.


Gee- sorry- I missed this... There doesn't seem to be a whole lot. A couple of dudes have posted some magnicant stuff on a modelling site that I just can't recall...

I'm running a simple system using my old light and sound Enterprise kit. Most of the lights will be held in the base and run up through fibre-optics. The exception will be the deflector, nacelle grills, and impulse engine. I'll throw in a simple system there with rheostatics in the base to control glow intensity- one for each (deflector, nacelles, impulse). I can't afford expensive electronics, so I'm going old school.
 
Holy crap it's been a while since I've posted anything on this slow ass build.

Here's the mostly completed rec dec. The colours will look different under the dimmed fiberoptics once sealed up. I have no idea if this image will show up- damned work blocking a lot of images. It's only Trek PORN!
1
 
If you are not already a member then please register an account and join in the discussion!

Sign up / Register


Back
Top