And now for something completely different.
I've shared a number of my illustration and Photoshop projects, but I realized that I hadn't really shared any of my other (Trek related) works.
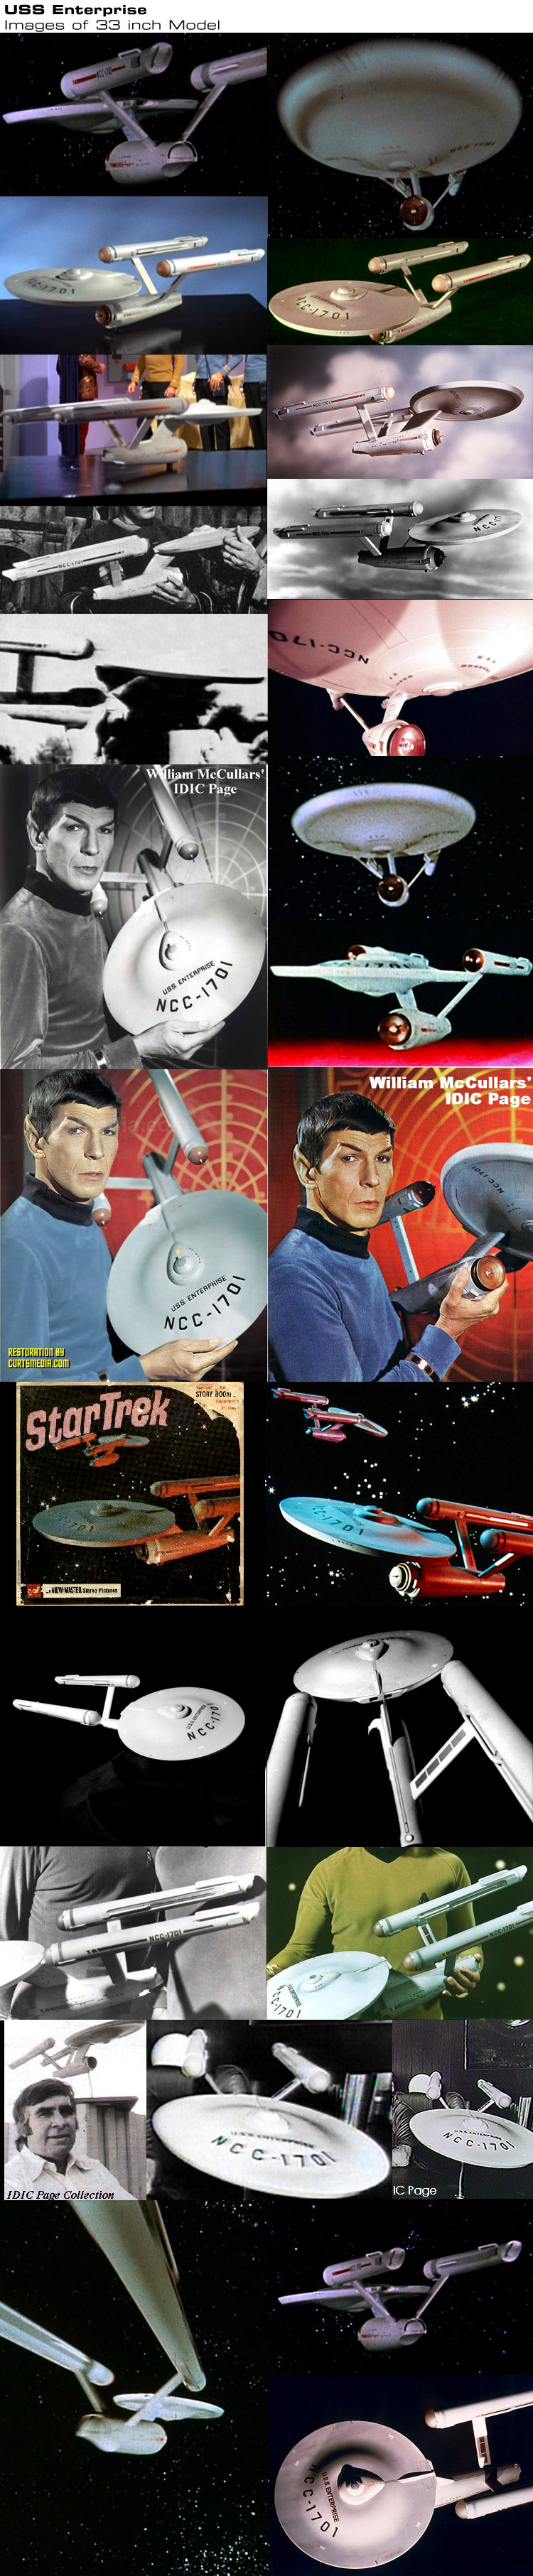
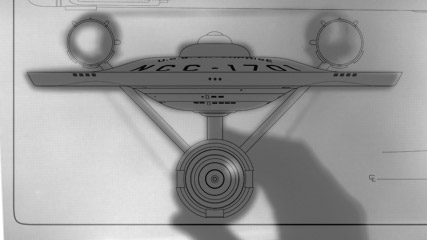
One project I've been working on for a while now is a replica of the 33 inch Enterprise model used in the pilots and the series. The start of this was in a thread from nearly two years ago (which has been lost in time) in which I reverse engineered plans of this model (the 1.0 version of which can be found here). I'm sure that a lot of people thought that the plans themselves were the project, but those were actually just the plans of the real project.
The real project was to build that model.
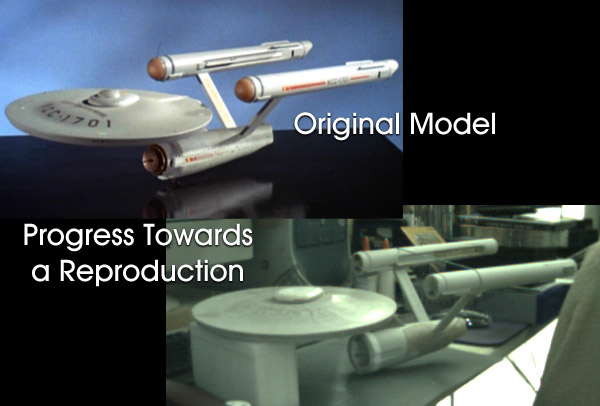
I have been building Enterprise models since the early 1970s and no matter how good they turned out, they never matched my ideal for an Enterprise model, the model as seen on the table in Requiem for Methuselah. The reason for this is clear now, the shapes are significantly different than any of the kits put out (which was all aiming towards being more like the 11 foot model).
My plans (when printed out at full size) gave me a good impression of the dimensions of the original. And also gave me reason to reconsider making a one-to-one replica. I live in a small apartment dominated by computers, I really don't have the room for a major project, and scratch building this model would qualify as such a project.
So it seemed to me that I needed to make compromises. And the easiest would be to reduce the size to something where I would have access to more resources. The best option seemed to me to be to build it at two-thirds scale because there was already a ton of stuff design for the 22 inch Enterprise cutaway model (including nice decals).
Having decided on a size, I printed out a new set of plans at two-thirds scale to the originals, and bought a couple 22 inch Enterprise kits. Why a couple? Always have spare parts when you aren't totally sure of what you are doing.

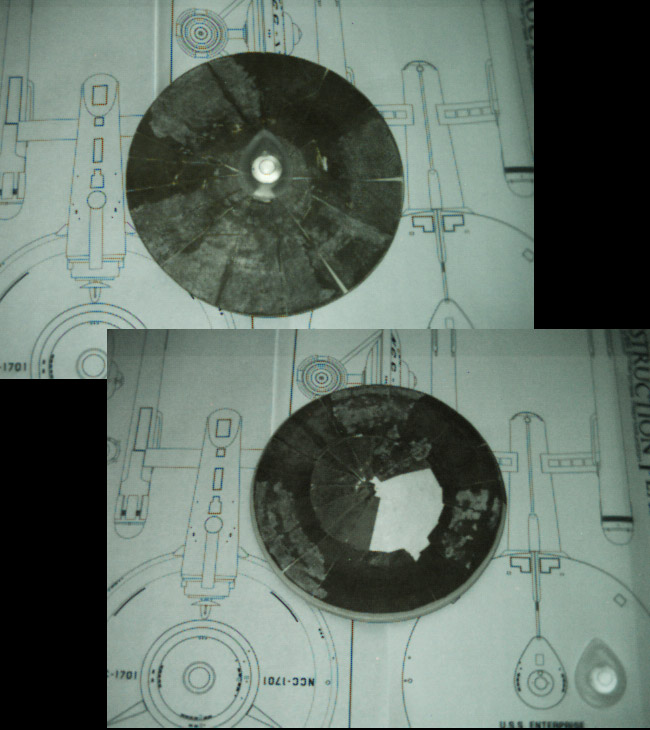
Taking inventory of the parts, I then had to decide what would work and what would need replacing. The warp nacelles are pretty generic and could be used with modifications (extending the inner trench further back), the supports were okay (but not where they attached to the nacelles), and the secondary hull was okay (but was a bit short). The primary hull wouldn't work and the dorsal was also unworkable, both areas would need to be scratch built.
So how does one scratch build the primary hull?
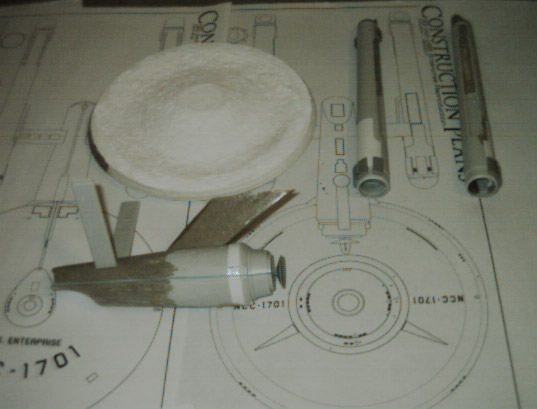
I was rather limited because of space and resources, so to get started I built a mock-up out of foam core board so that I could get some sizing estimates with the rest of the model. I then started in on modifying the kit pieces... which turned out better than I had thought.
Because I was stuck on the primary hull, and I had an almost full unused kit of the cutaway, I started in on putting those pieces together while I contemplated my next step. And because I didn't want this to be another Enterprise, I decided to name this model the Constellation. Here are some of the images of her under construction...


And as she stands currently...
That is about as far as I've gone on that model, it hasn't changed much in about a year.
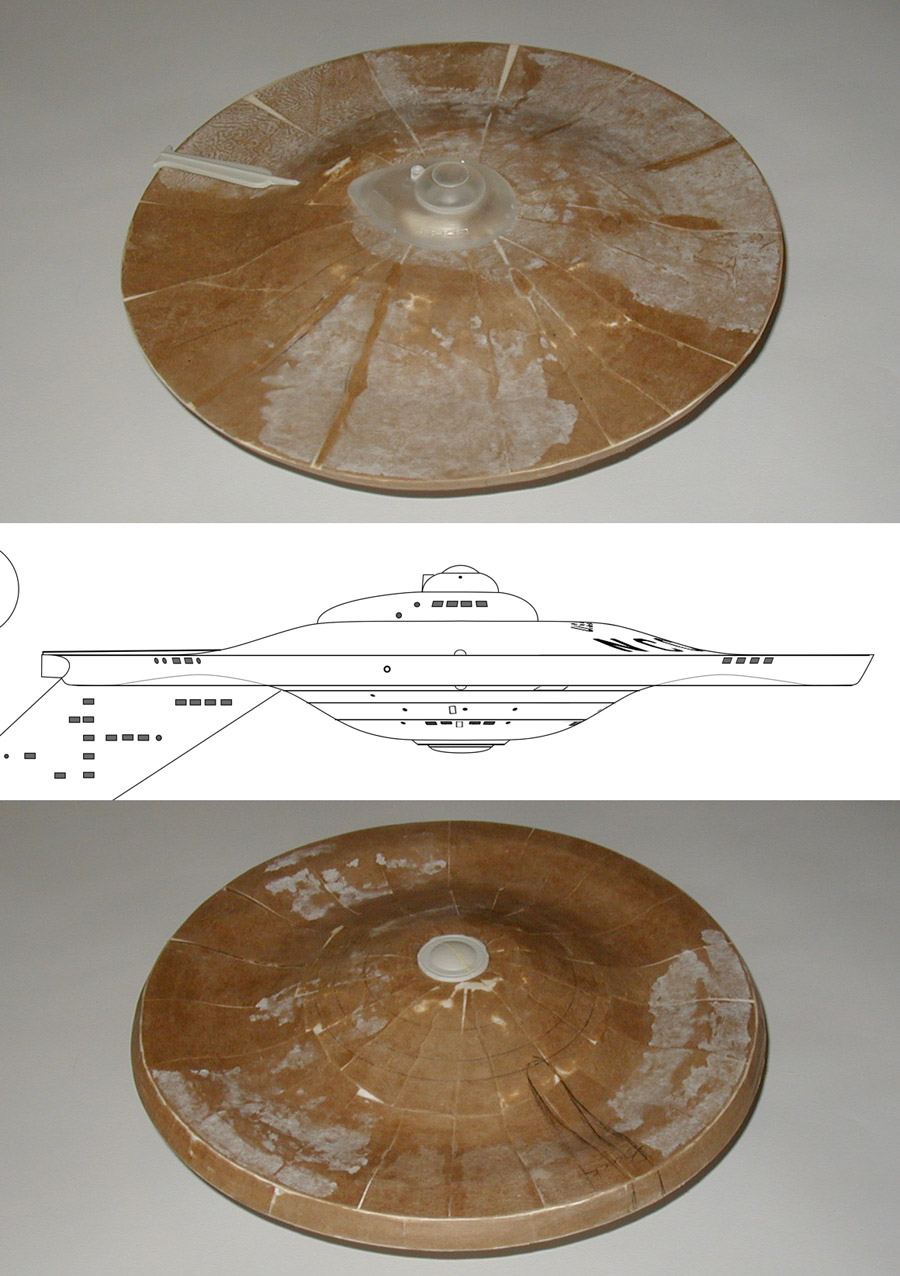
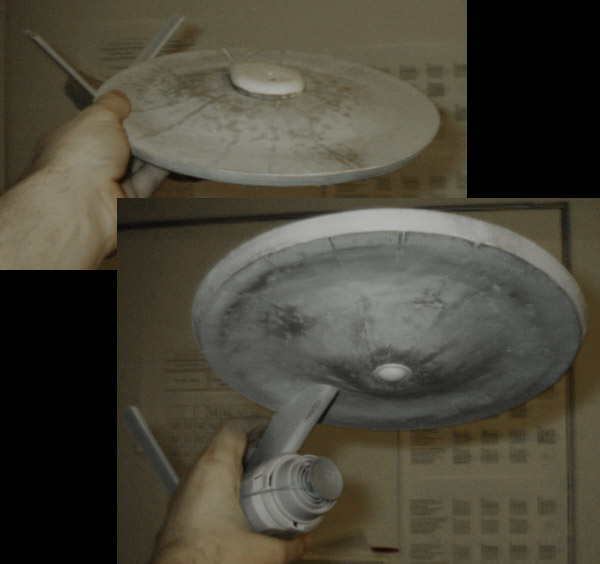
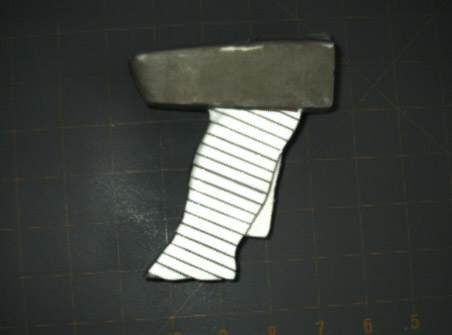
Recently I got sick of waiting for an ideal solution to my primary hull problem and decided to try a technique I had used for smaller models in the past... paper mache pulp. I started filling in the stair step parts of the foam core board mock-up to see just how far I could get. This is what those pieces looked like when I started that process...
After I got the basic shape I wanted I started using paper to help create a smooth surface...
And this is what that looked like when I was nearly done with that aspect...
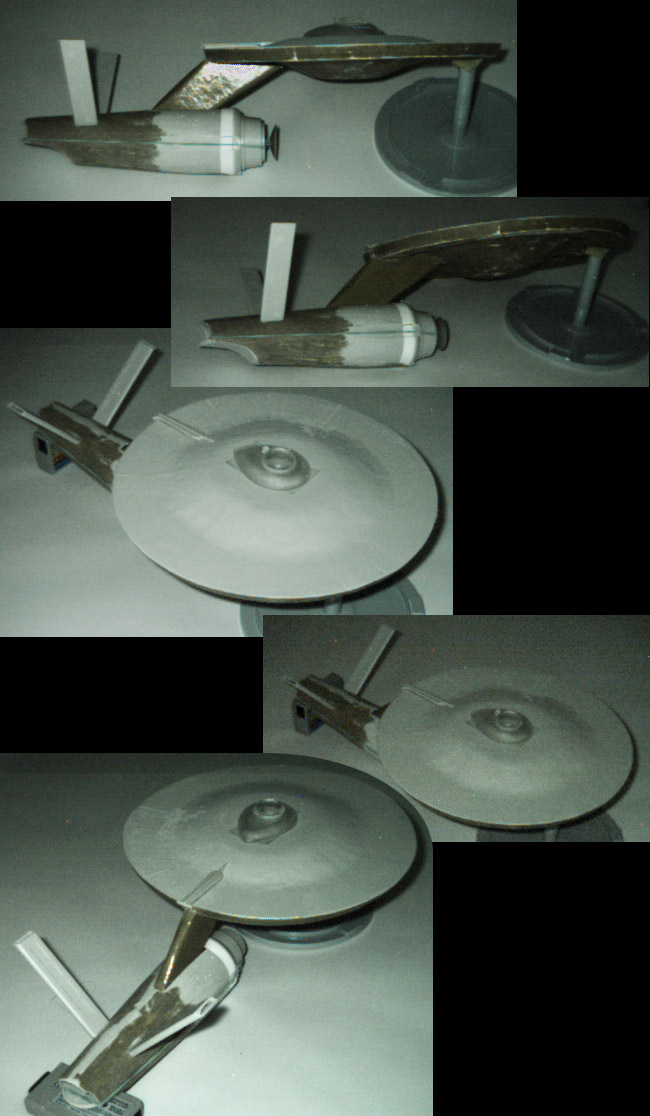
Fortunately the bridge and B/C deck structure from Don's Light & Magic matched up with my plans pretty nicely. But at about this point I noticed a number of flaws in the primary hull... including a warping that meant that the edge wasn't flat.
Because of this I've decided that this primary hull is most likely going to be a test article to try out additional ideas. And as such I created a new B/C deck structure from scratch.
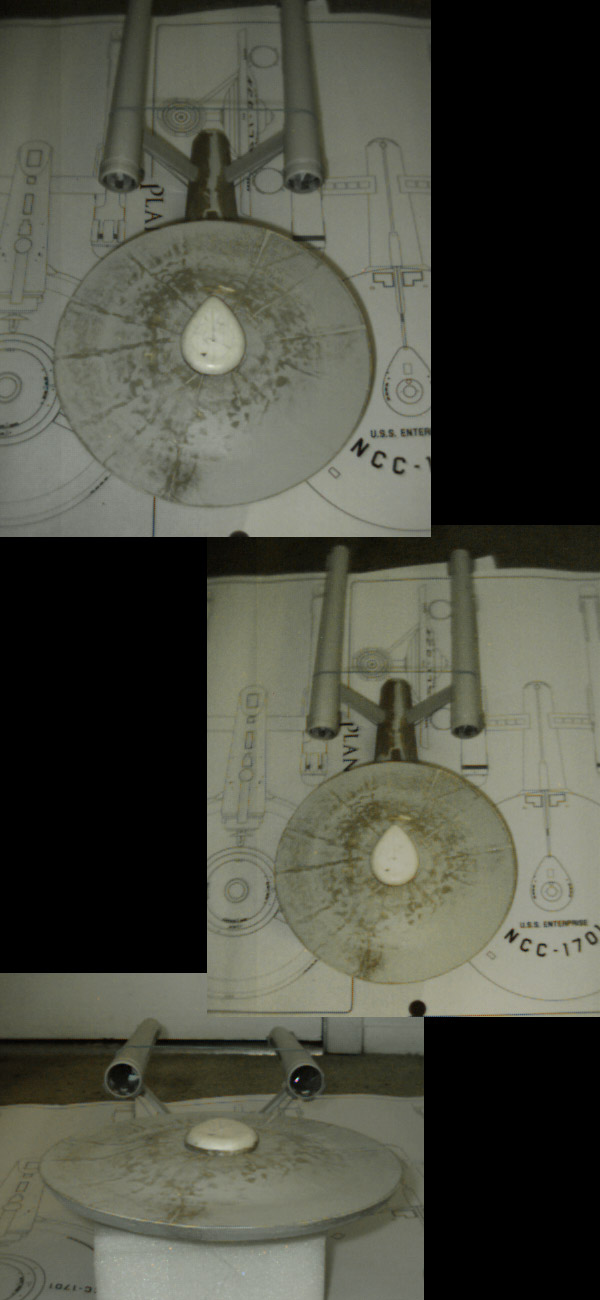
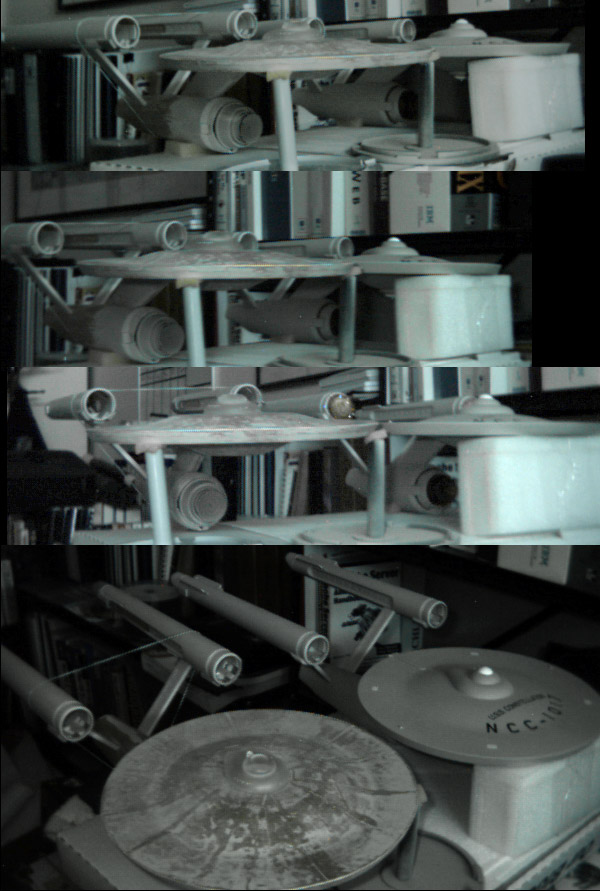
But actually I was able to fix the deformation by putting the whole primary hull in the microwave for 20 seconds and then applying pressure to flatten it out.
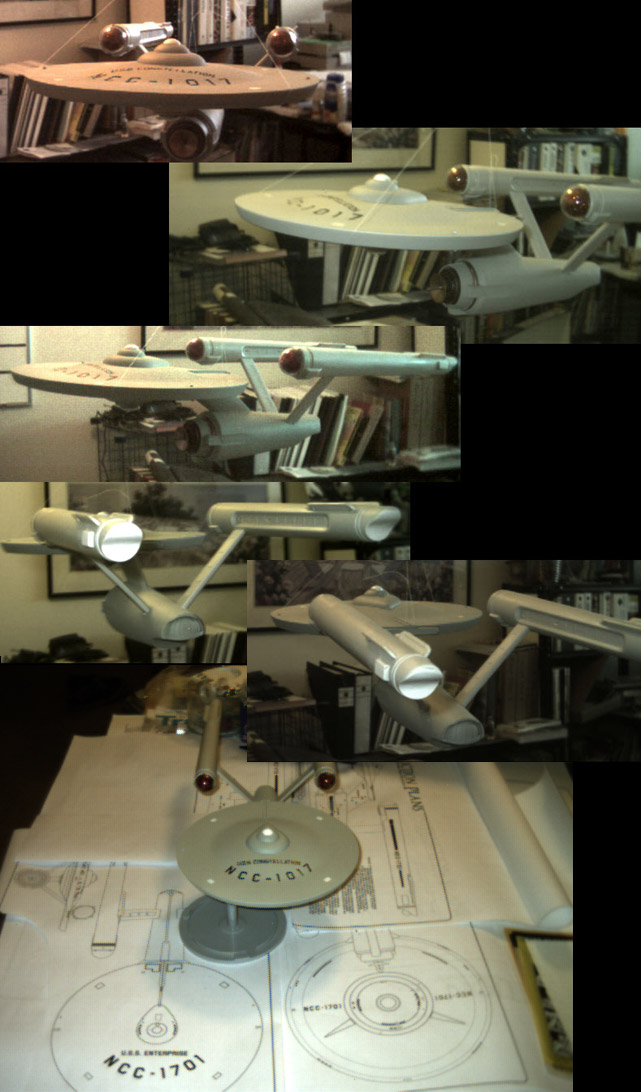
The next major hurdle was attaching the warp nacelles. The original connection points were completely covered up as they were too high compared to the original model (and consequently were also too far apart). I had cut the tops of the supports to an angle that would help them meet the nacelles flush at the right spot, but creating the joining point was always going to be an issue.
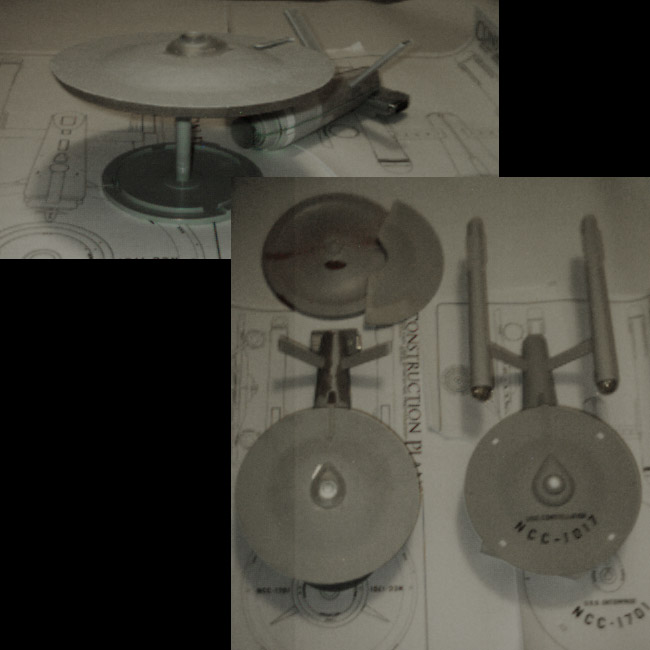
The solution was to have two pieces of wire (made from paper clips) coming out of the nacelles at the correct points to act as guides for the eventual connection. Of course for this to prove that it would work it would need to hold the nacelles on at about the right angles without being glued together (currently none of the major parts are glued together other than the dorsal to the primary hull... the model pretty much stands on it's own). This is a test fitting using a rubber band to hold the nacelles in place.
It is hard to tell in that image, but the rubber band has the unfortunate effect of pulling the tops of the nacelles inwards a little (but that wasn't unexpected). Here is a shadow test to see how it is coming together...
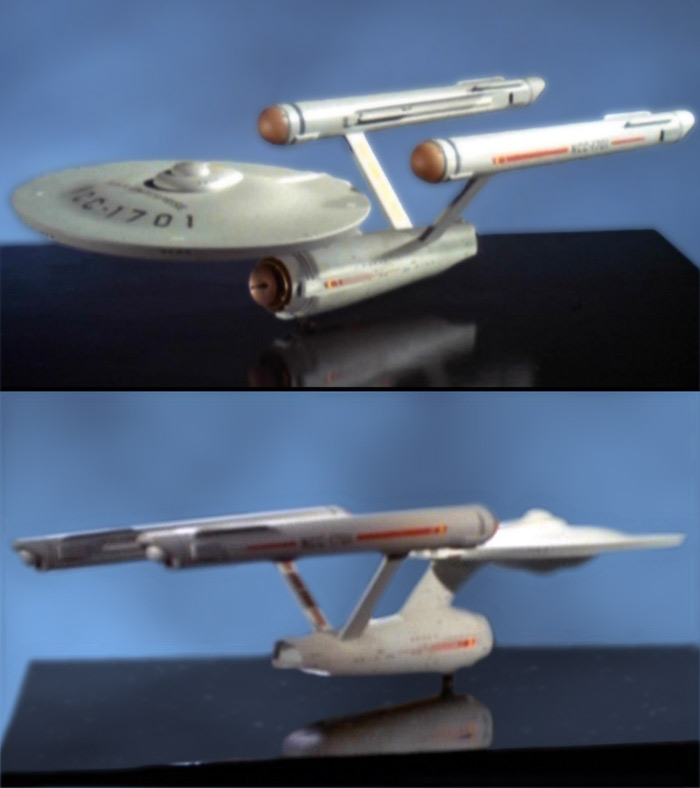
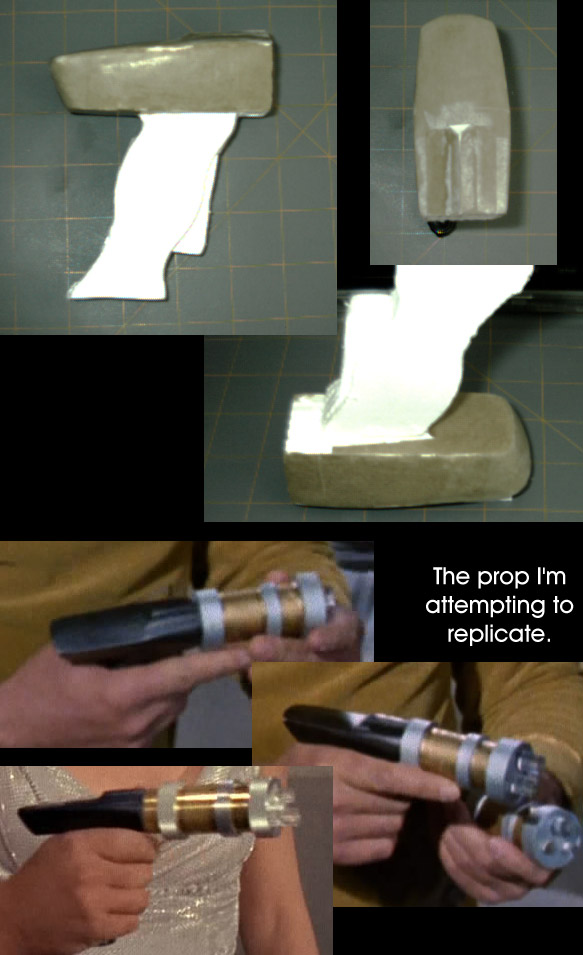
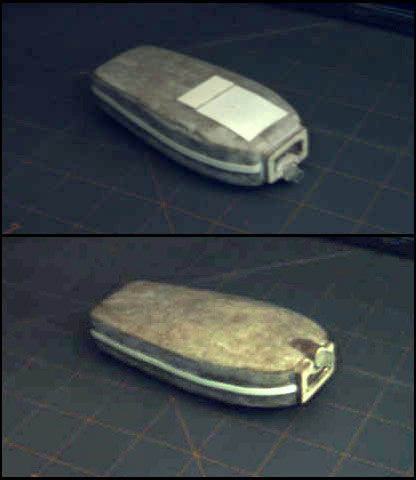
And a comparison with the original model I'm attempting to replicate.
And some images of the model being hung...
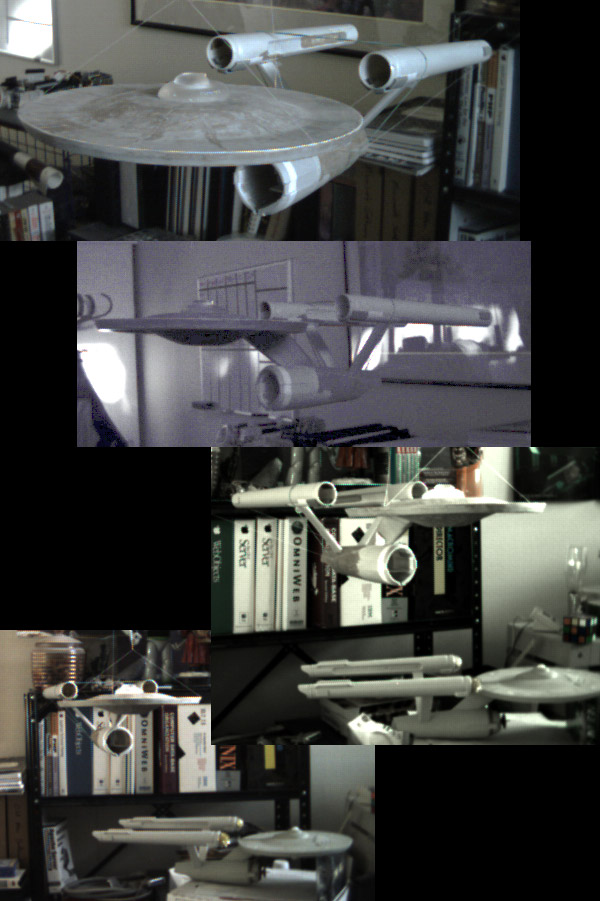
Again, other than that rubber band around the warp nacelles, the model is holding itself together based on how the pieces are fitting. In some of those images you can see the Constellation sitting below waiting to be finished.
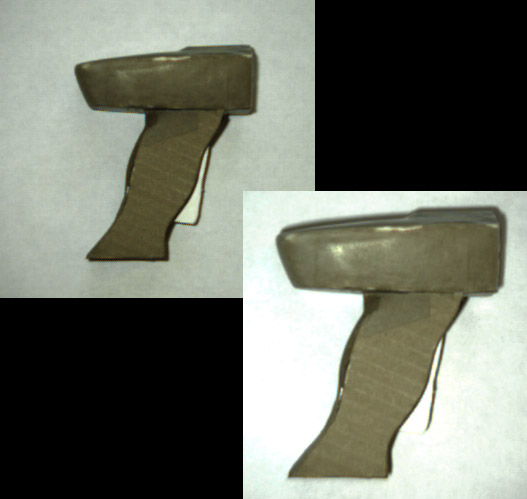
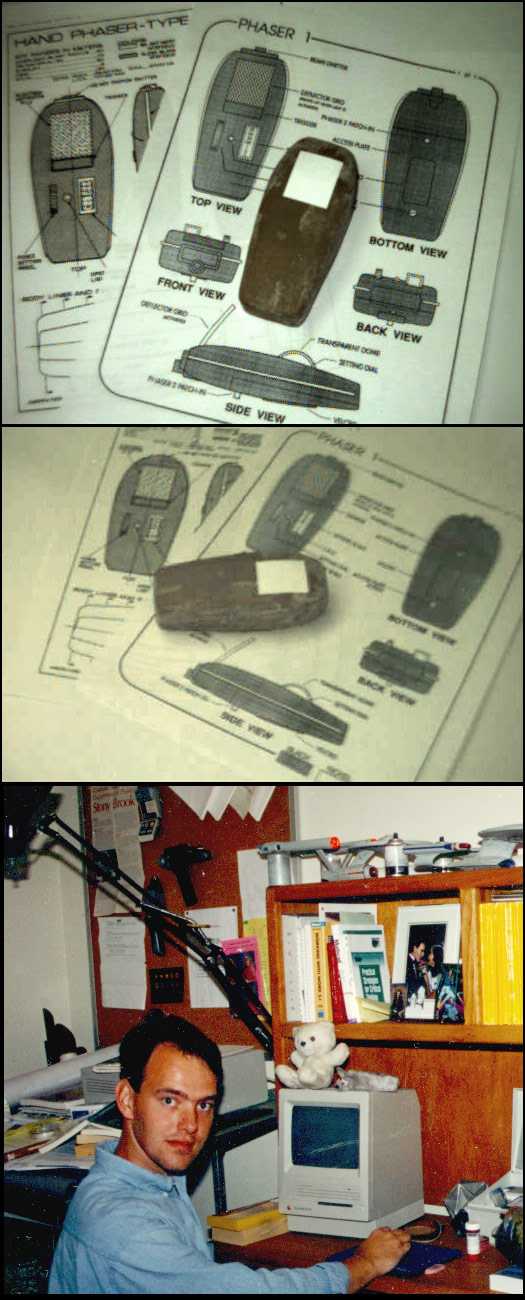
So that is where I'm at right now with this project. Though I'm also building a hand laser from The Cage which I might display with this model in the same case, so I might write a bit about it and show how it is coming along in this thread.

")


")